


How we brewed beer at home
When a few weeks ago my husband asked me if I´d write about his experiment with brewing his own beer on my blog, I resolutely shooked my head. This isn’t any culinary or beer blog. But then I started thinking: is this the experience of life in Switzerland? Yes, it definitely is! Therefore it deserves to be on the blog. So today you can read how we brewed our own beer at home.
The idea to brew your own beer arose in my husband´s mind when he´d spotted a starting brewery kit in our local outlet shop. And for a good price. No really, buy it! At first, I thought he was joking and want to buy this kit for his boss, who already has some experience with this activity. But how I was mistaken! So the big cardboard box appeared in our house and he started to read and watch all affordable tutorials on the Internet (which was – let’s be honest – quite surprising for a man!).
Step 1 – Boiling
So the D-Day has finally come and our flat has been transformed into a mini – or better to say: microbrewery. It was on Sunday, it had been raining since the morning, so when else set to brewing? First, it was necessary to prepare all the paraphernalia, to sterilize some of them, and then get out on the thing!
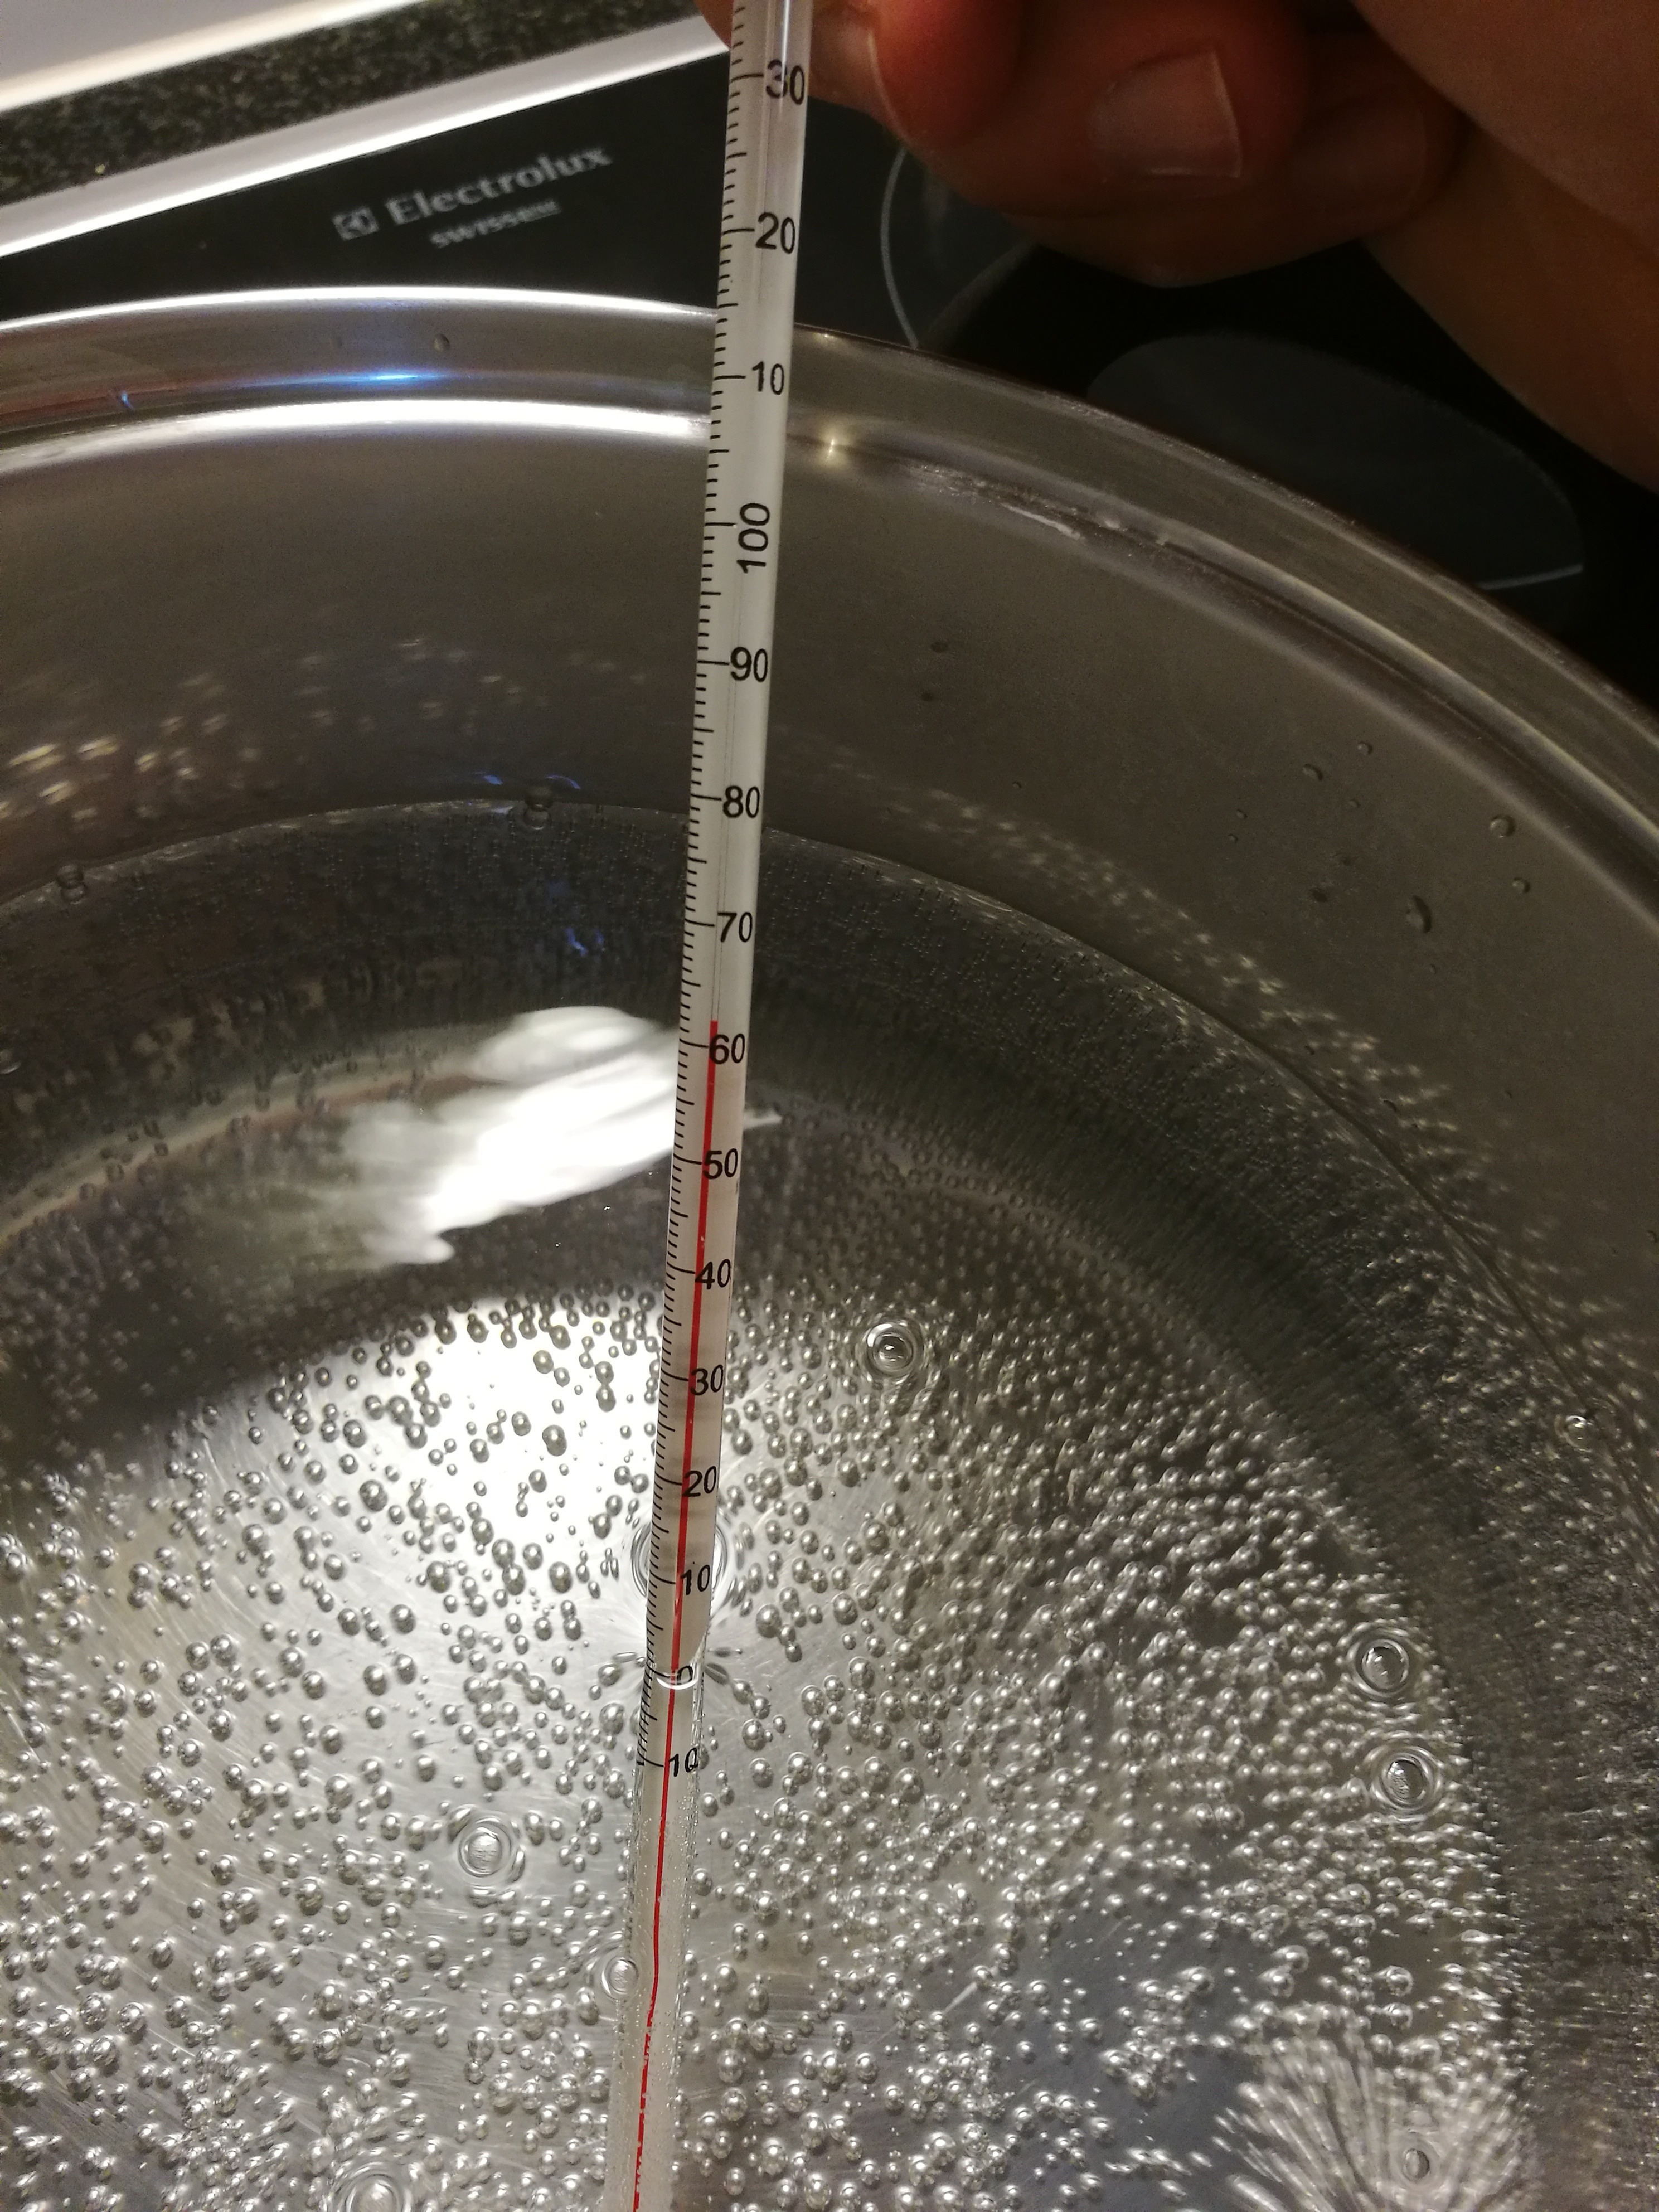
The first step was heating the water in a large pot to 62 degrees. Well, I can tell you, so exactly my husband measures the temperature only when he has his man’s cold.
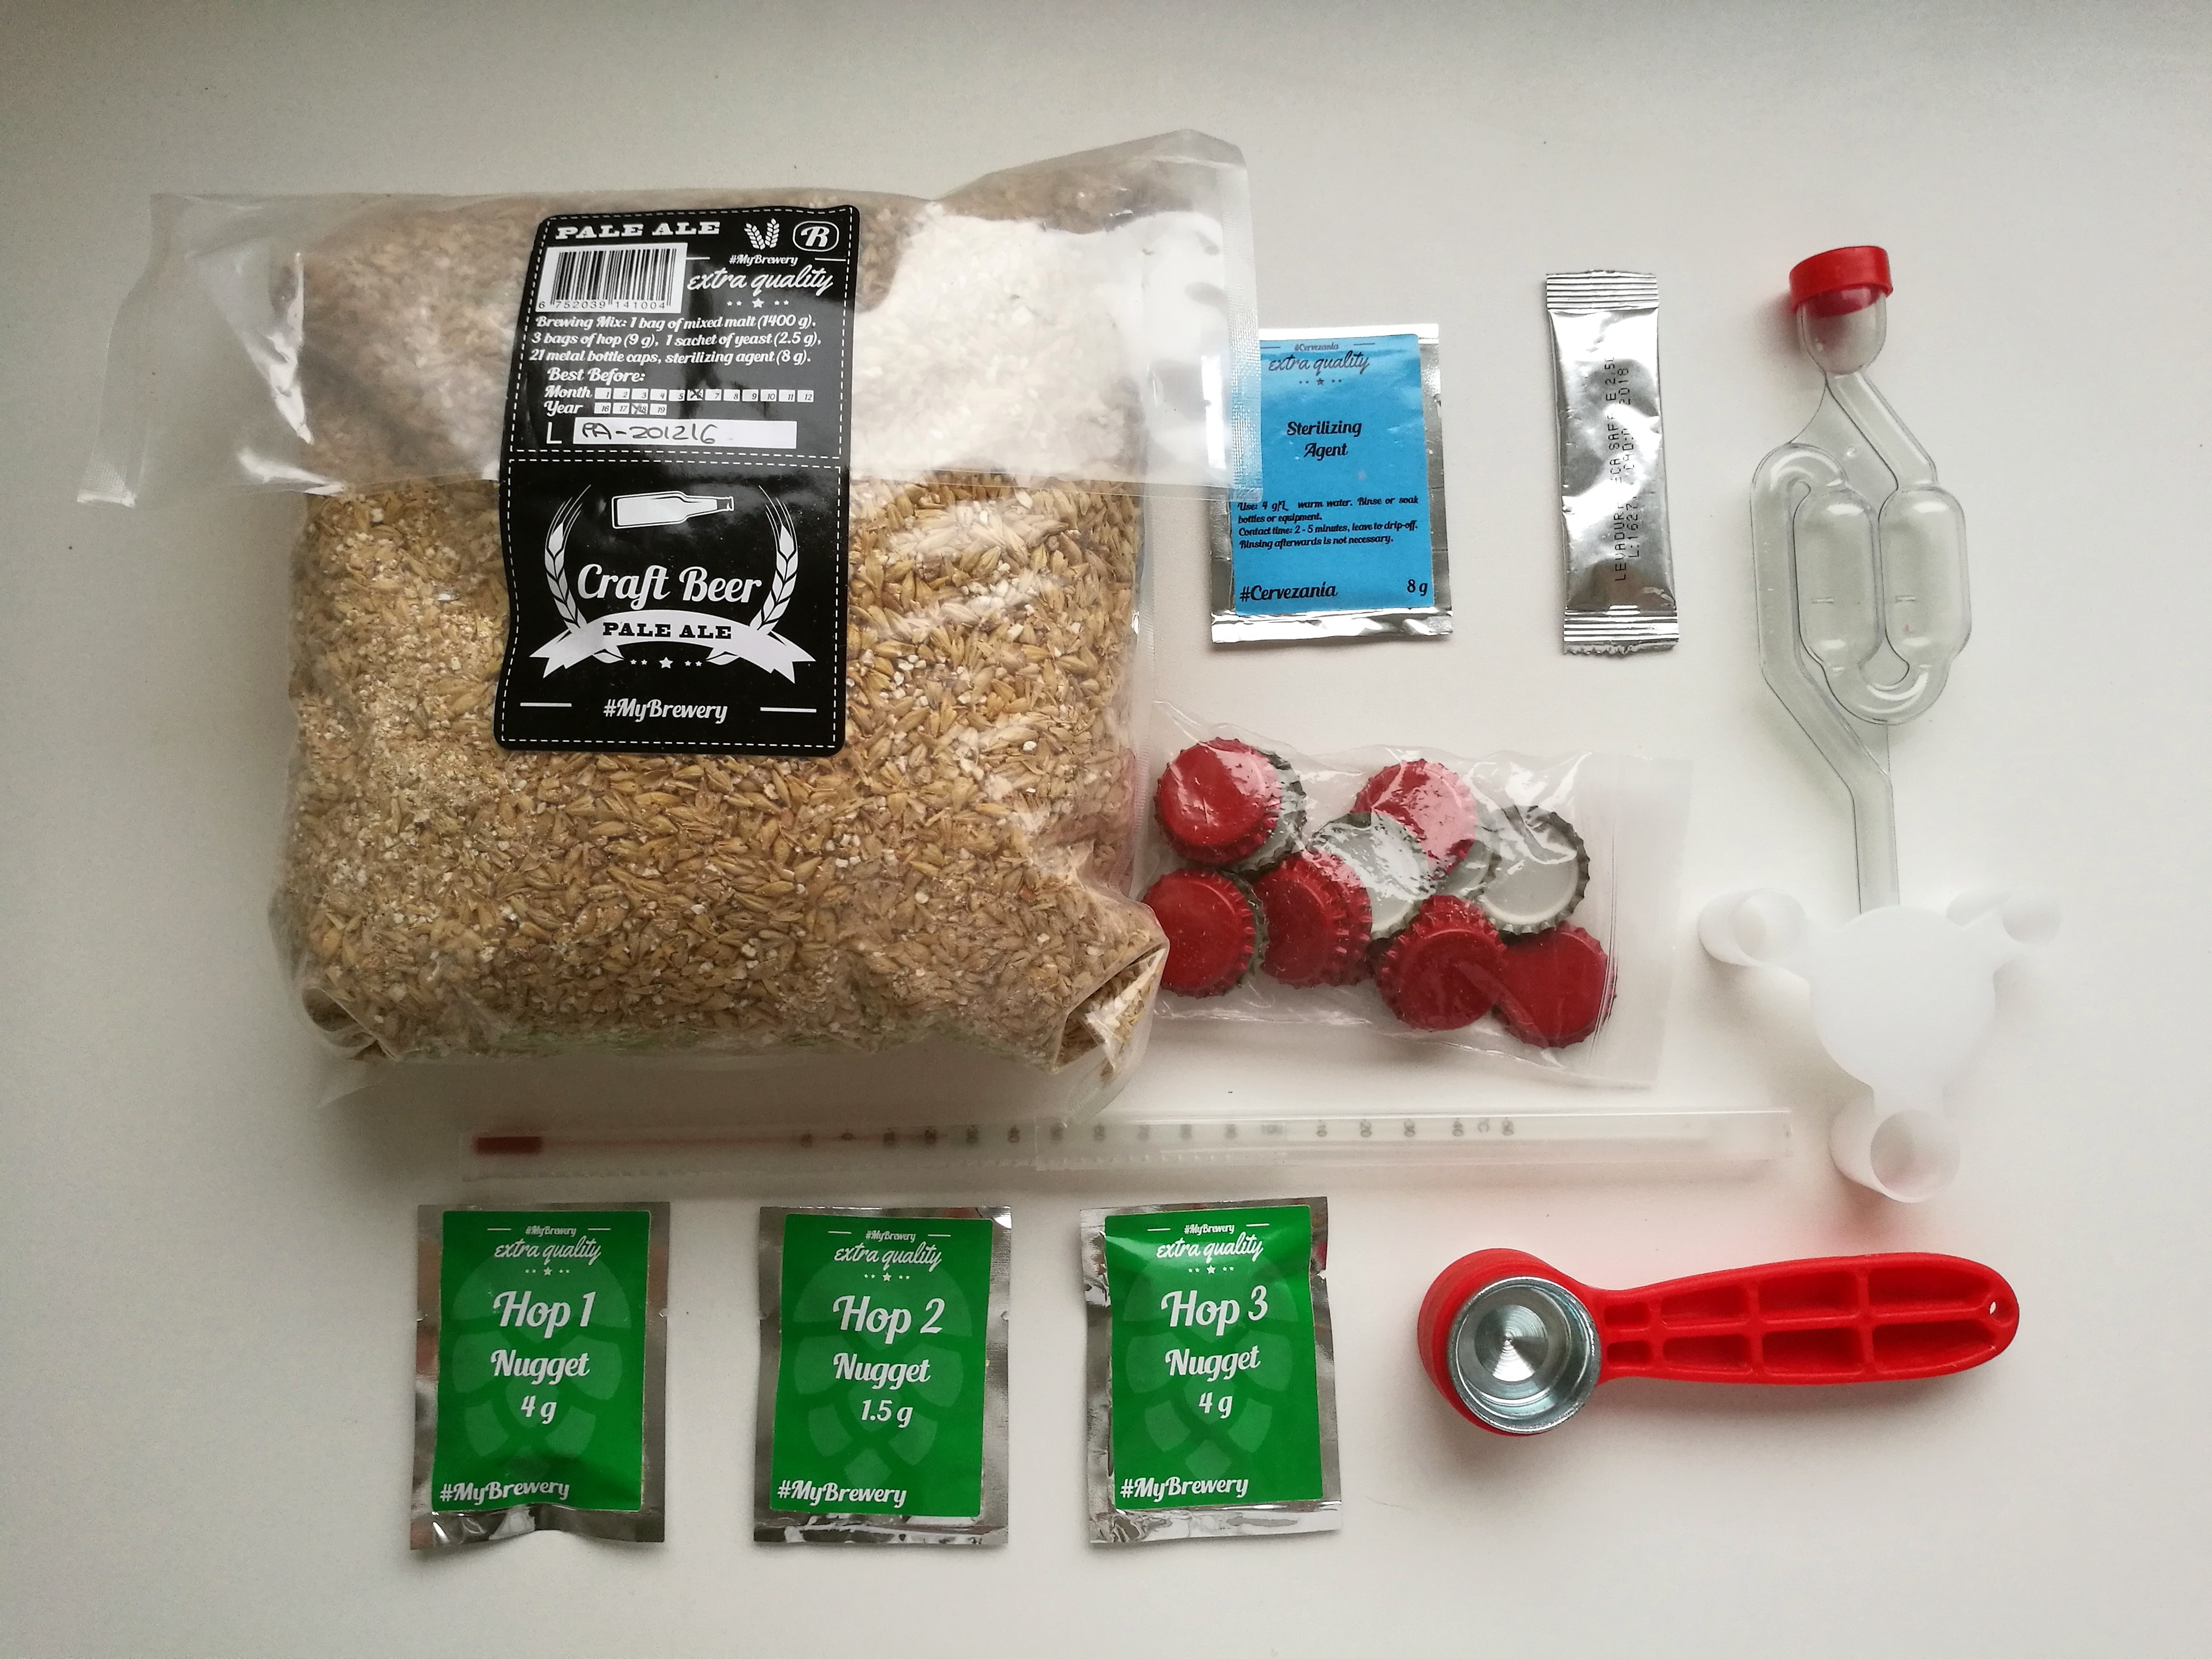
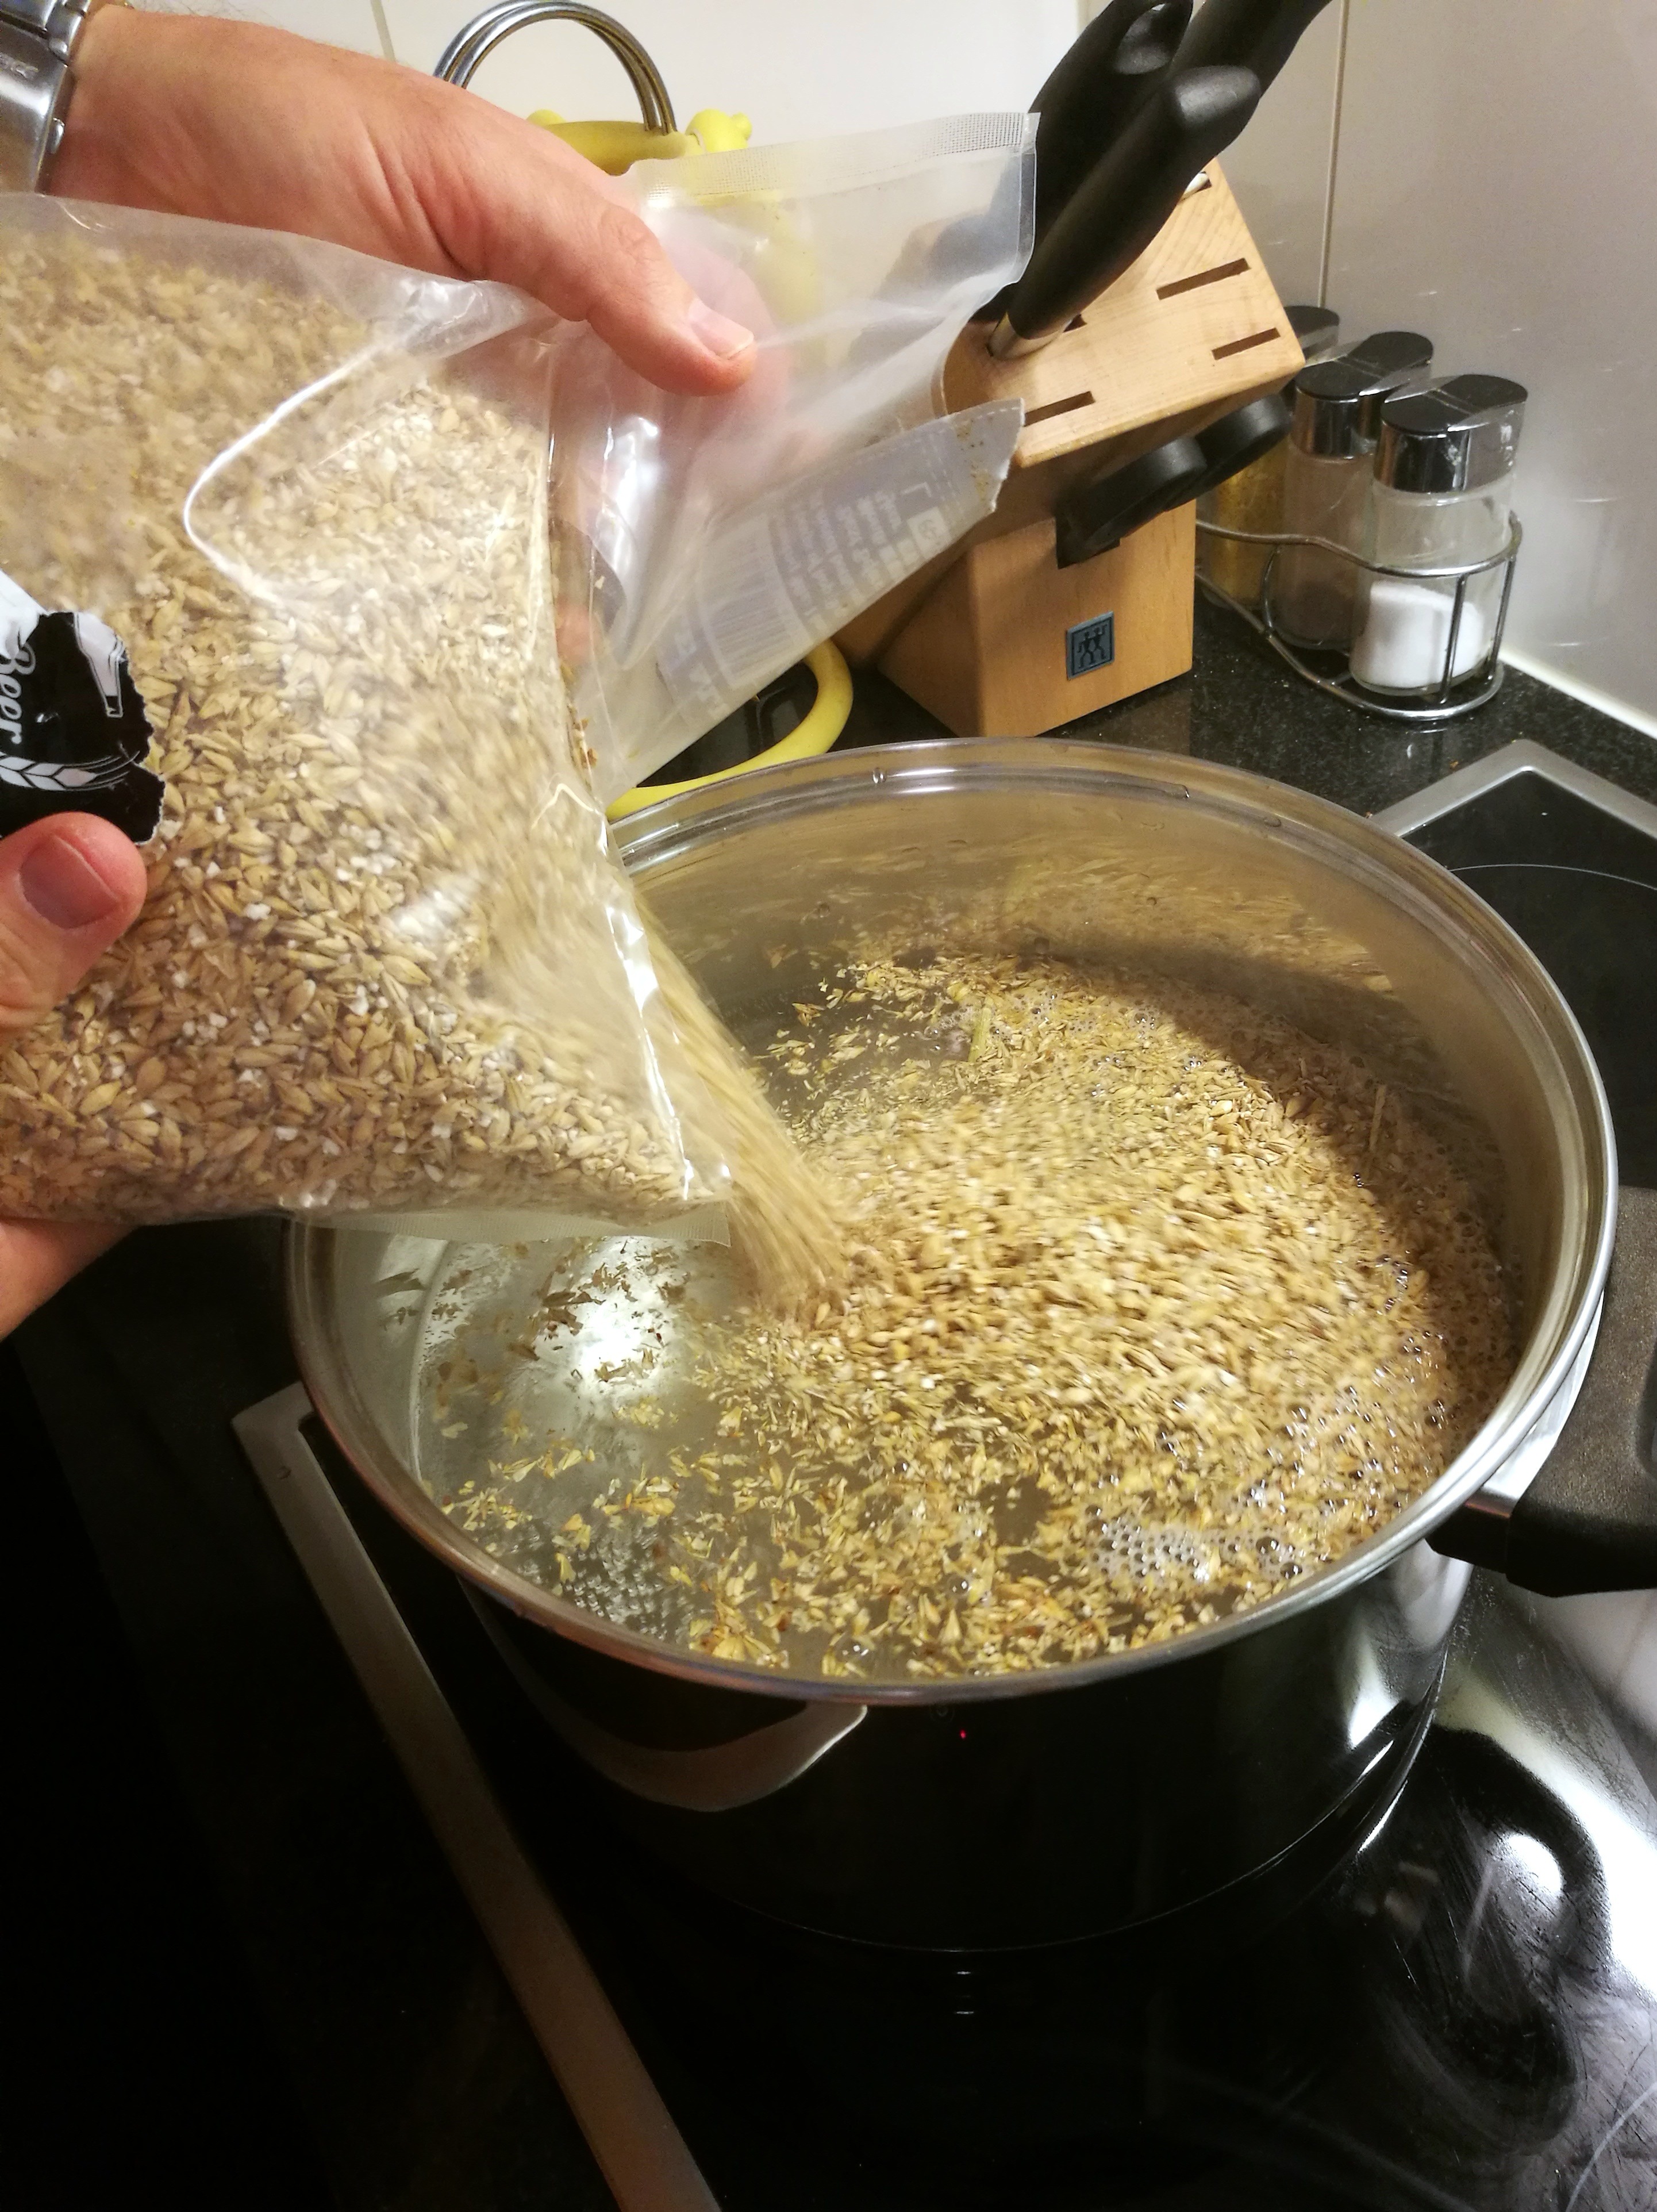
When the water in the pot reached the coveted temperature, he poured the cereal malt into it. The mixture then had to let cook 90 minutes while maintaining a constant temperature. As this phase lasted a relatively long time, I had to listen to a lecture, that we were brewing the top-fermented beer called “Pale Ale”, the batch of hops that we would add later have a purpose (the first is to add bitterness and the last for aroma) and other interesting information.
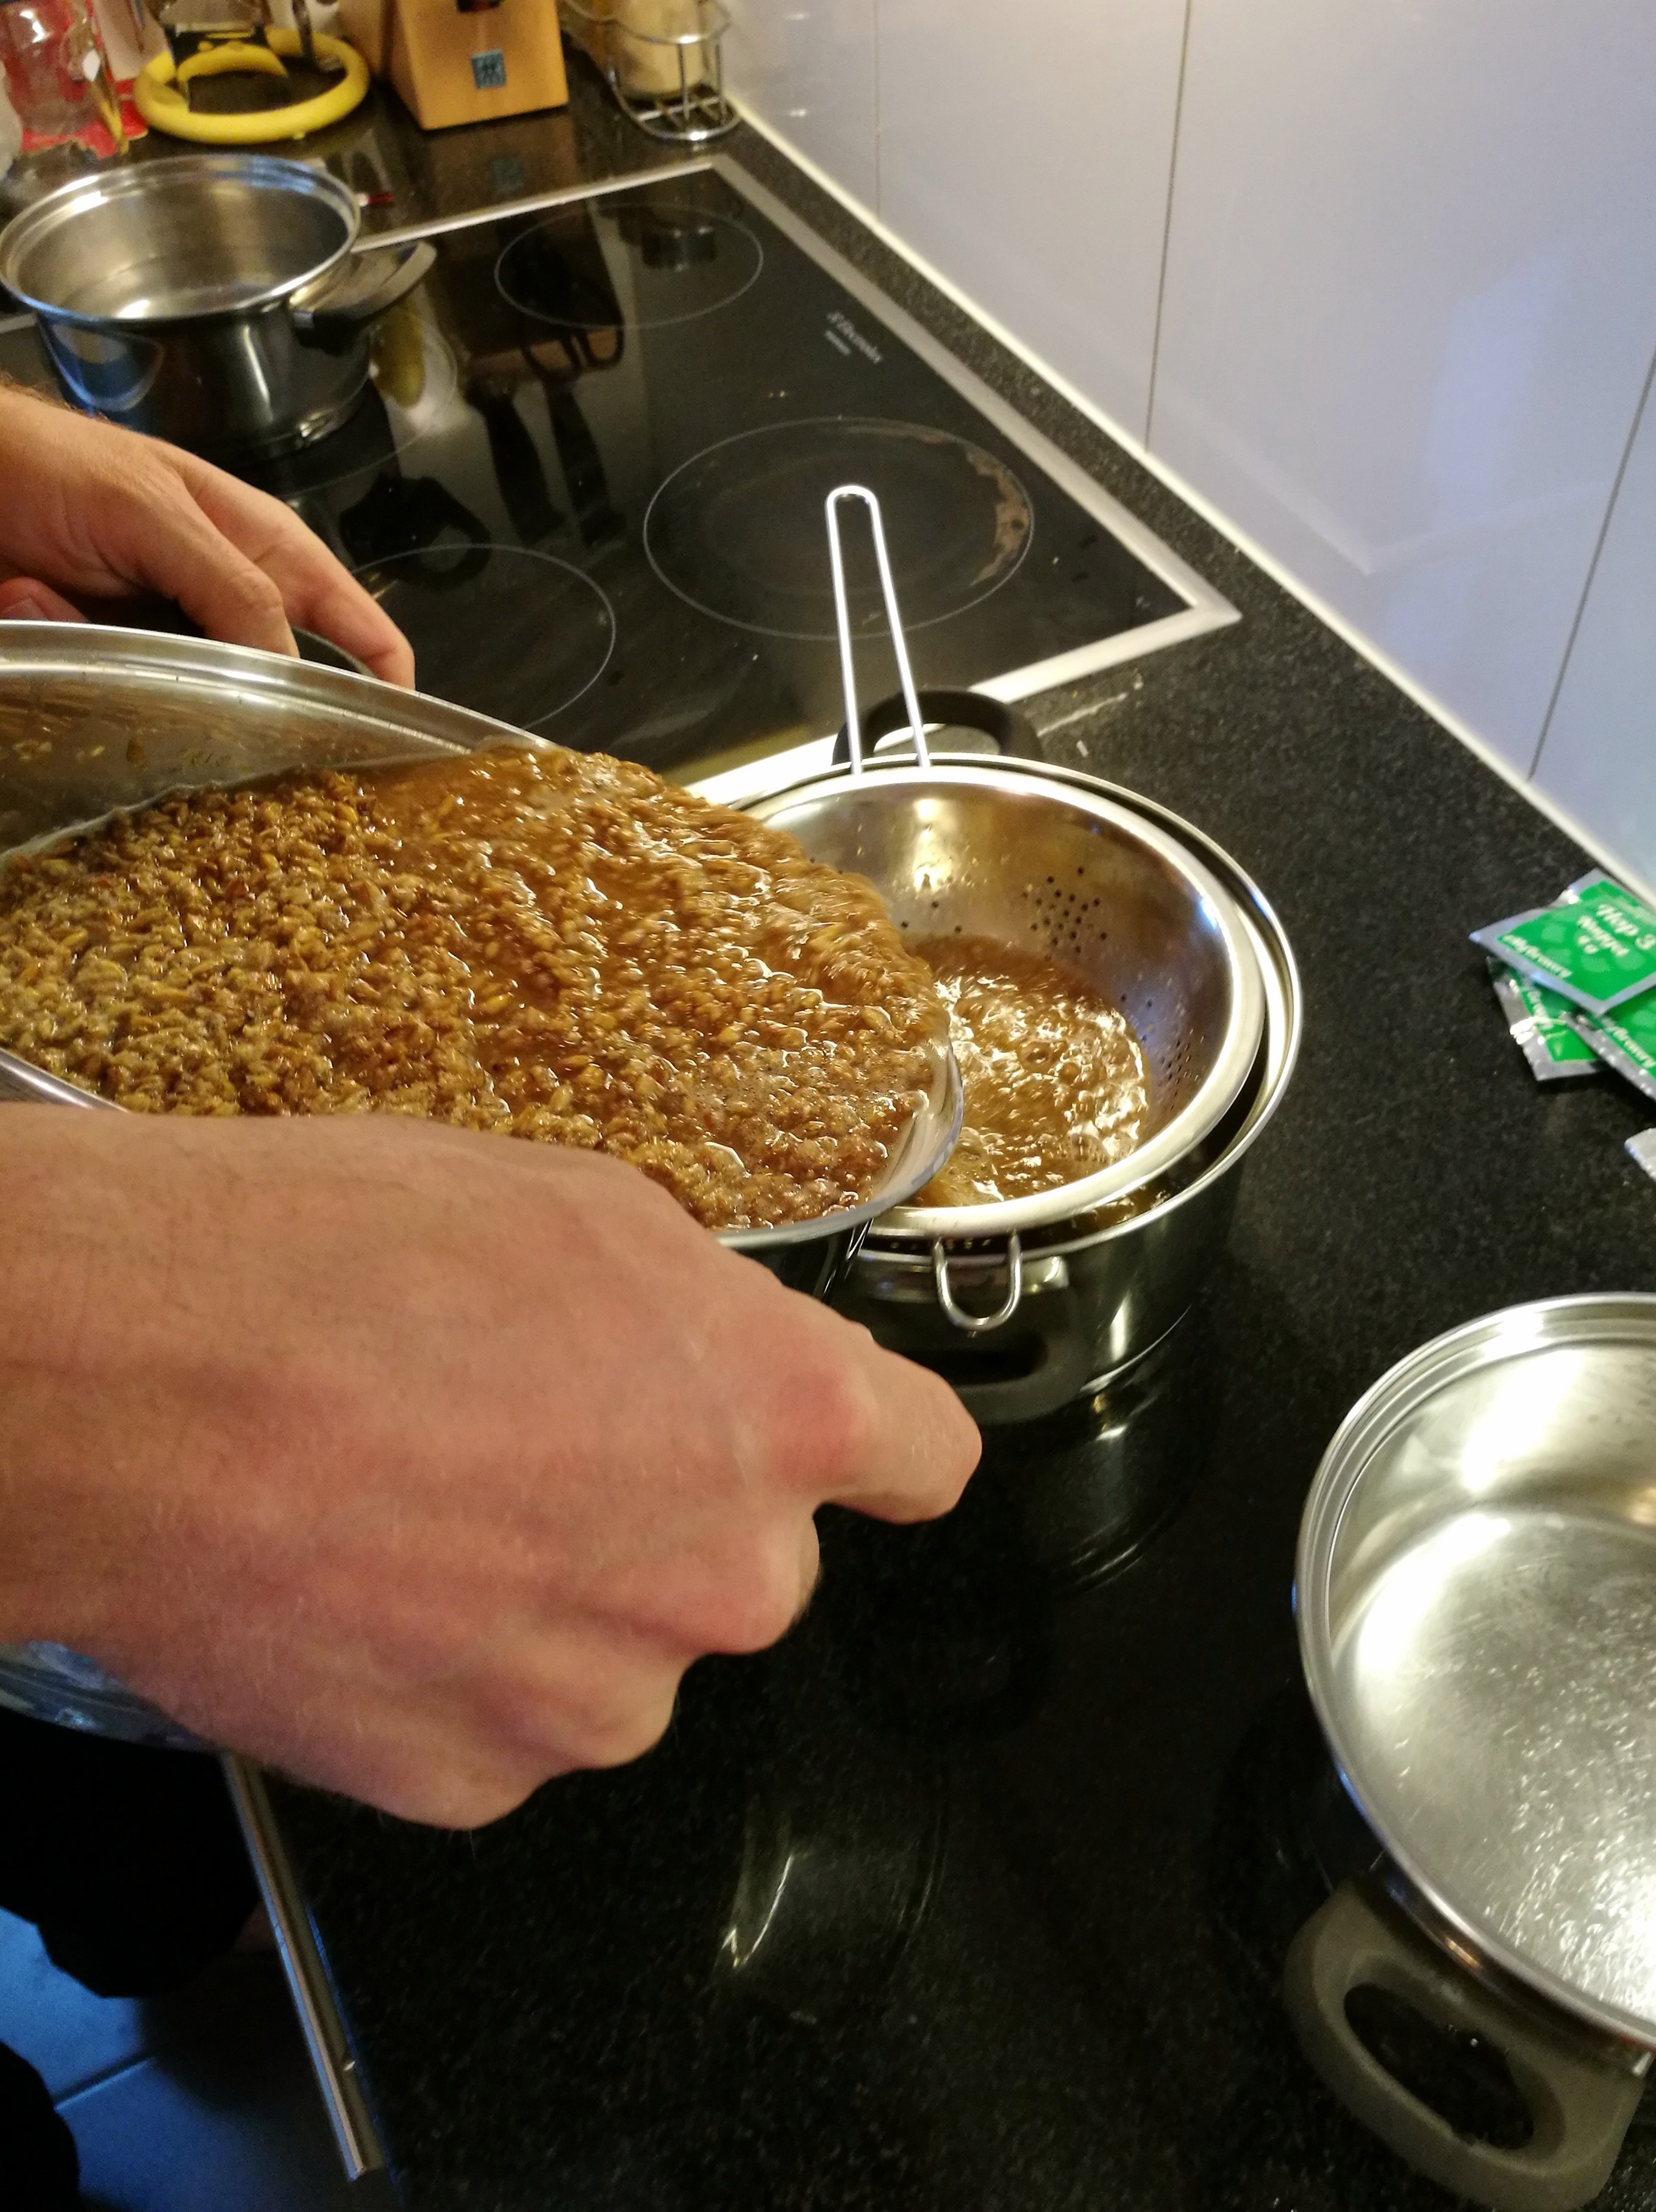
After 90 minutes of the mashing process, we could finally strain the slurry to get a clear liquid called “wort”.
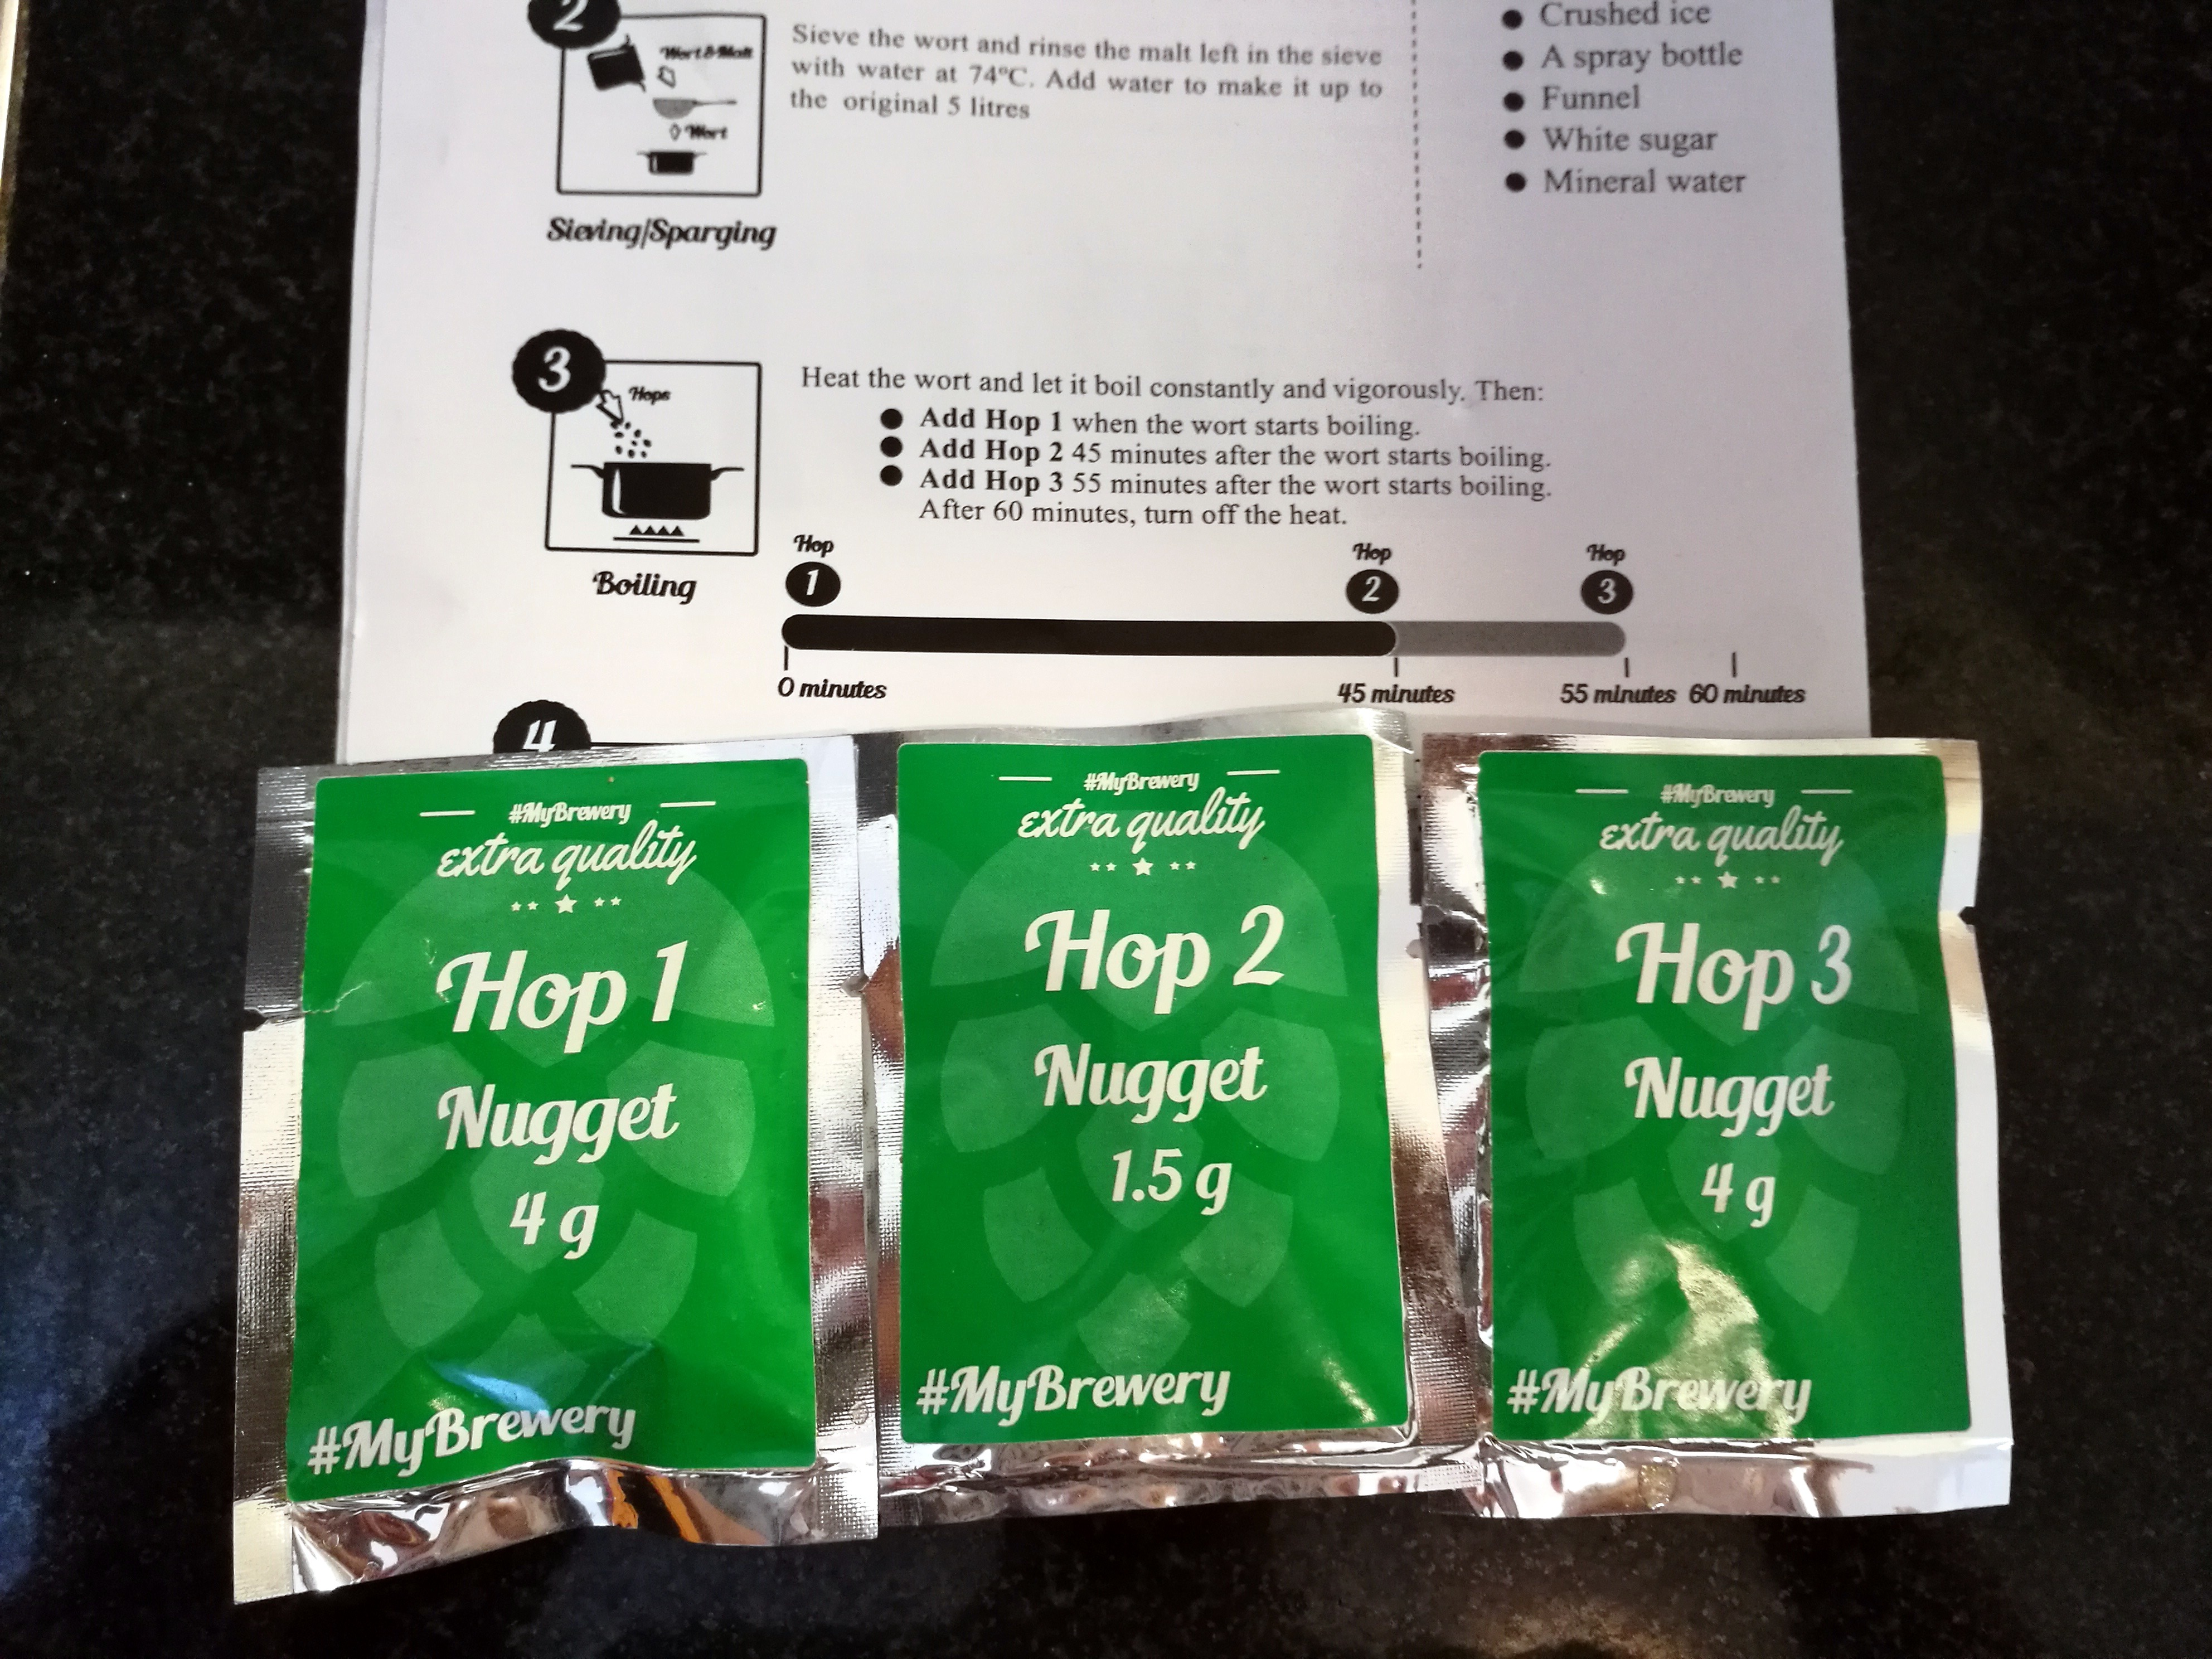
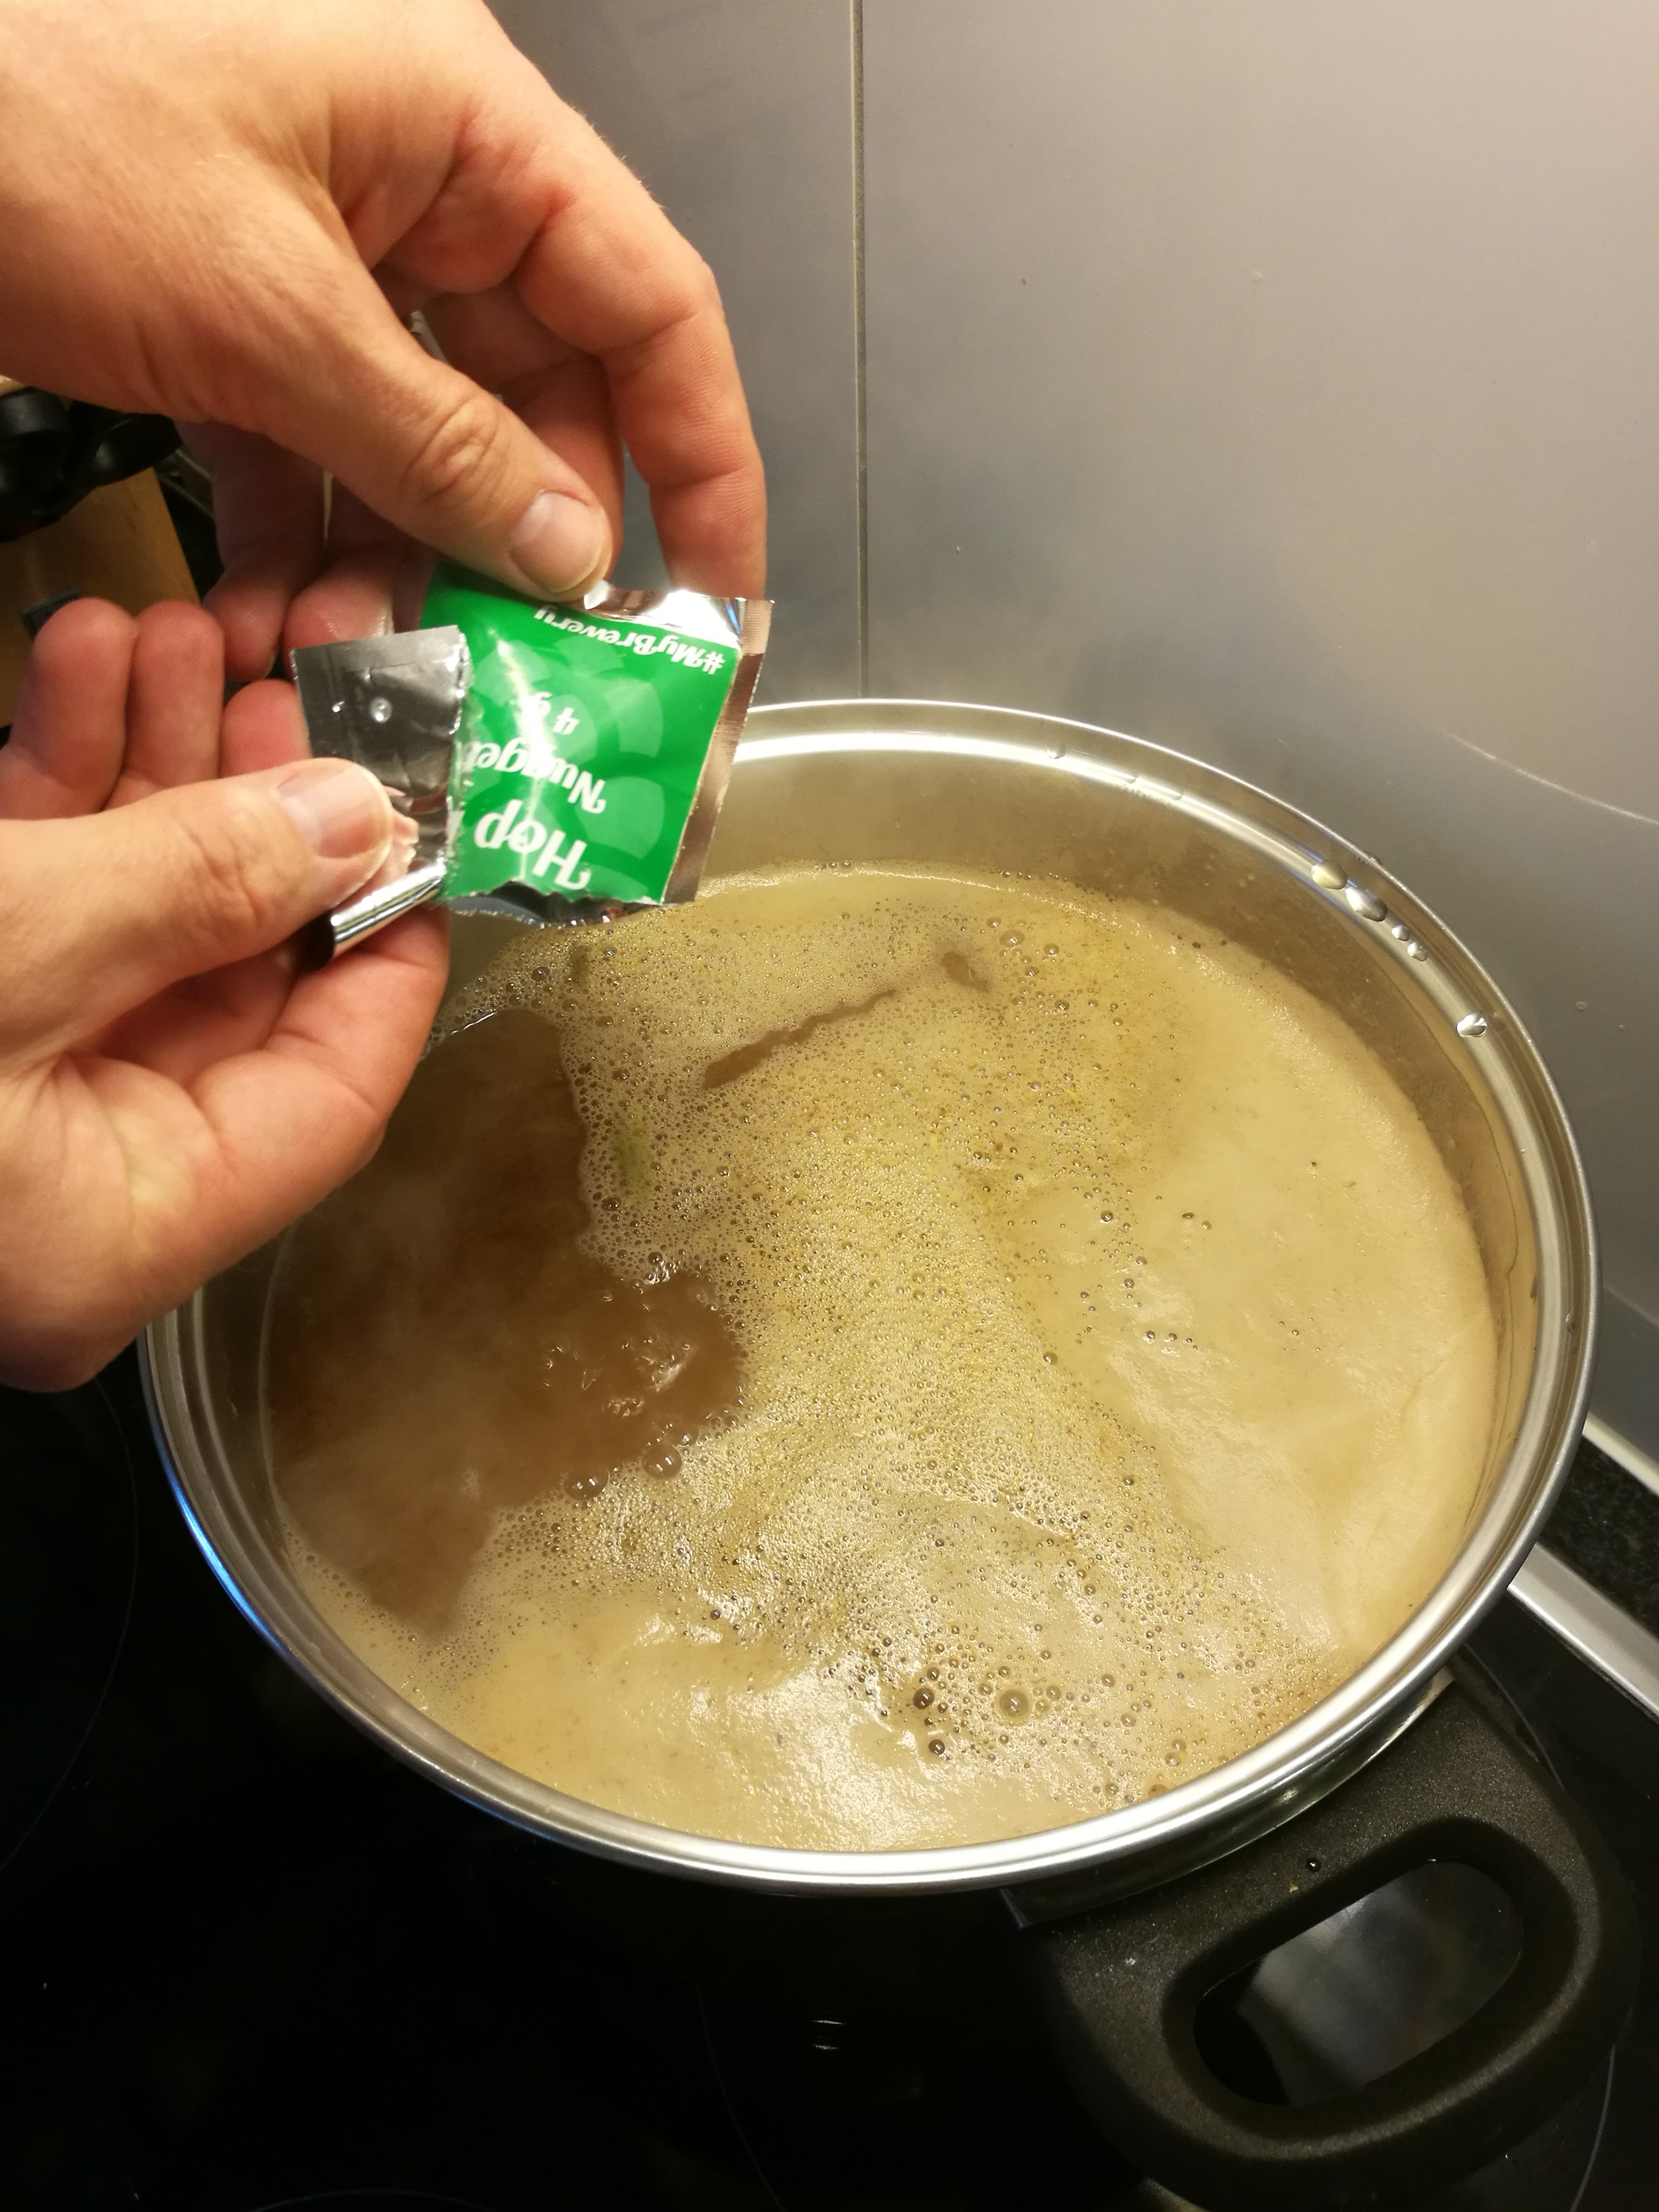
The solution was then brought to boiling and we added the first batch of hops. After 45 minutes we added the second and after 10 minutes the third, final dose. Thus, this phase lasted 60 minutes, during which the mixture must be strongly boiled and results in the “hot wort”.
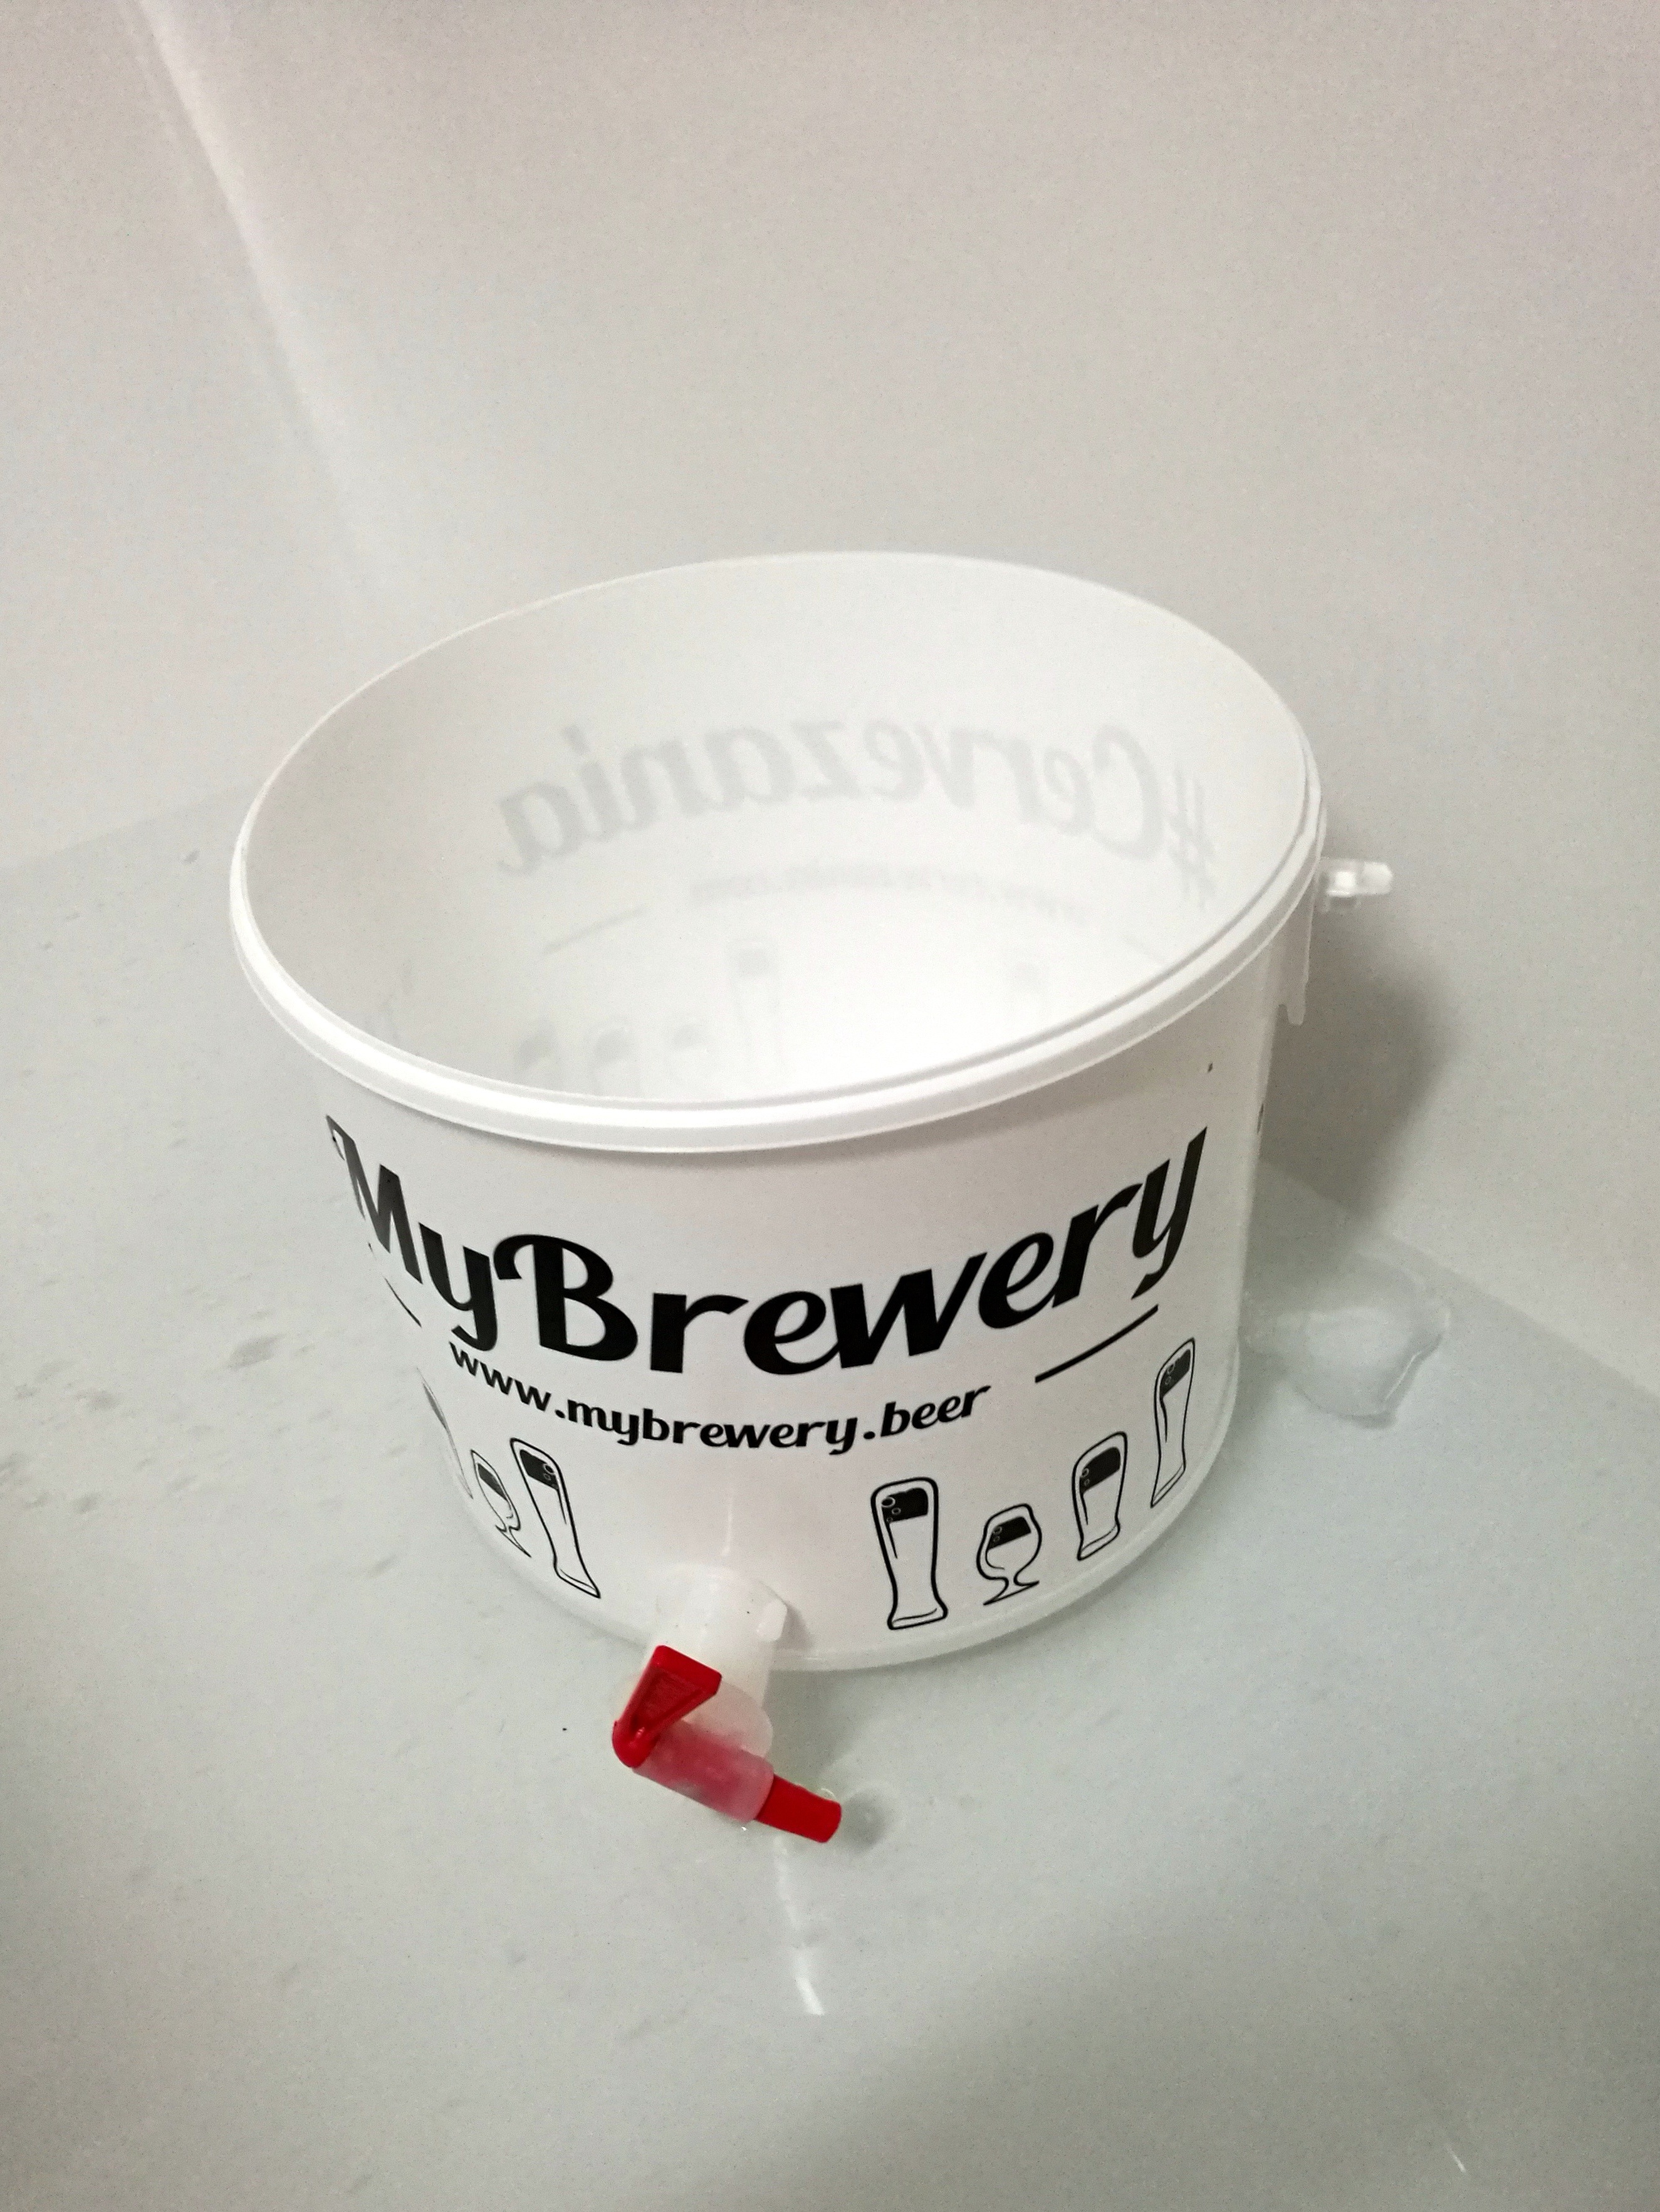
At the end of the boil, it was important to cool the wort quickly to 20-25 degrees. This can be done in two ways: either you cool down the pot or cool down after filtering the wort. My better half opted for the second option, so we filled up the tub with cold water and also added ice cubes to it. Then we put a sterilized plastic (Ferment) vessel into a tub.
Then we took the pot with a wort and filtered it through a strainer. Such a fiddly job! Some of us (read: me) have used a little sharper word :)) at this stage. No wonder when the densest strainer you have at home is the size of a small scoop.
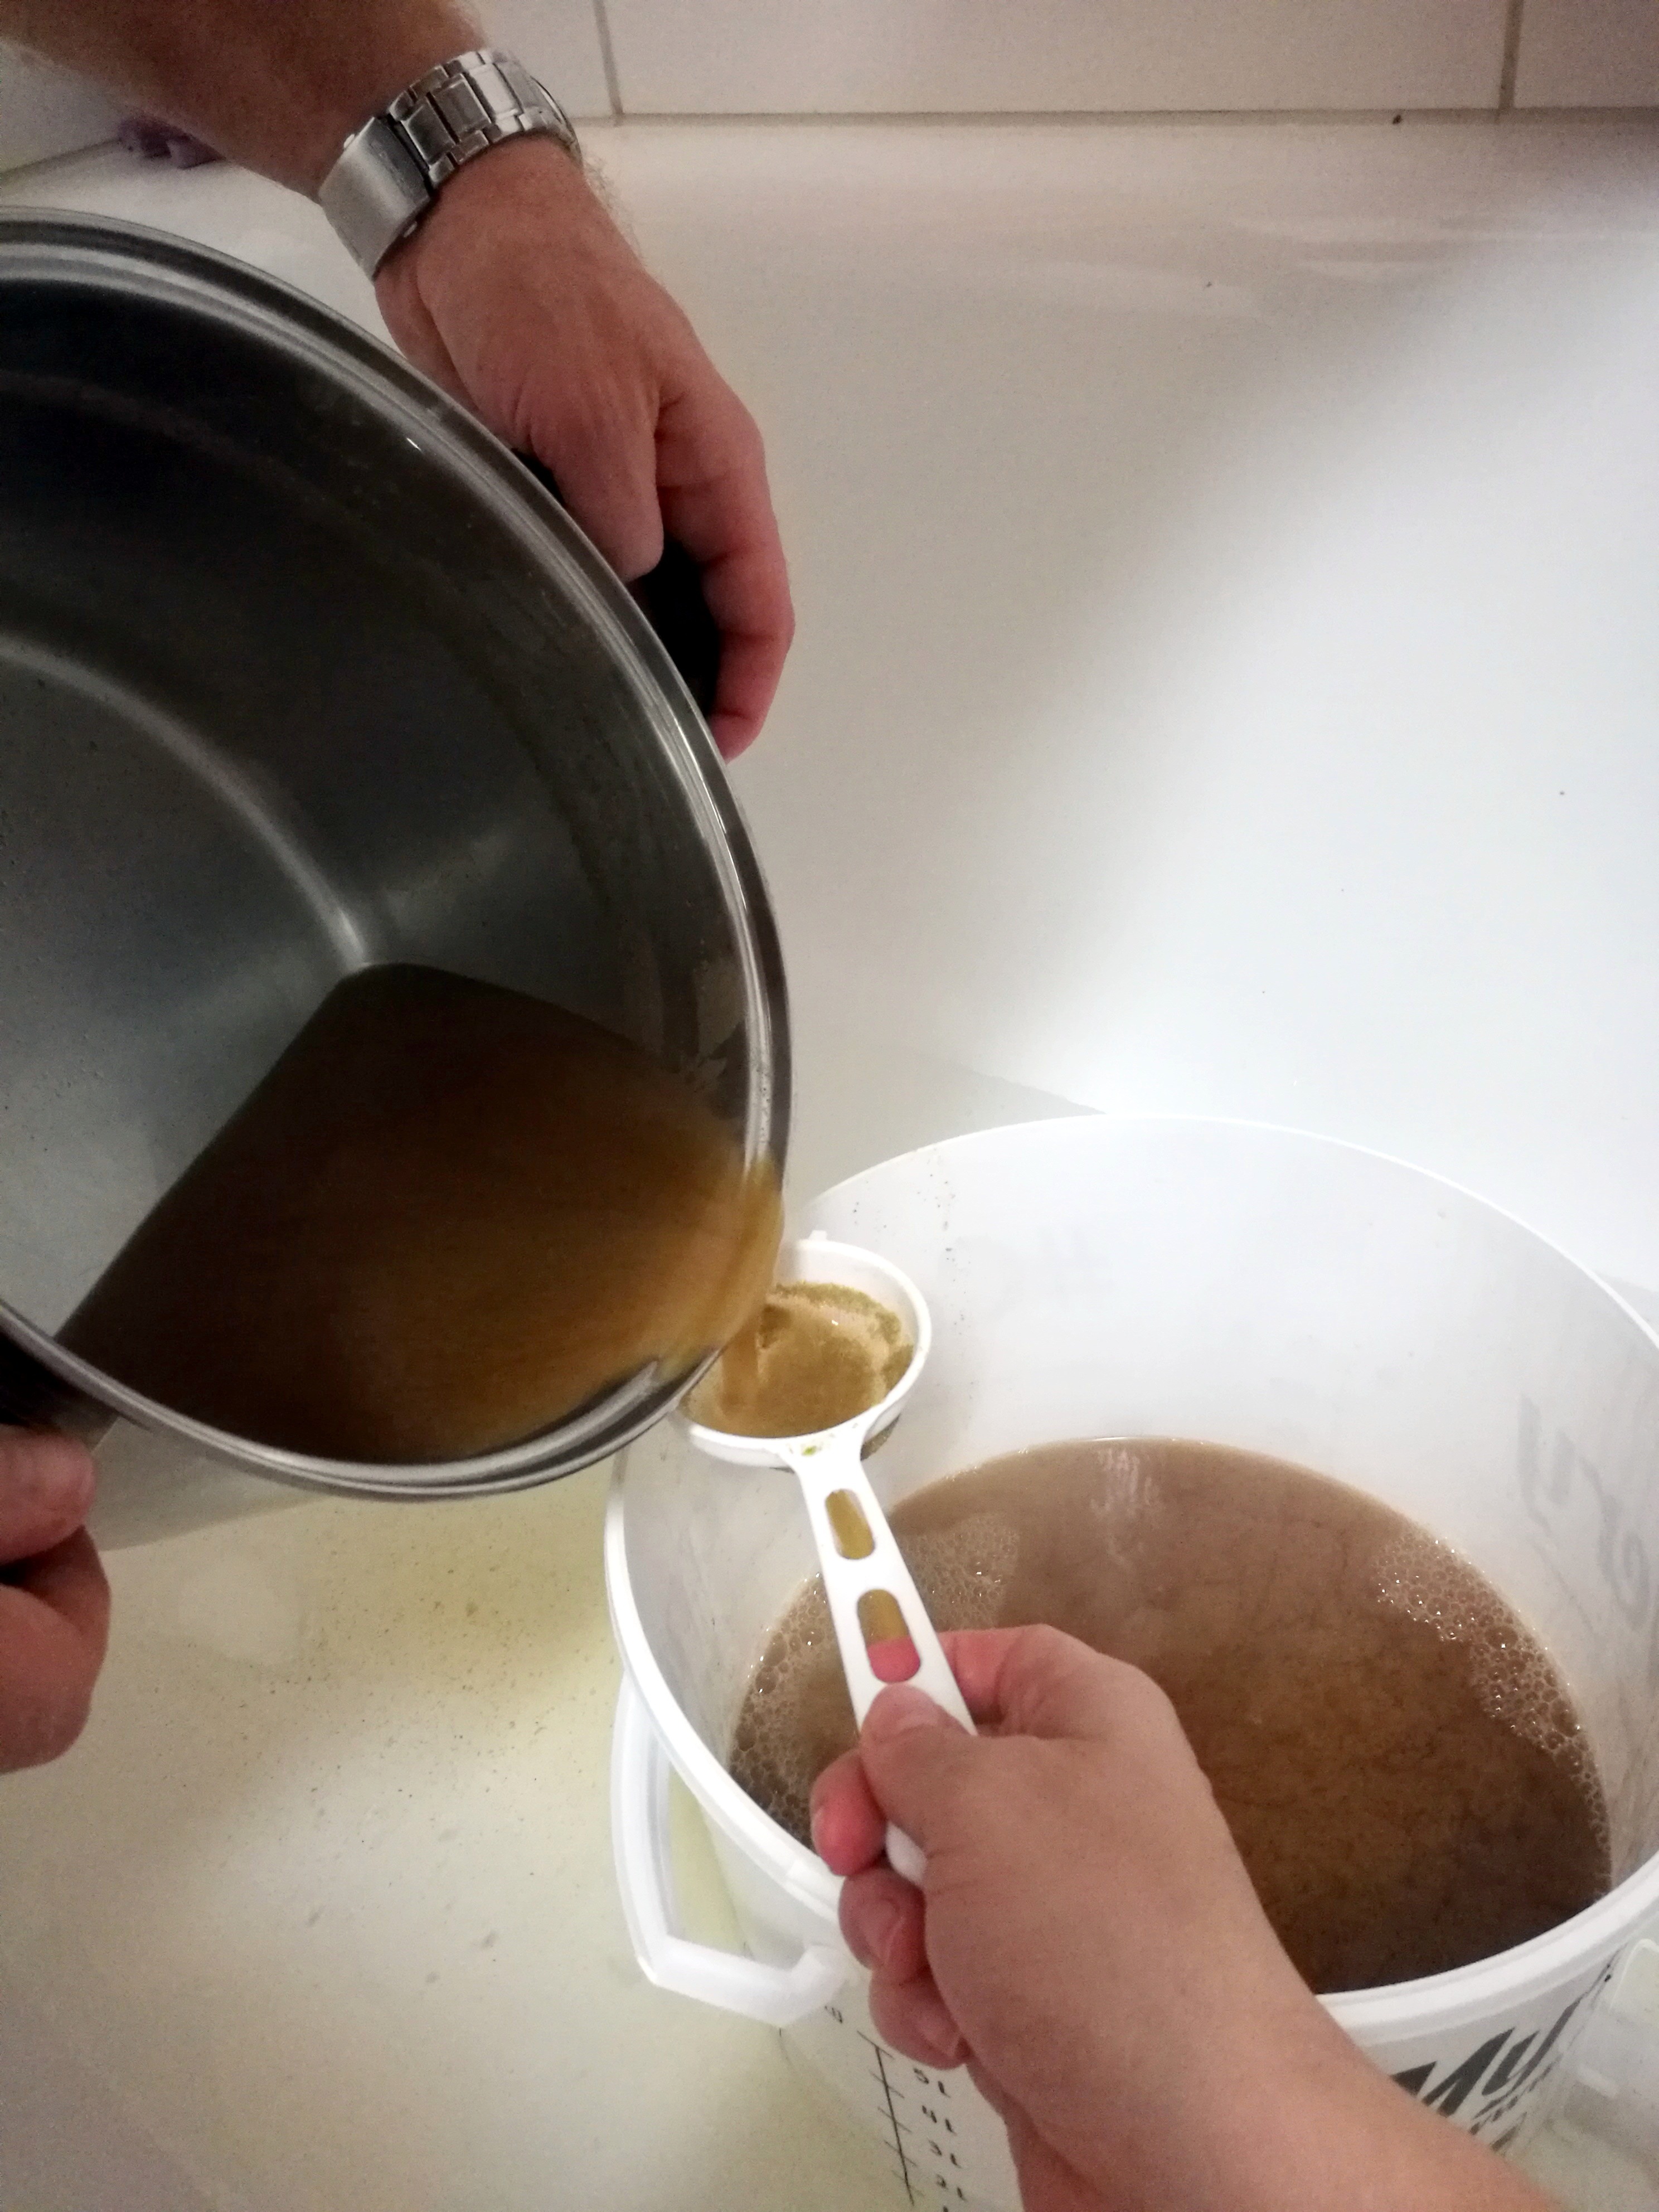
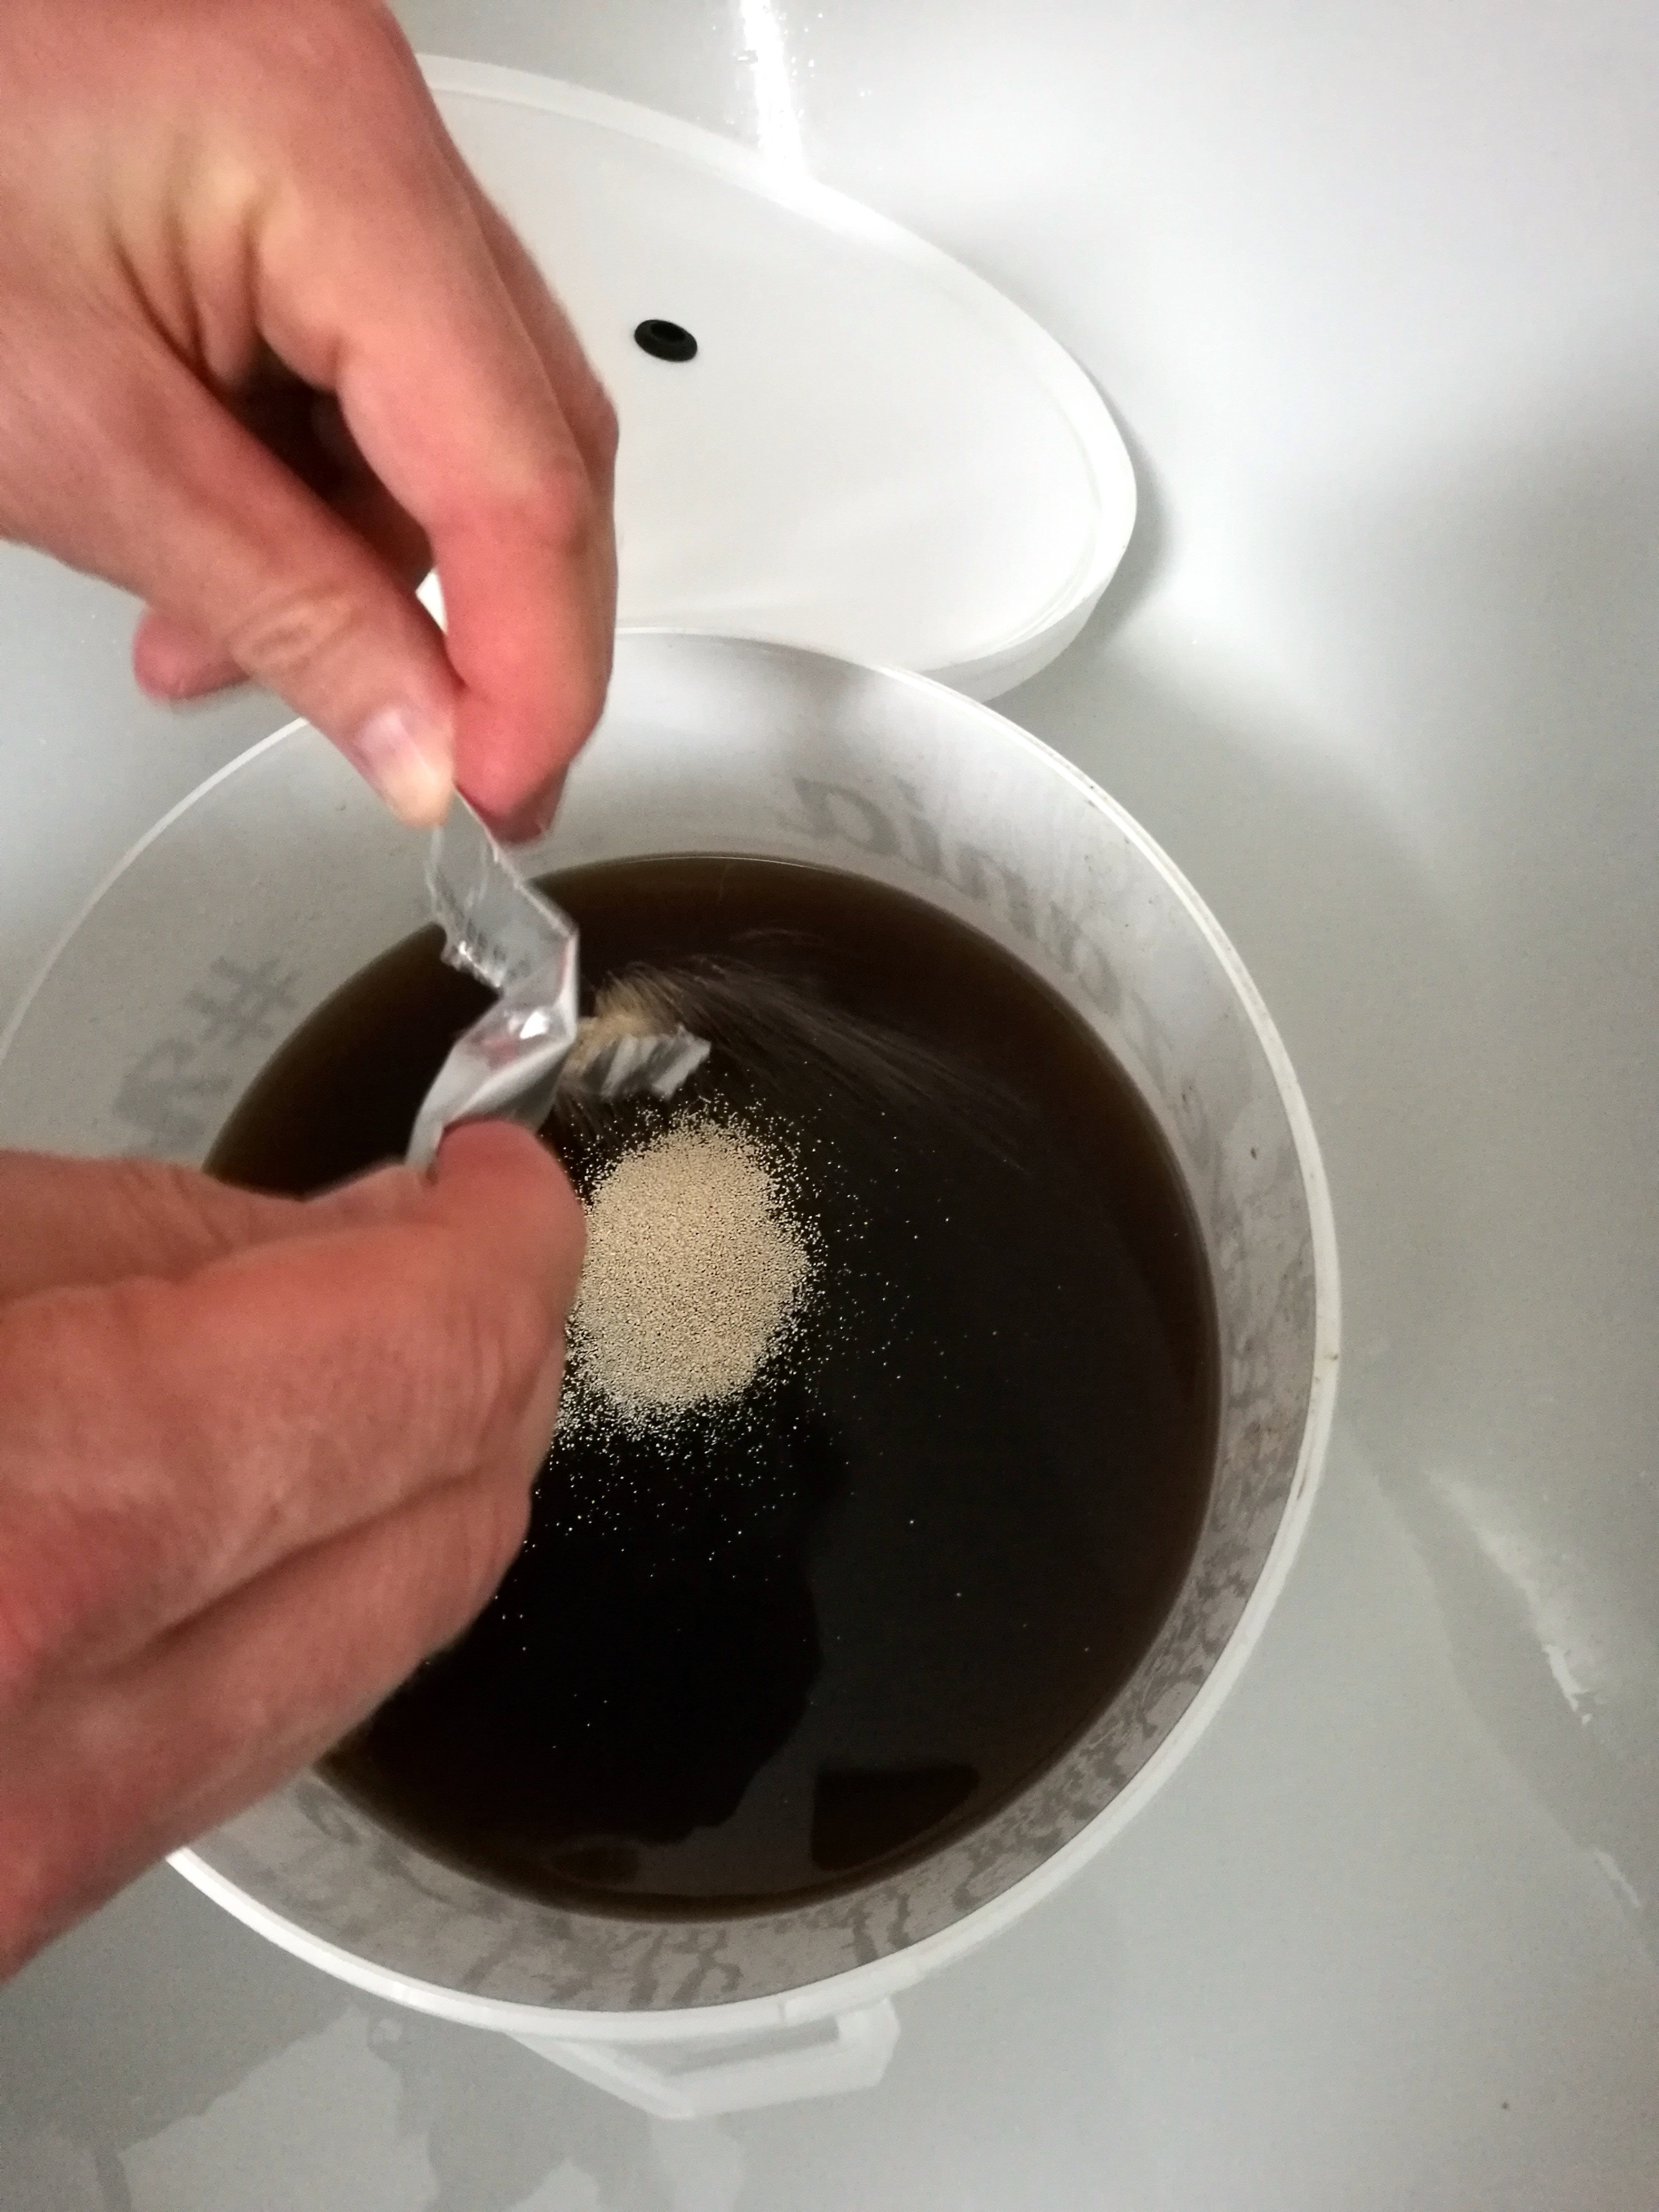
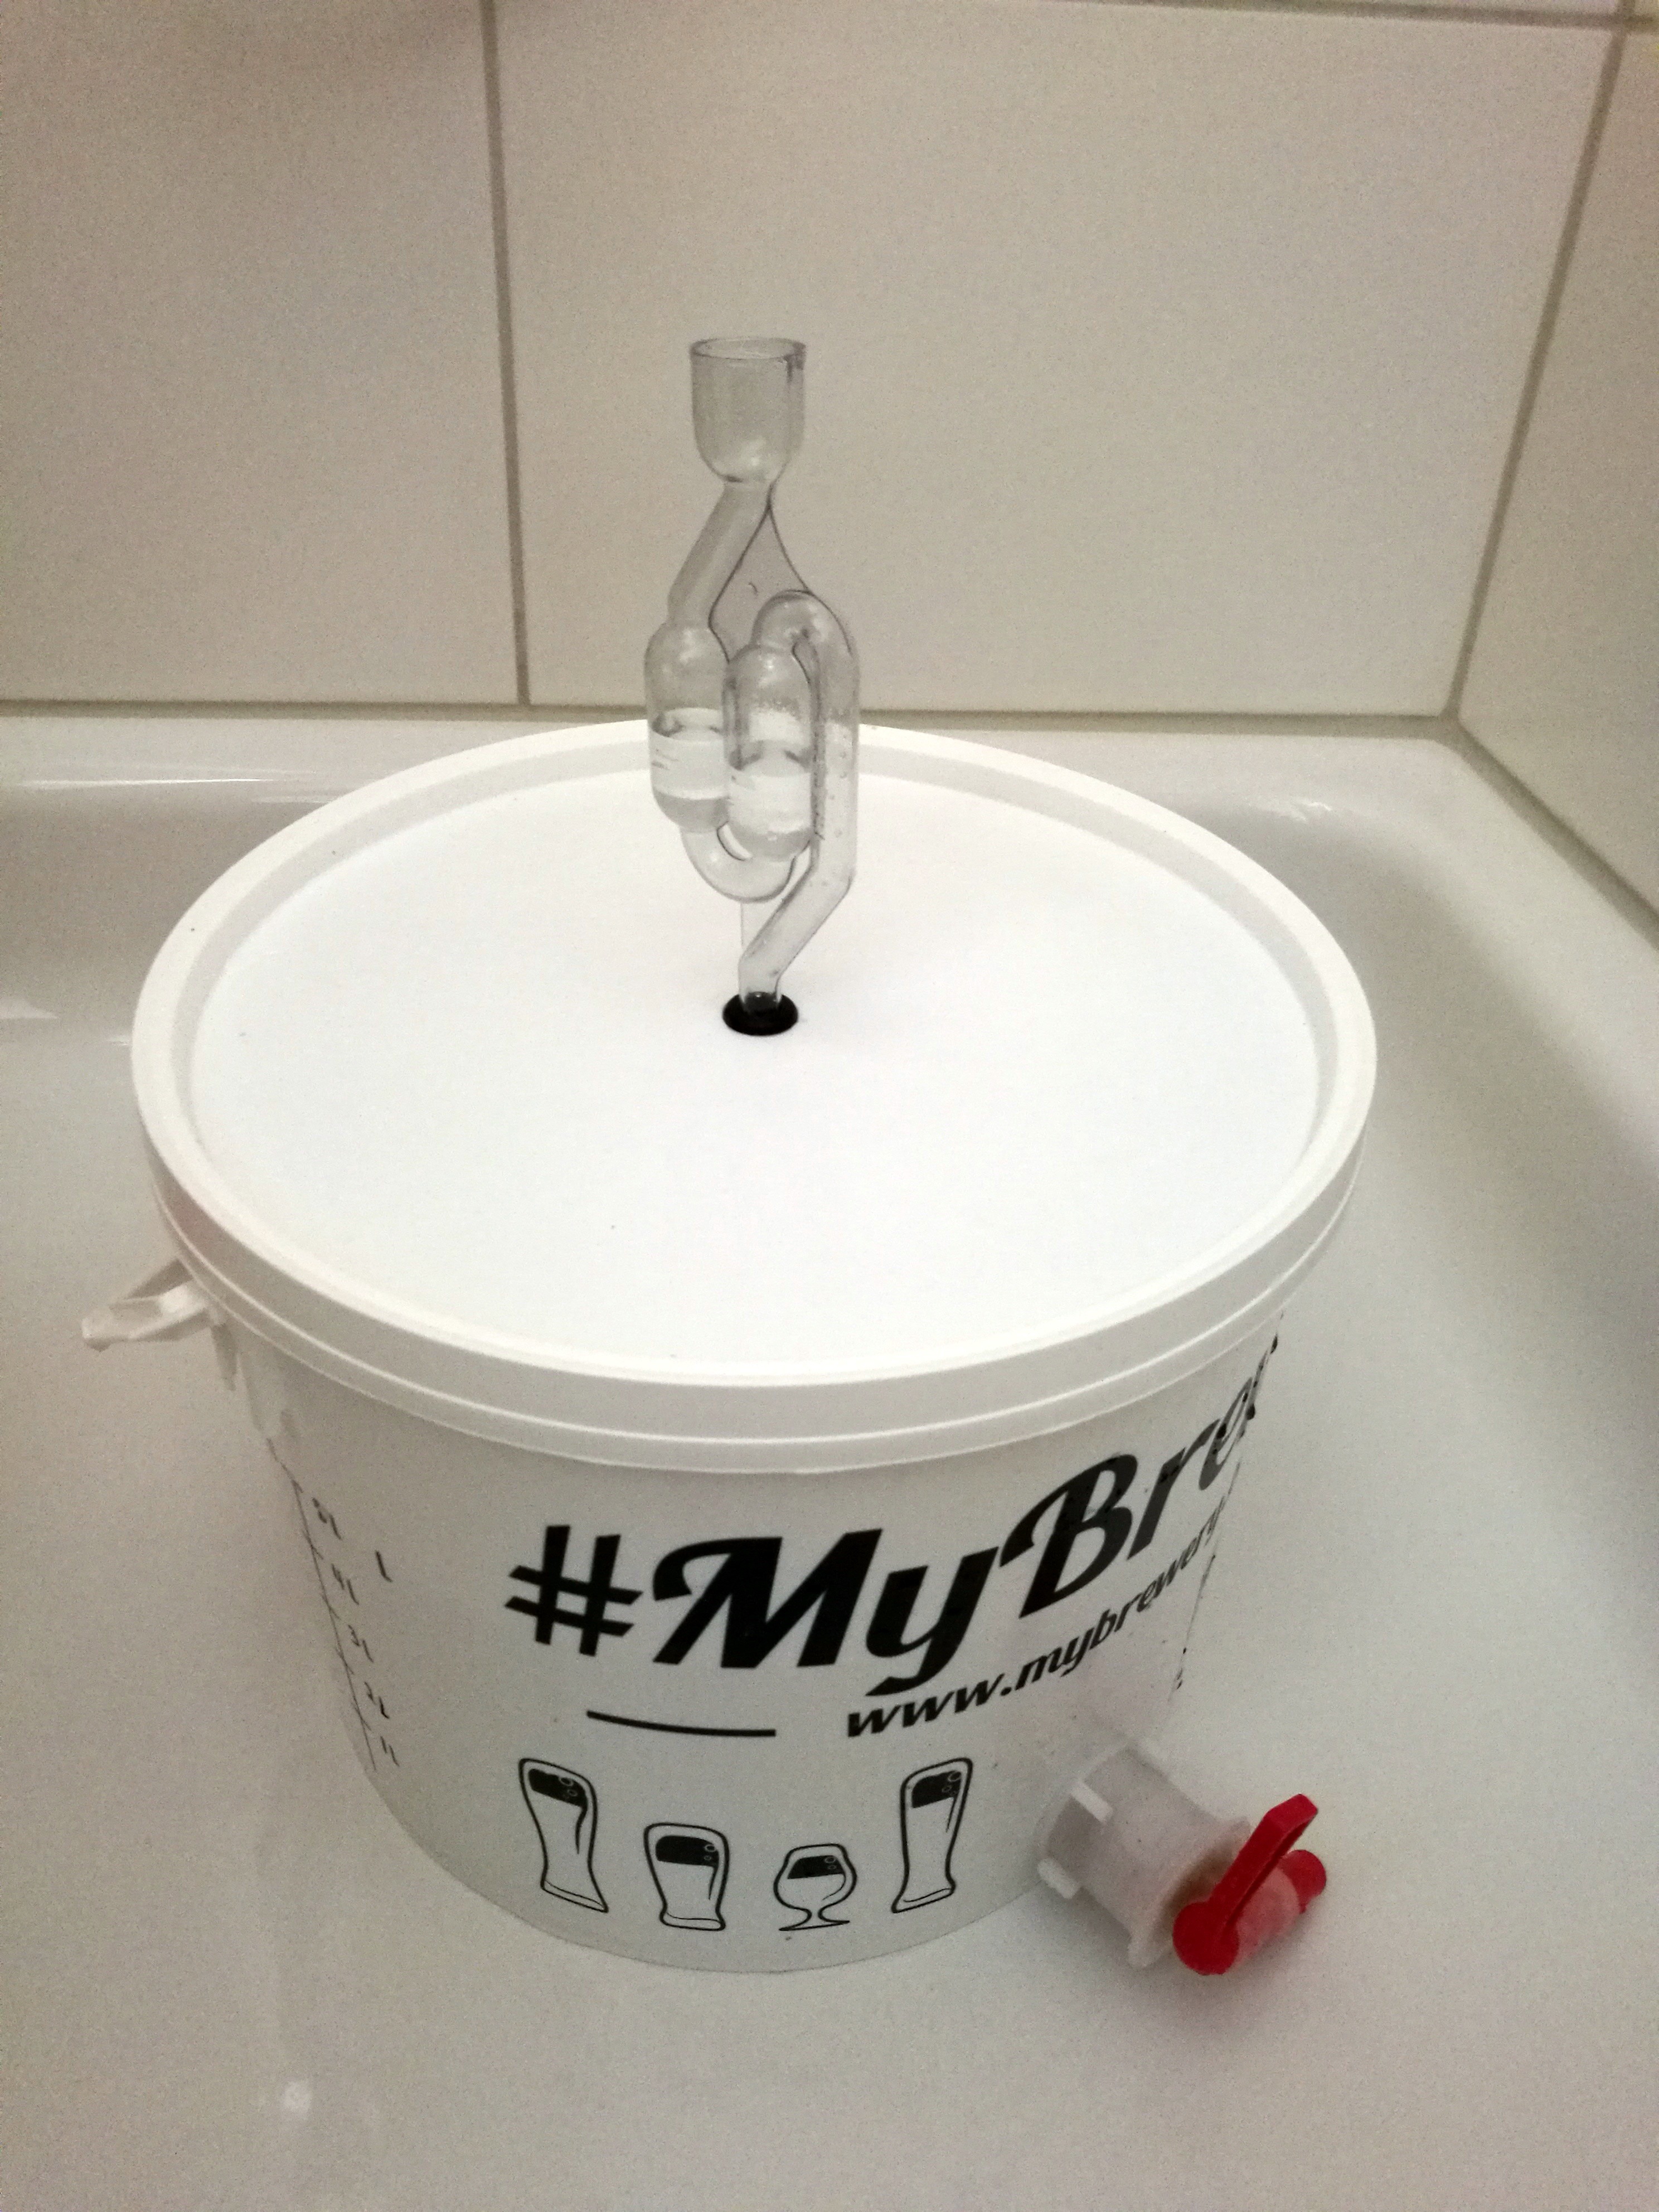
We added a chilled baby water into the mixture to rise its content to 5 liters, while we were still guarding the temperature to be within a given range. Finally, we added yeast, the container was hermetically sealed, and the fermentation lock filled with water was put to a hole in the lid.
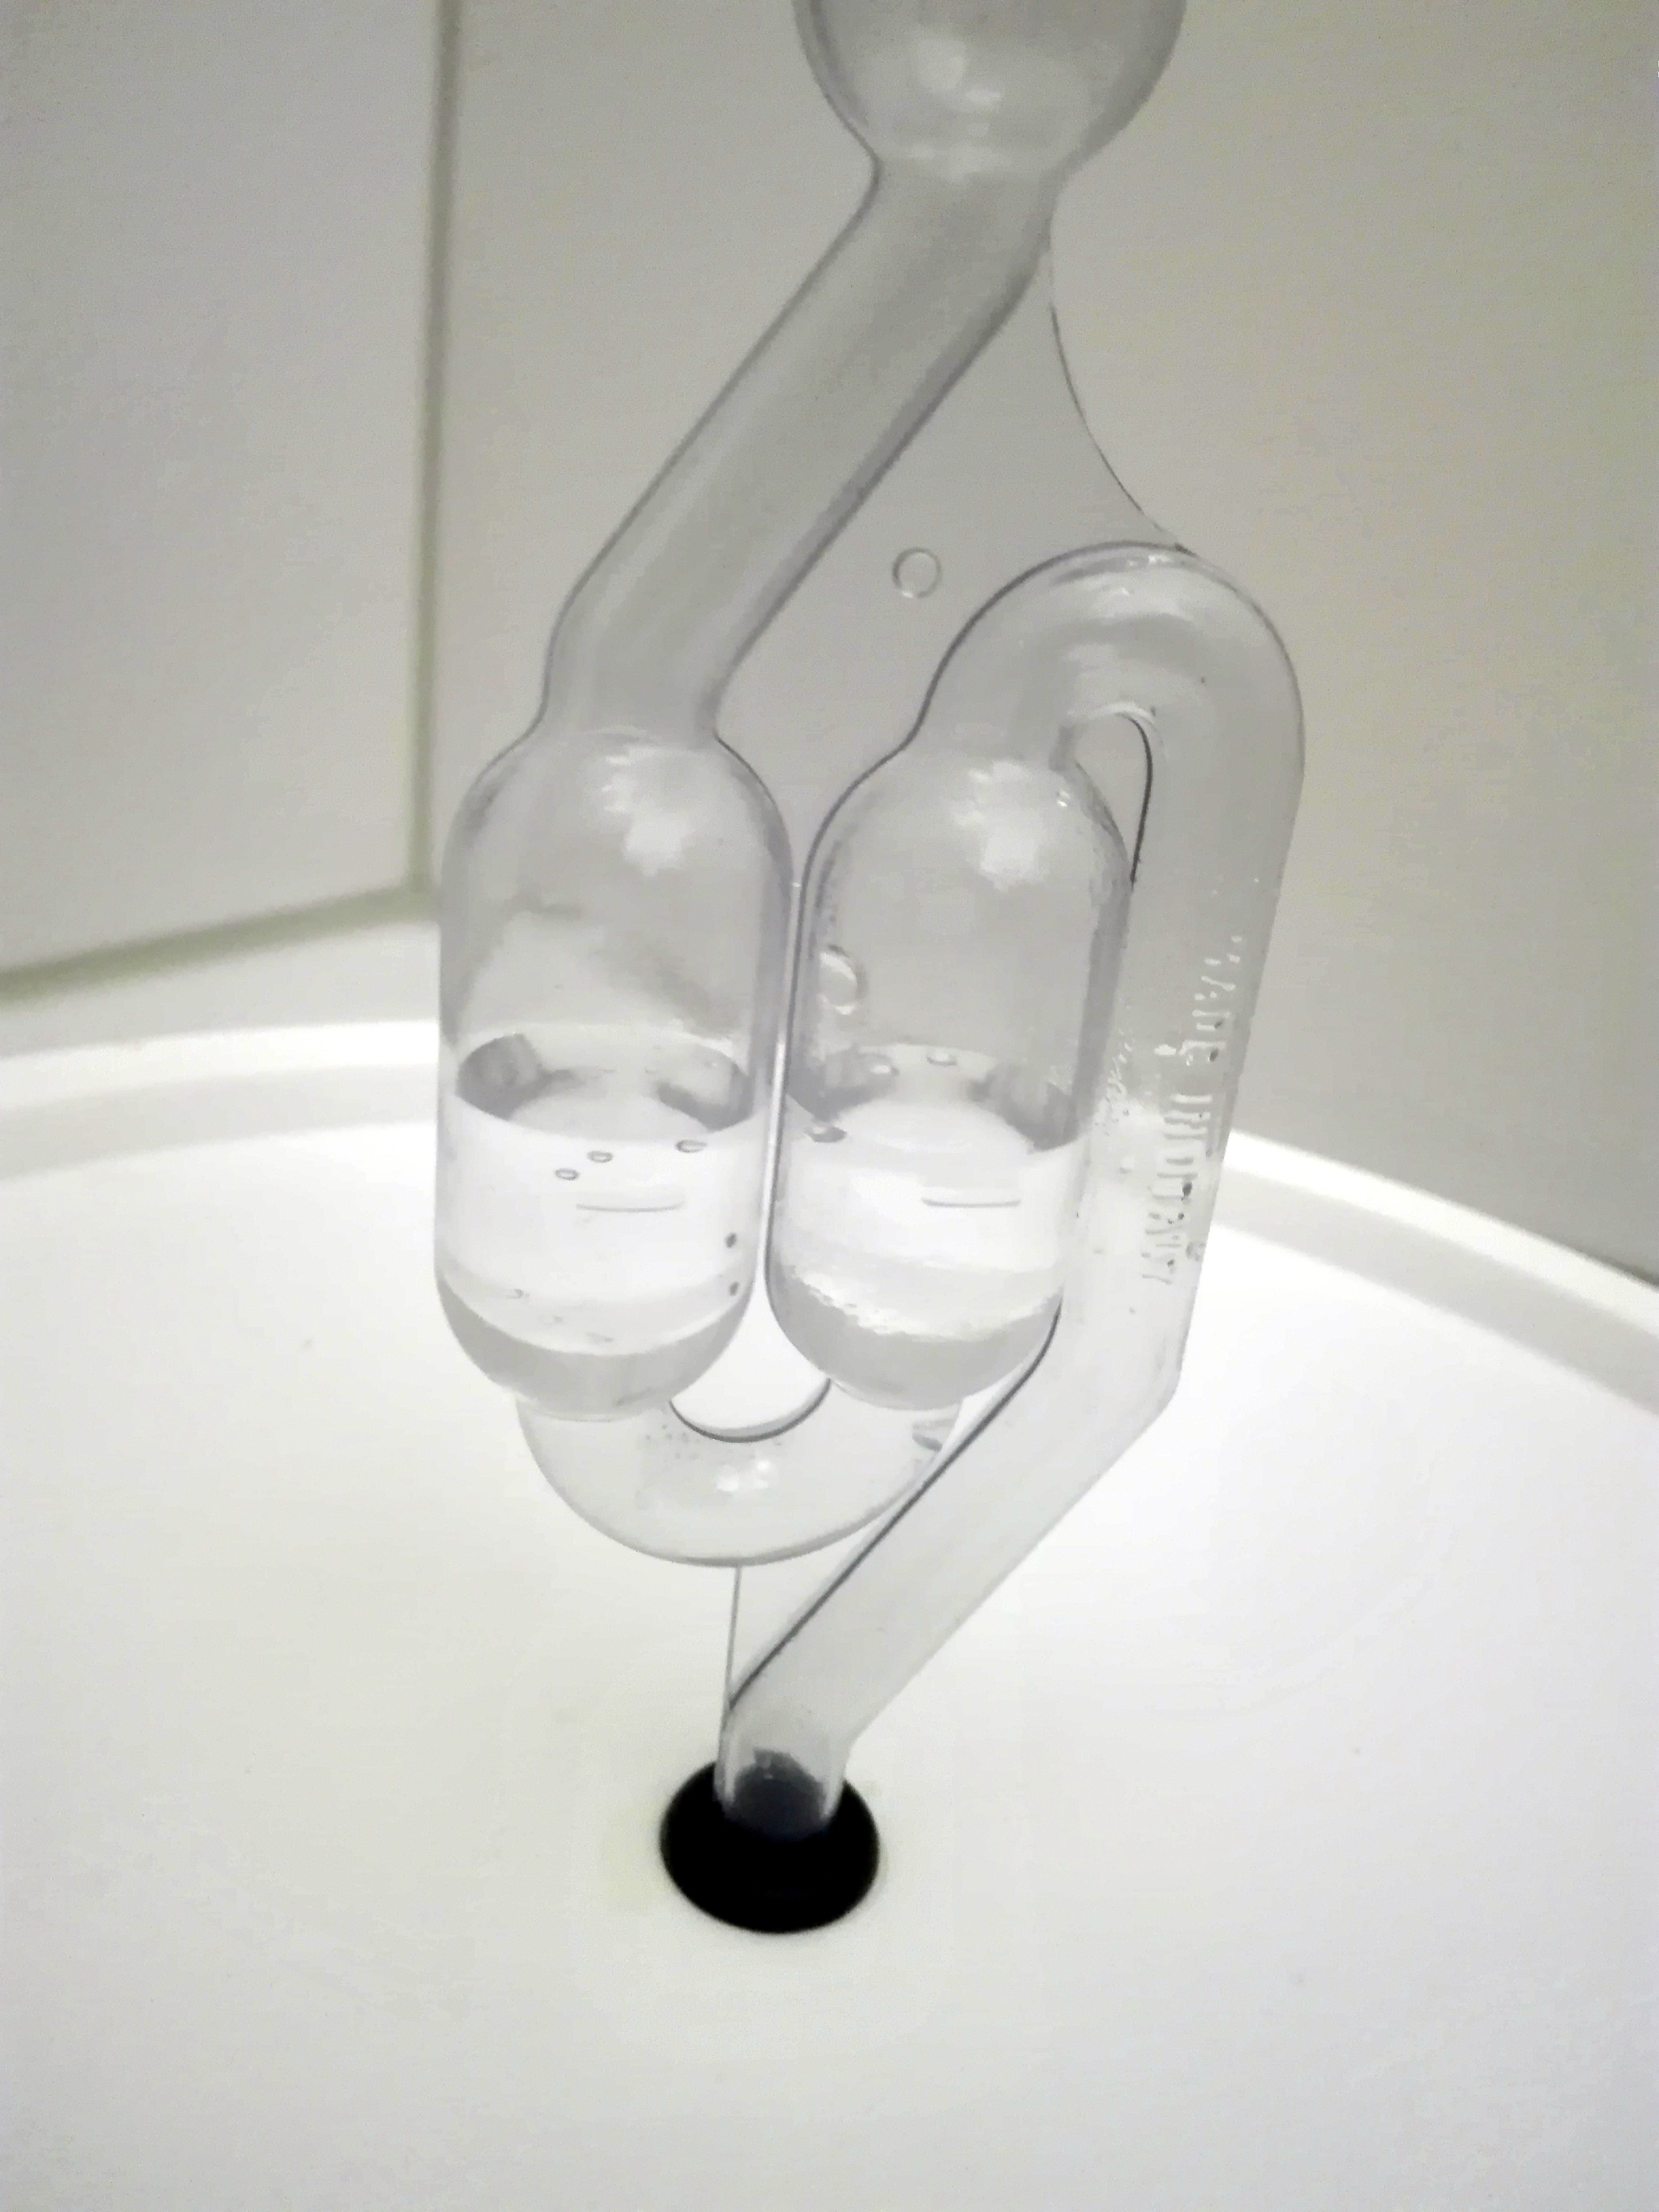
The vessel was now supposed to be stored in a dark room where the temperature ranges from 18 to 25 degrees. We opted for the shower cubicle that we don’t use (I do not mean to sound that we don´t take a shower, God forbid!: O But we have two bathrooms, so we could afford to use one of them as a fermenting room of our microbrewery :)). We pulled the shower curtain around the fermentation vessel, and waited to see what would happen …
Step 2 – Fermenting
We had to wait and check if fermentation is going, which – if the process before had been made in the right way – should have started within two days. If so, every few minutes there should appear a bubble in the airlock. Unfortunately, we are not chemists, and we were not sure if the fermentation is going properly (even though we spend countless minutes observing the fermentation lock), so after few days we decided to add another dose of yeast. And voilà!
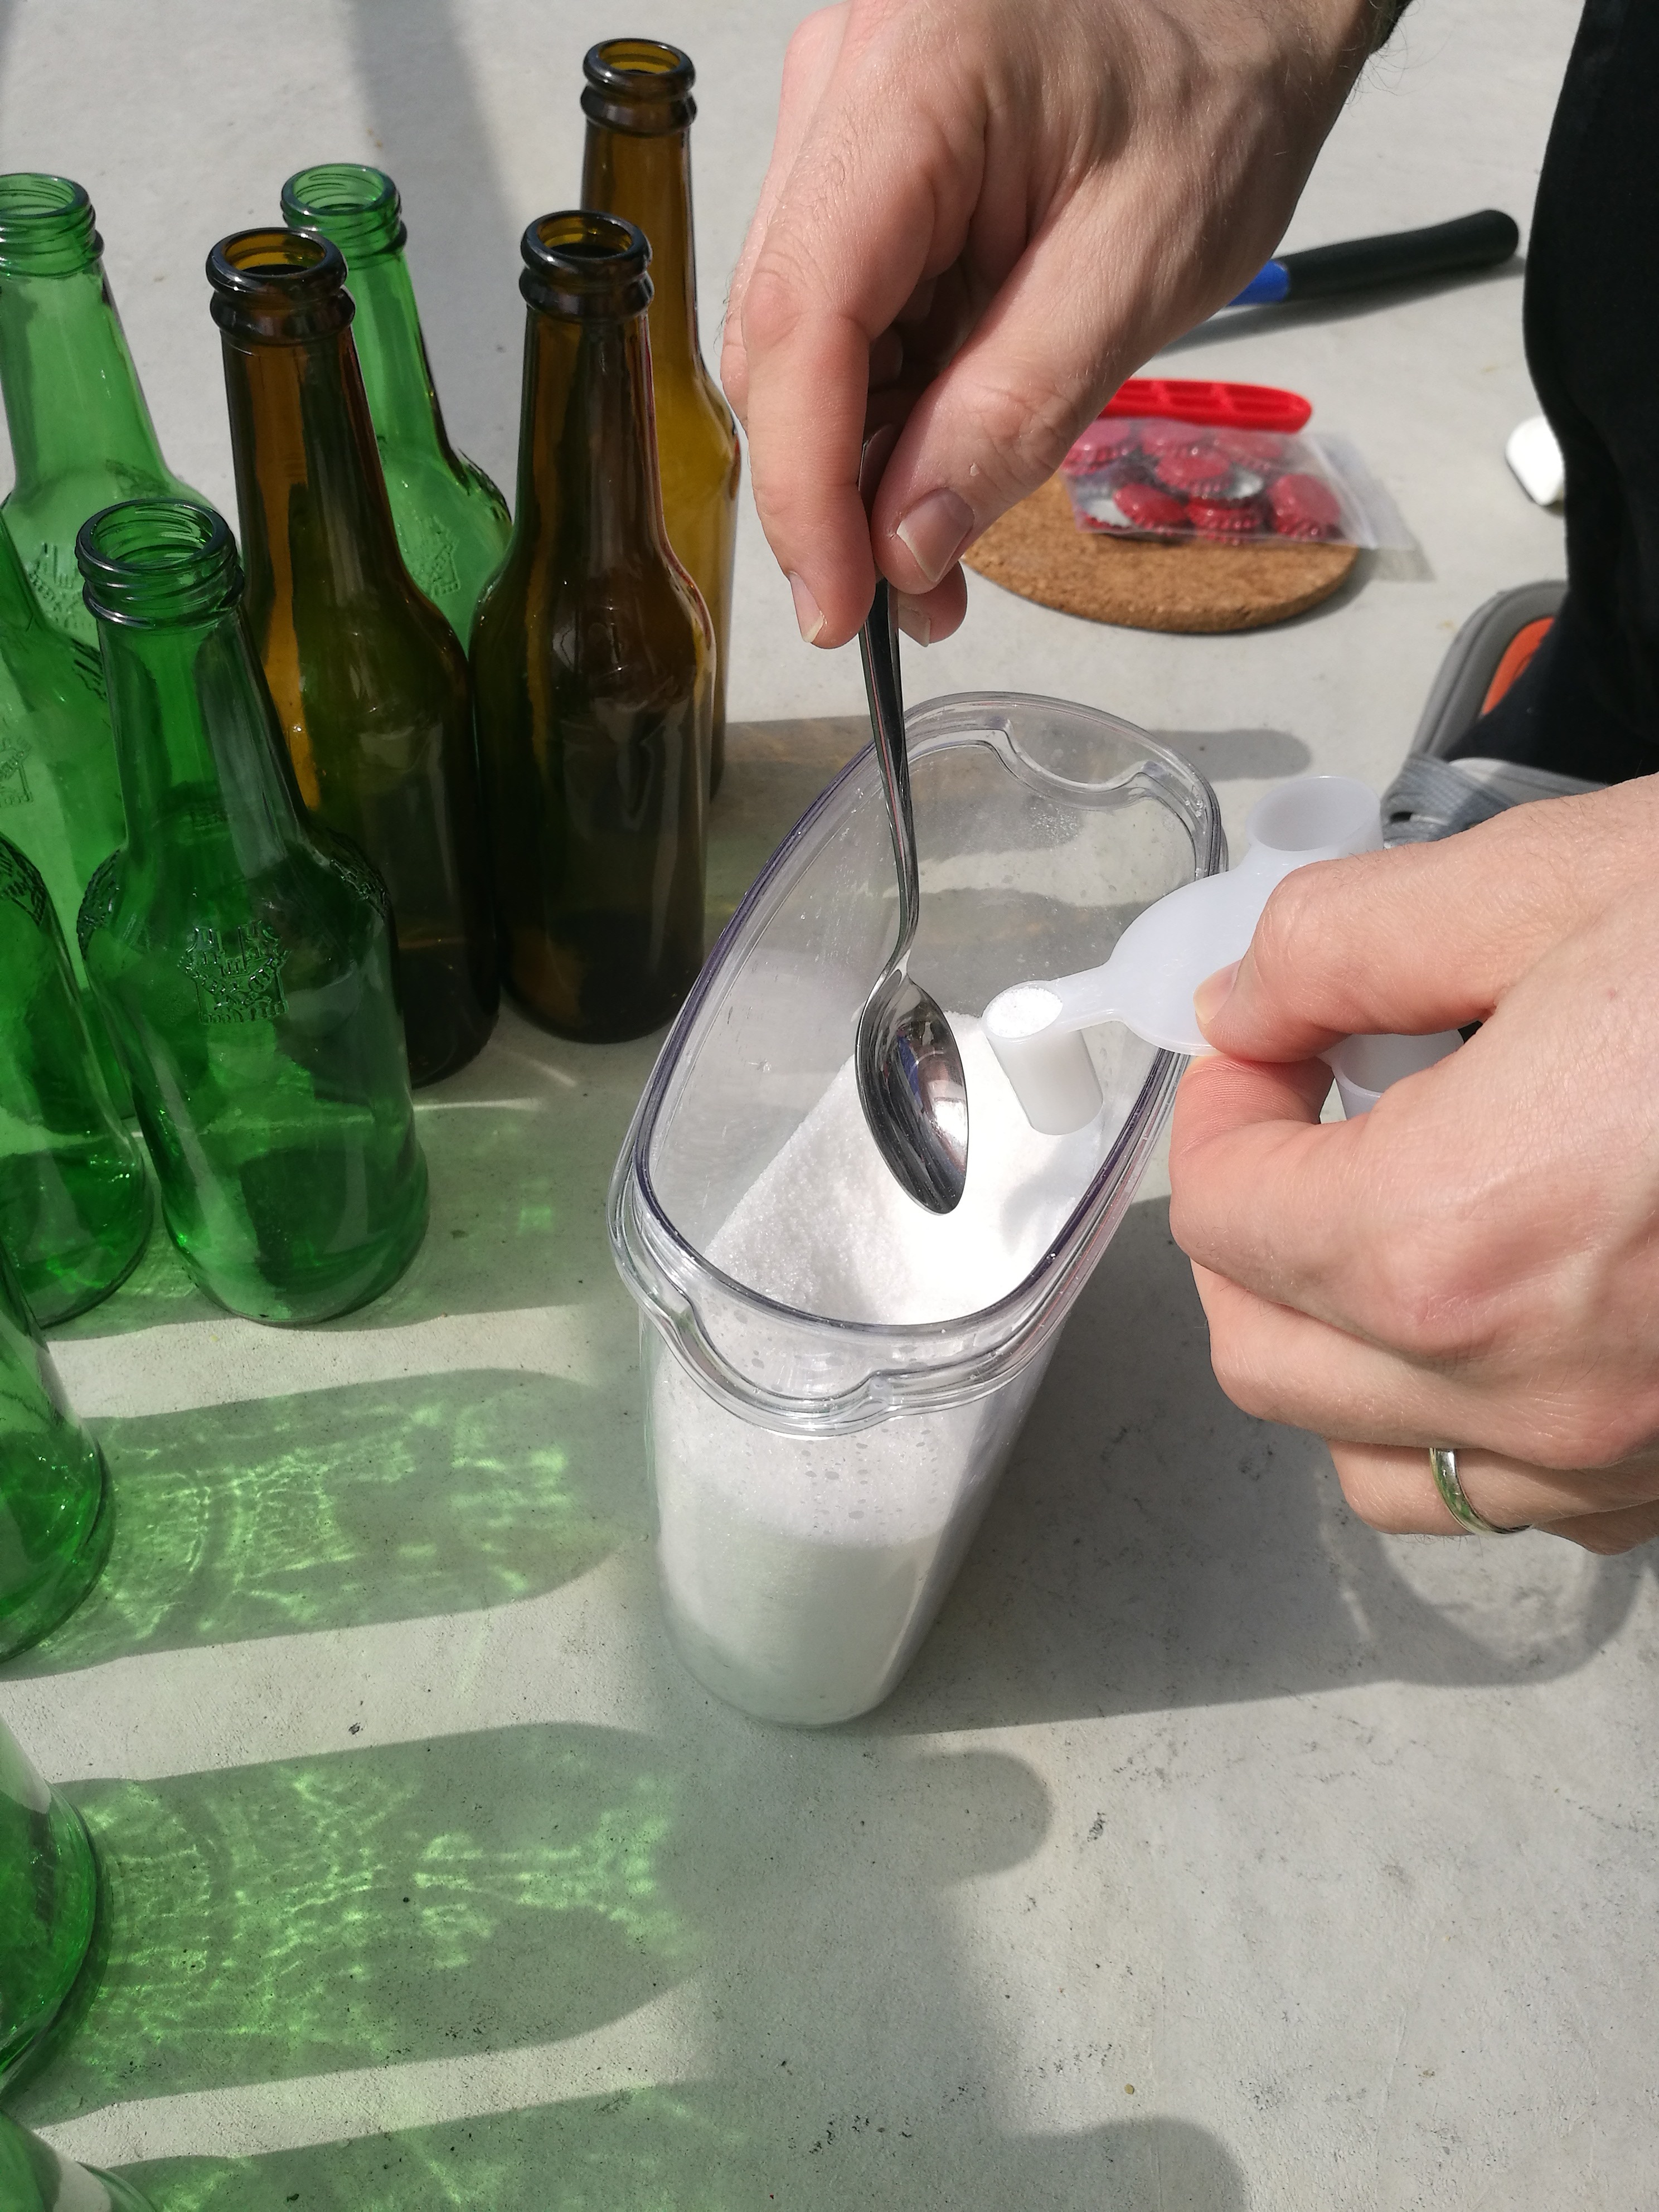
Step 3 – Bottling
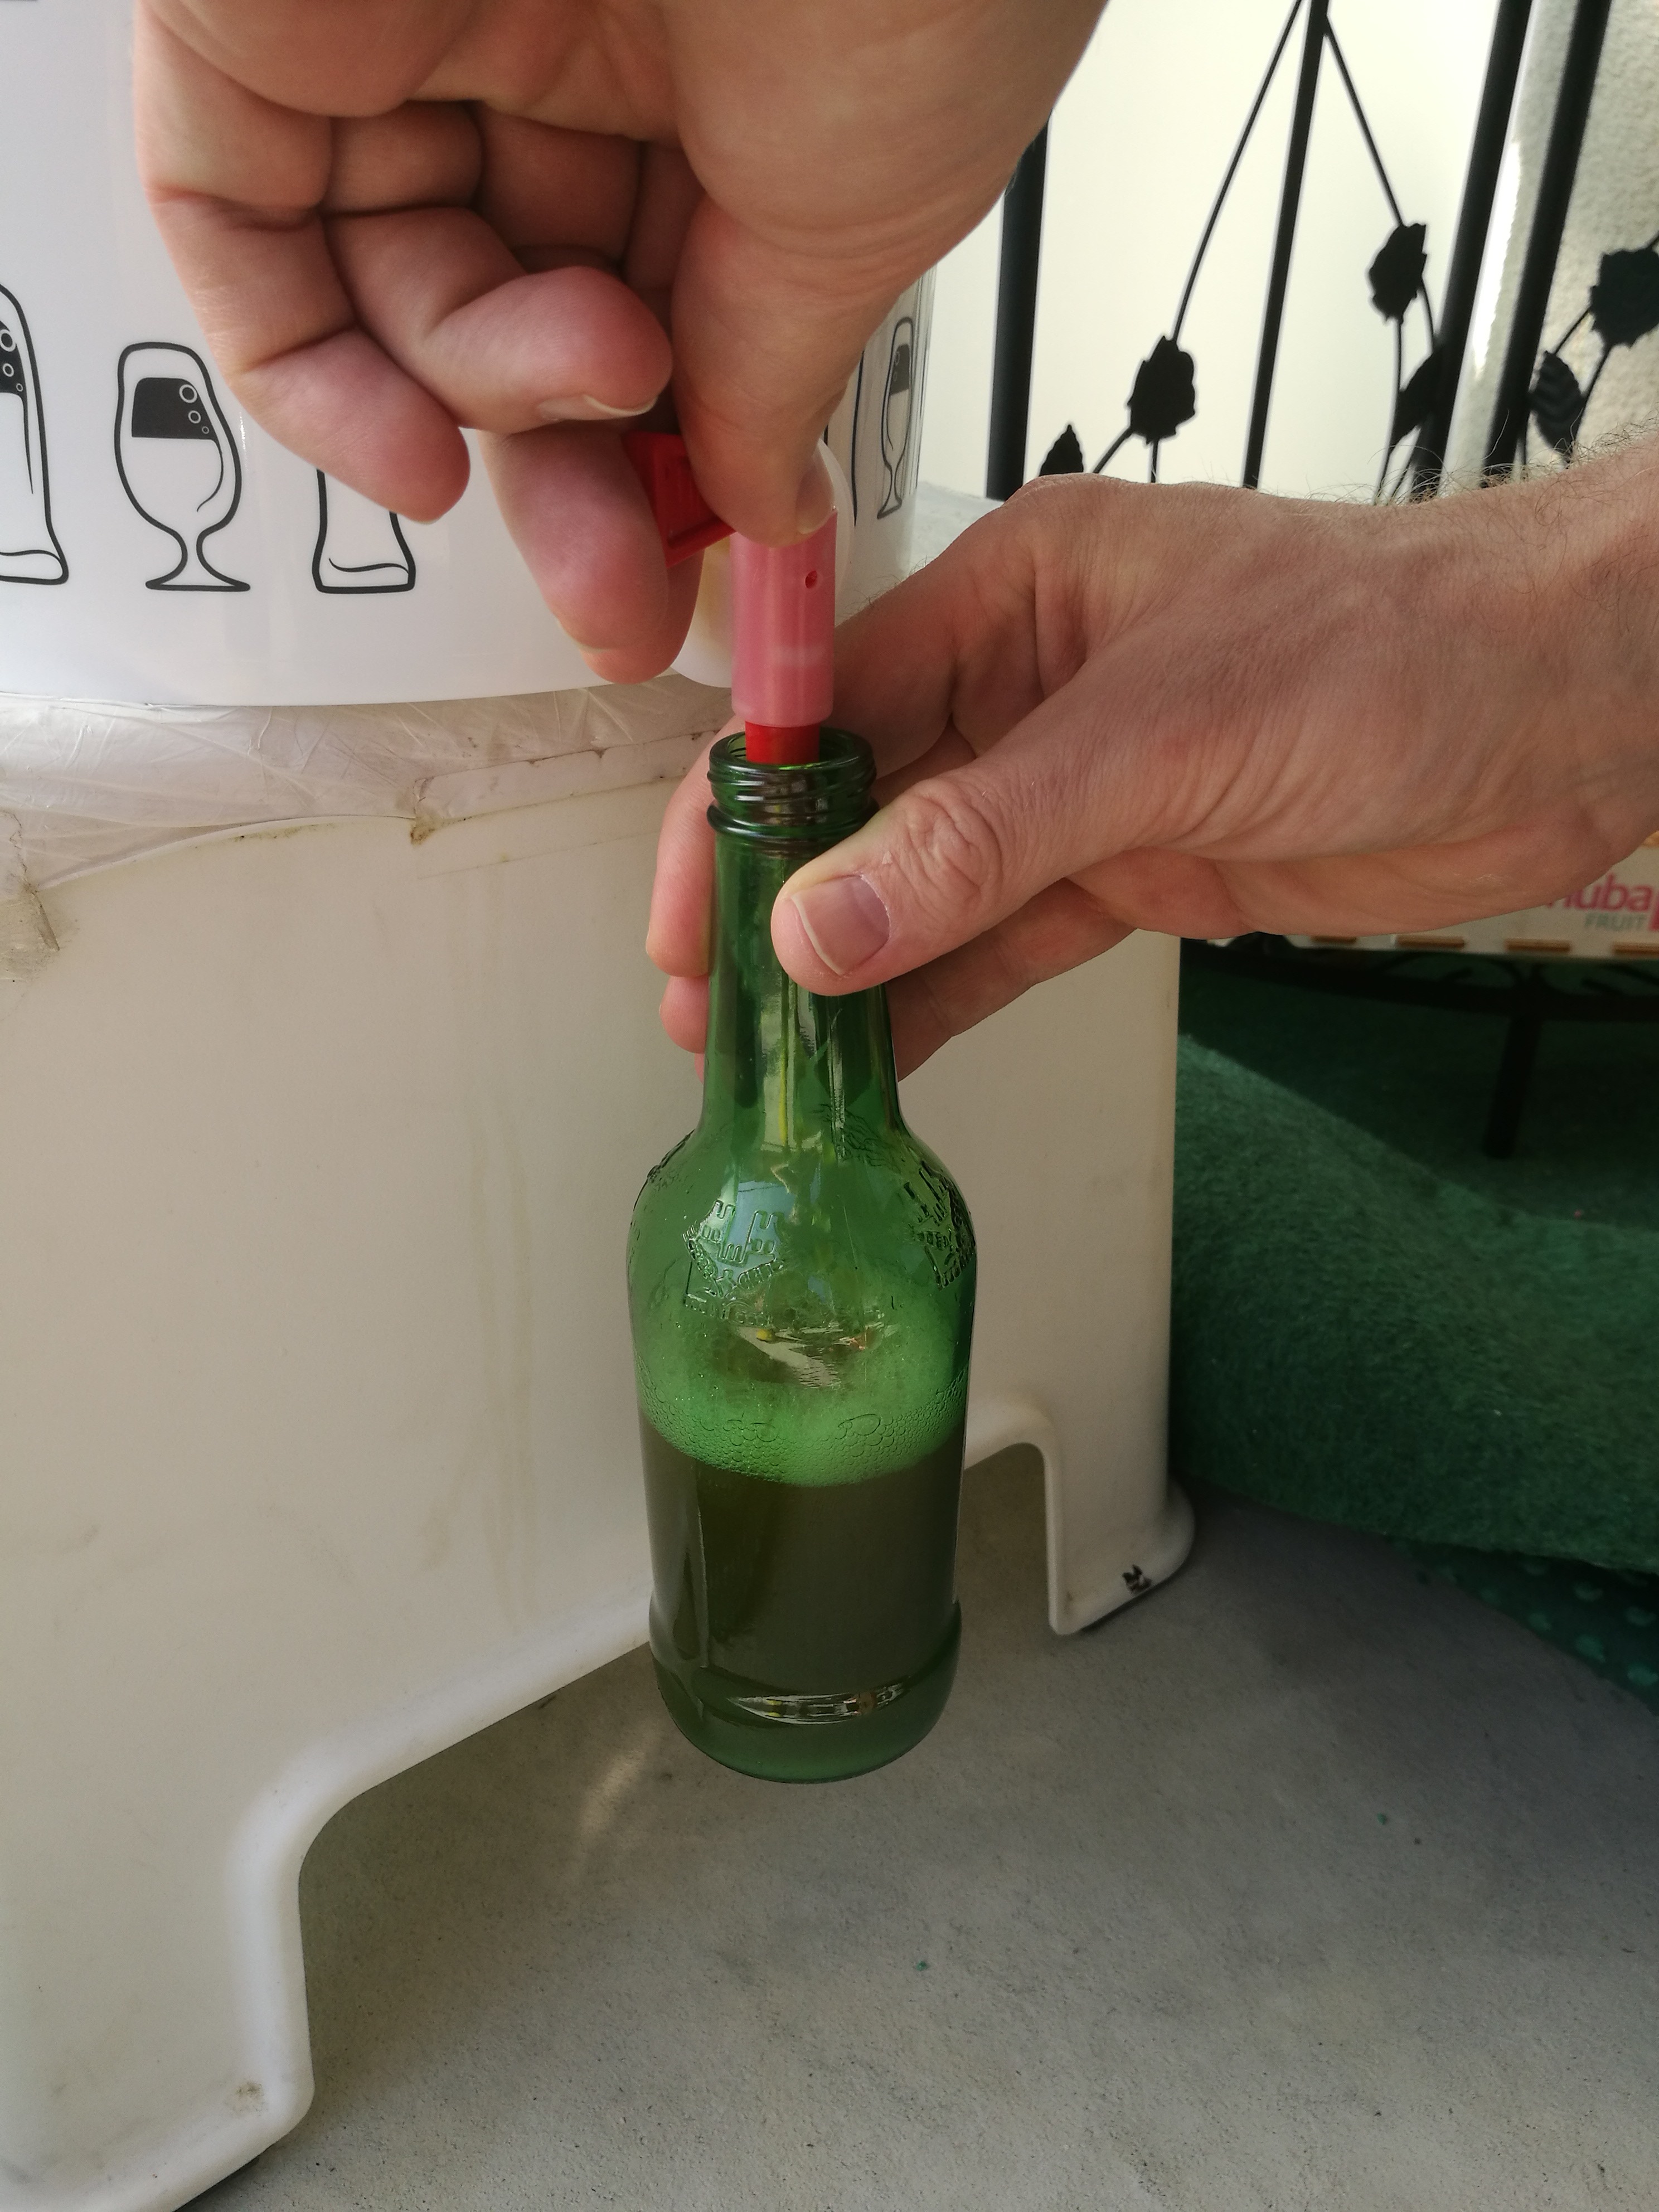
After six days we could move to the next phase of the process when we could finally start bottling the fermented liquid. Before, it was necessary to sprinkle an exact amount of sugar in bottles in order to start a subsequent chemical process in which bubbles, or carbon dioxide, are formed. It really has to be the exact amount of sugar, because if you put more, the bottle could “pop”.
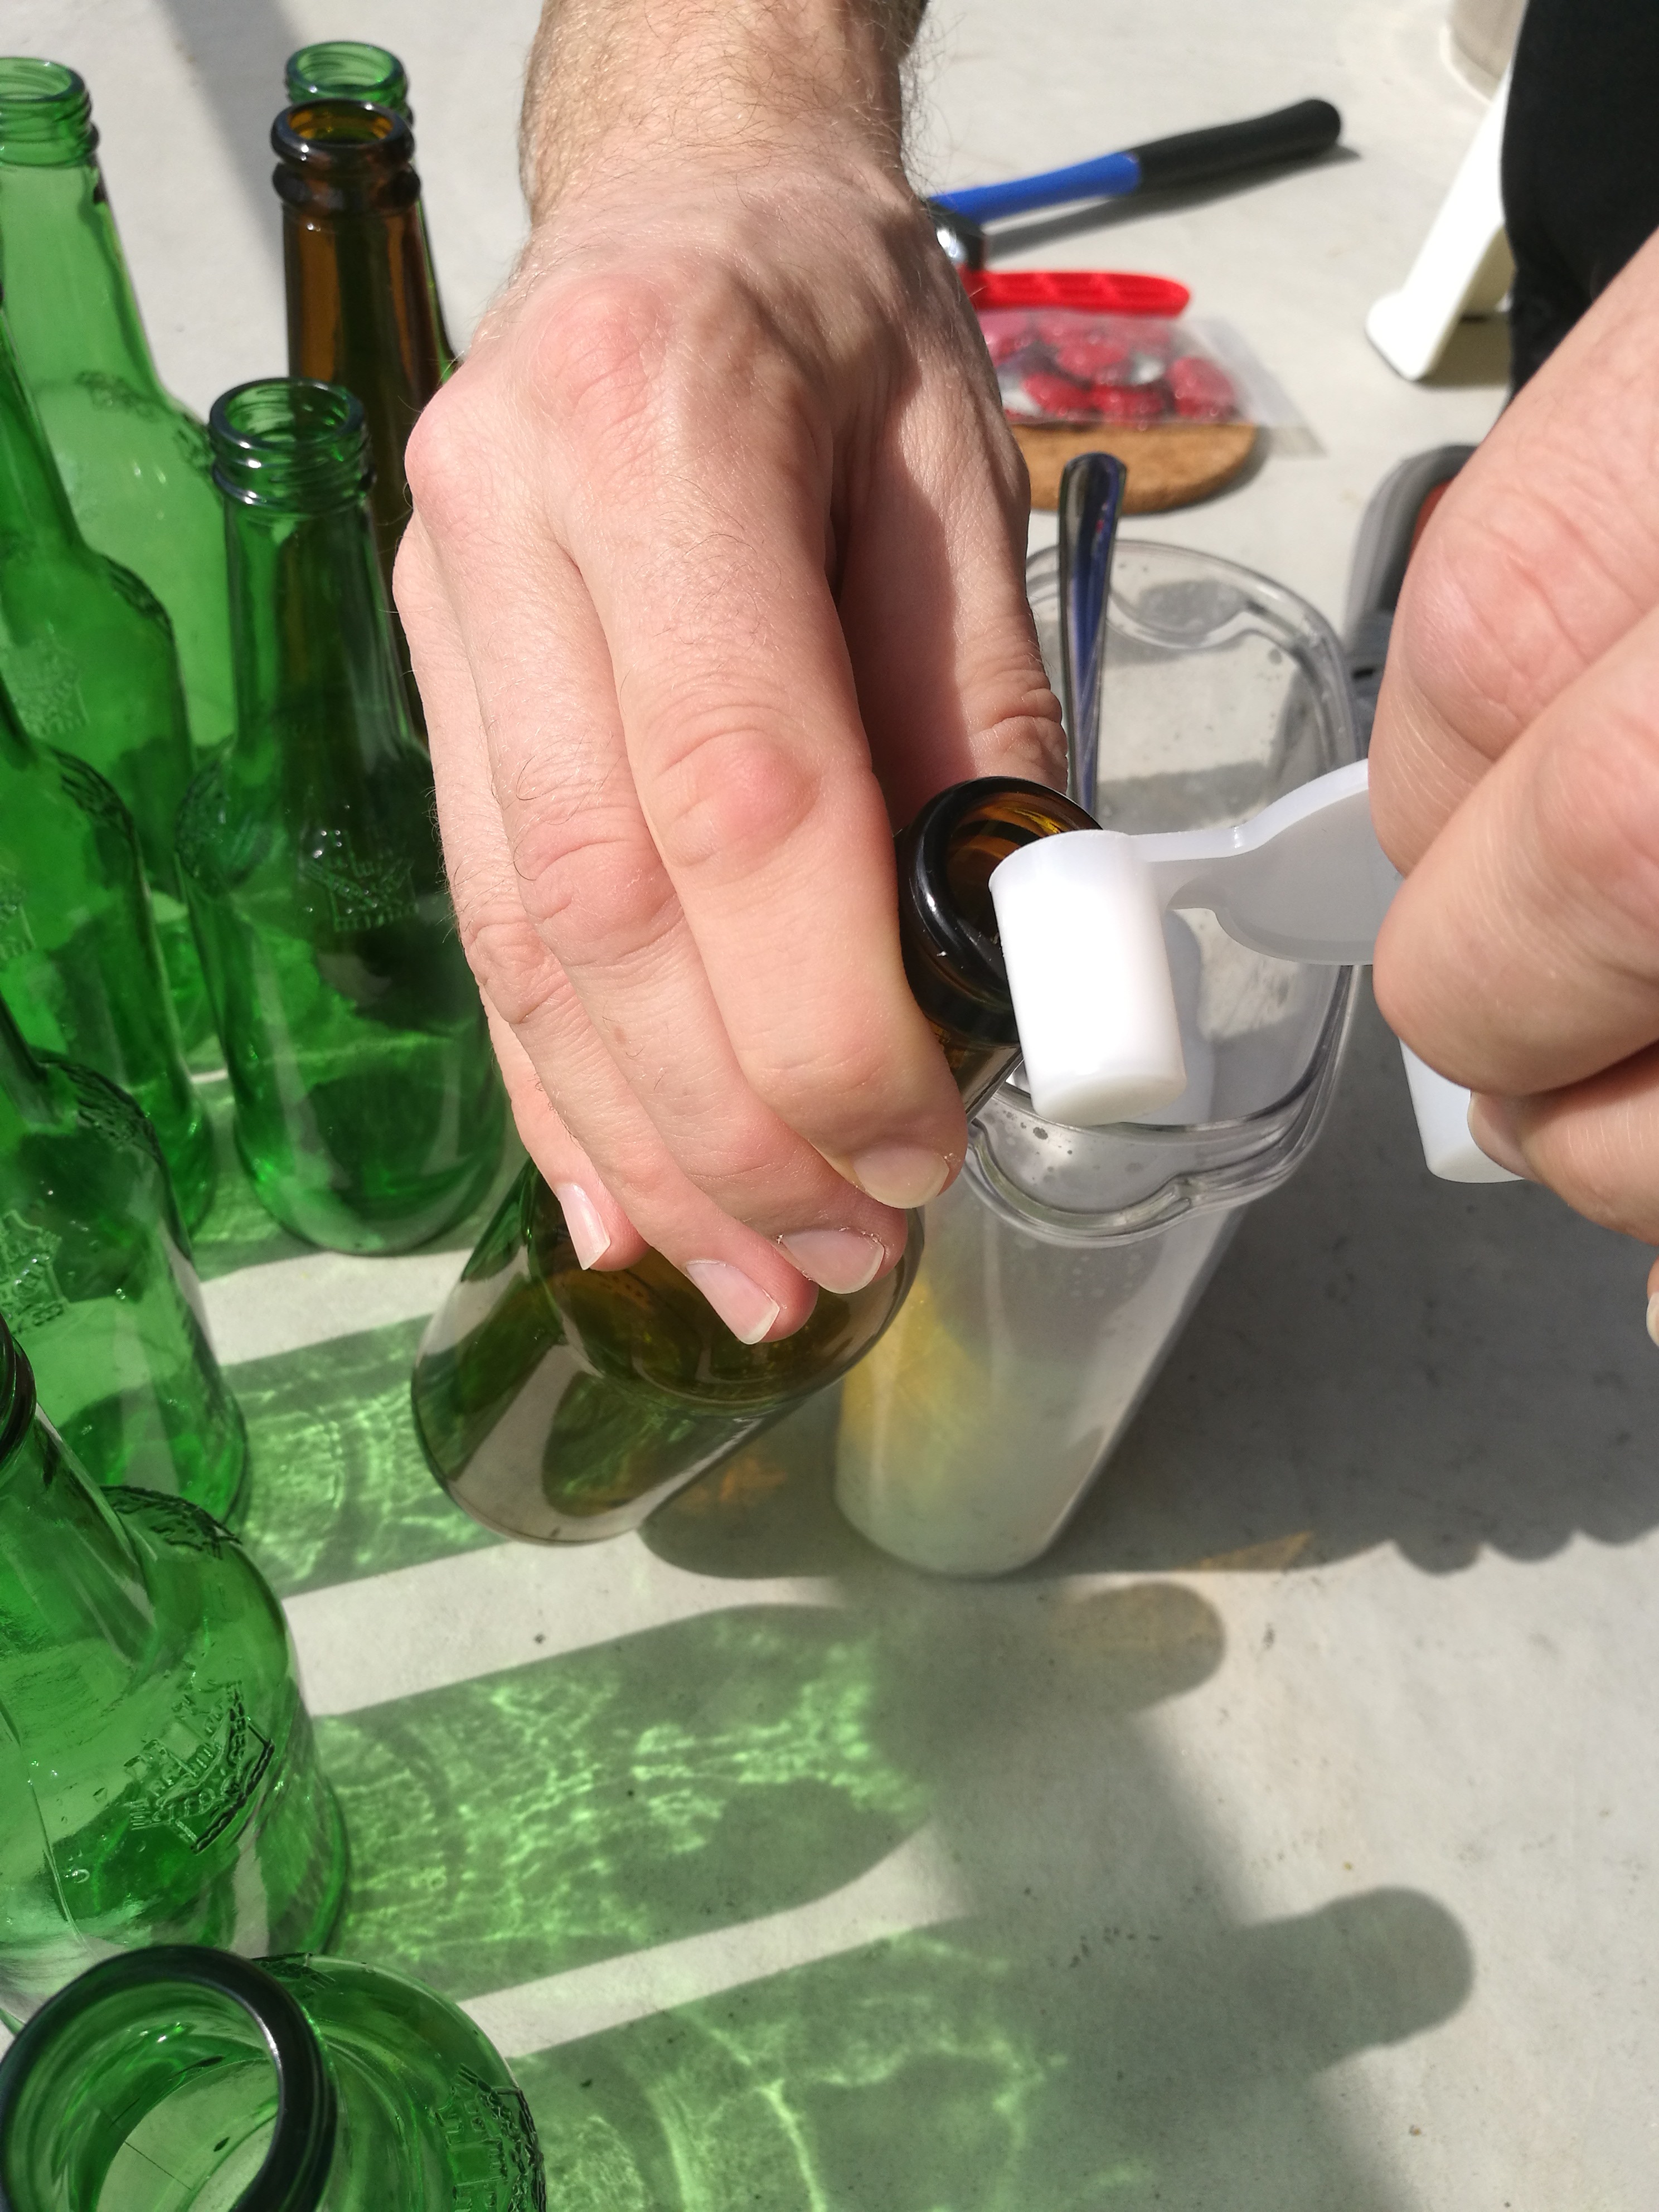
Bottling was a similar ceremony like boiling 🙂
Subsequent capping turned out to be a bit complicated, as crown corks, which were part of the package, didn´t exactly fit the bottles. So my husband used a little more power and three bottles (unfortunately with their contents), ended up in the trash. Too bad 🙁 But next time, we know that we should rather used a rubber or wooden hammer for capping.
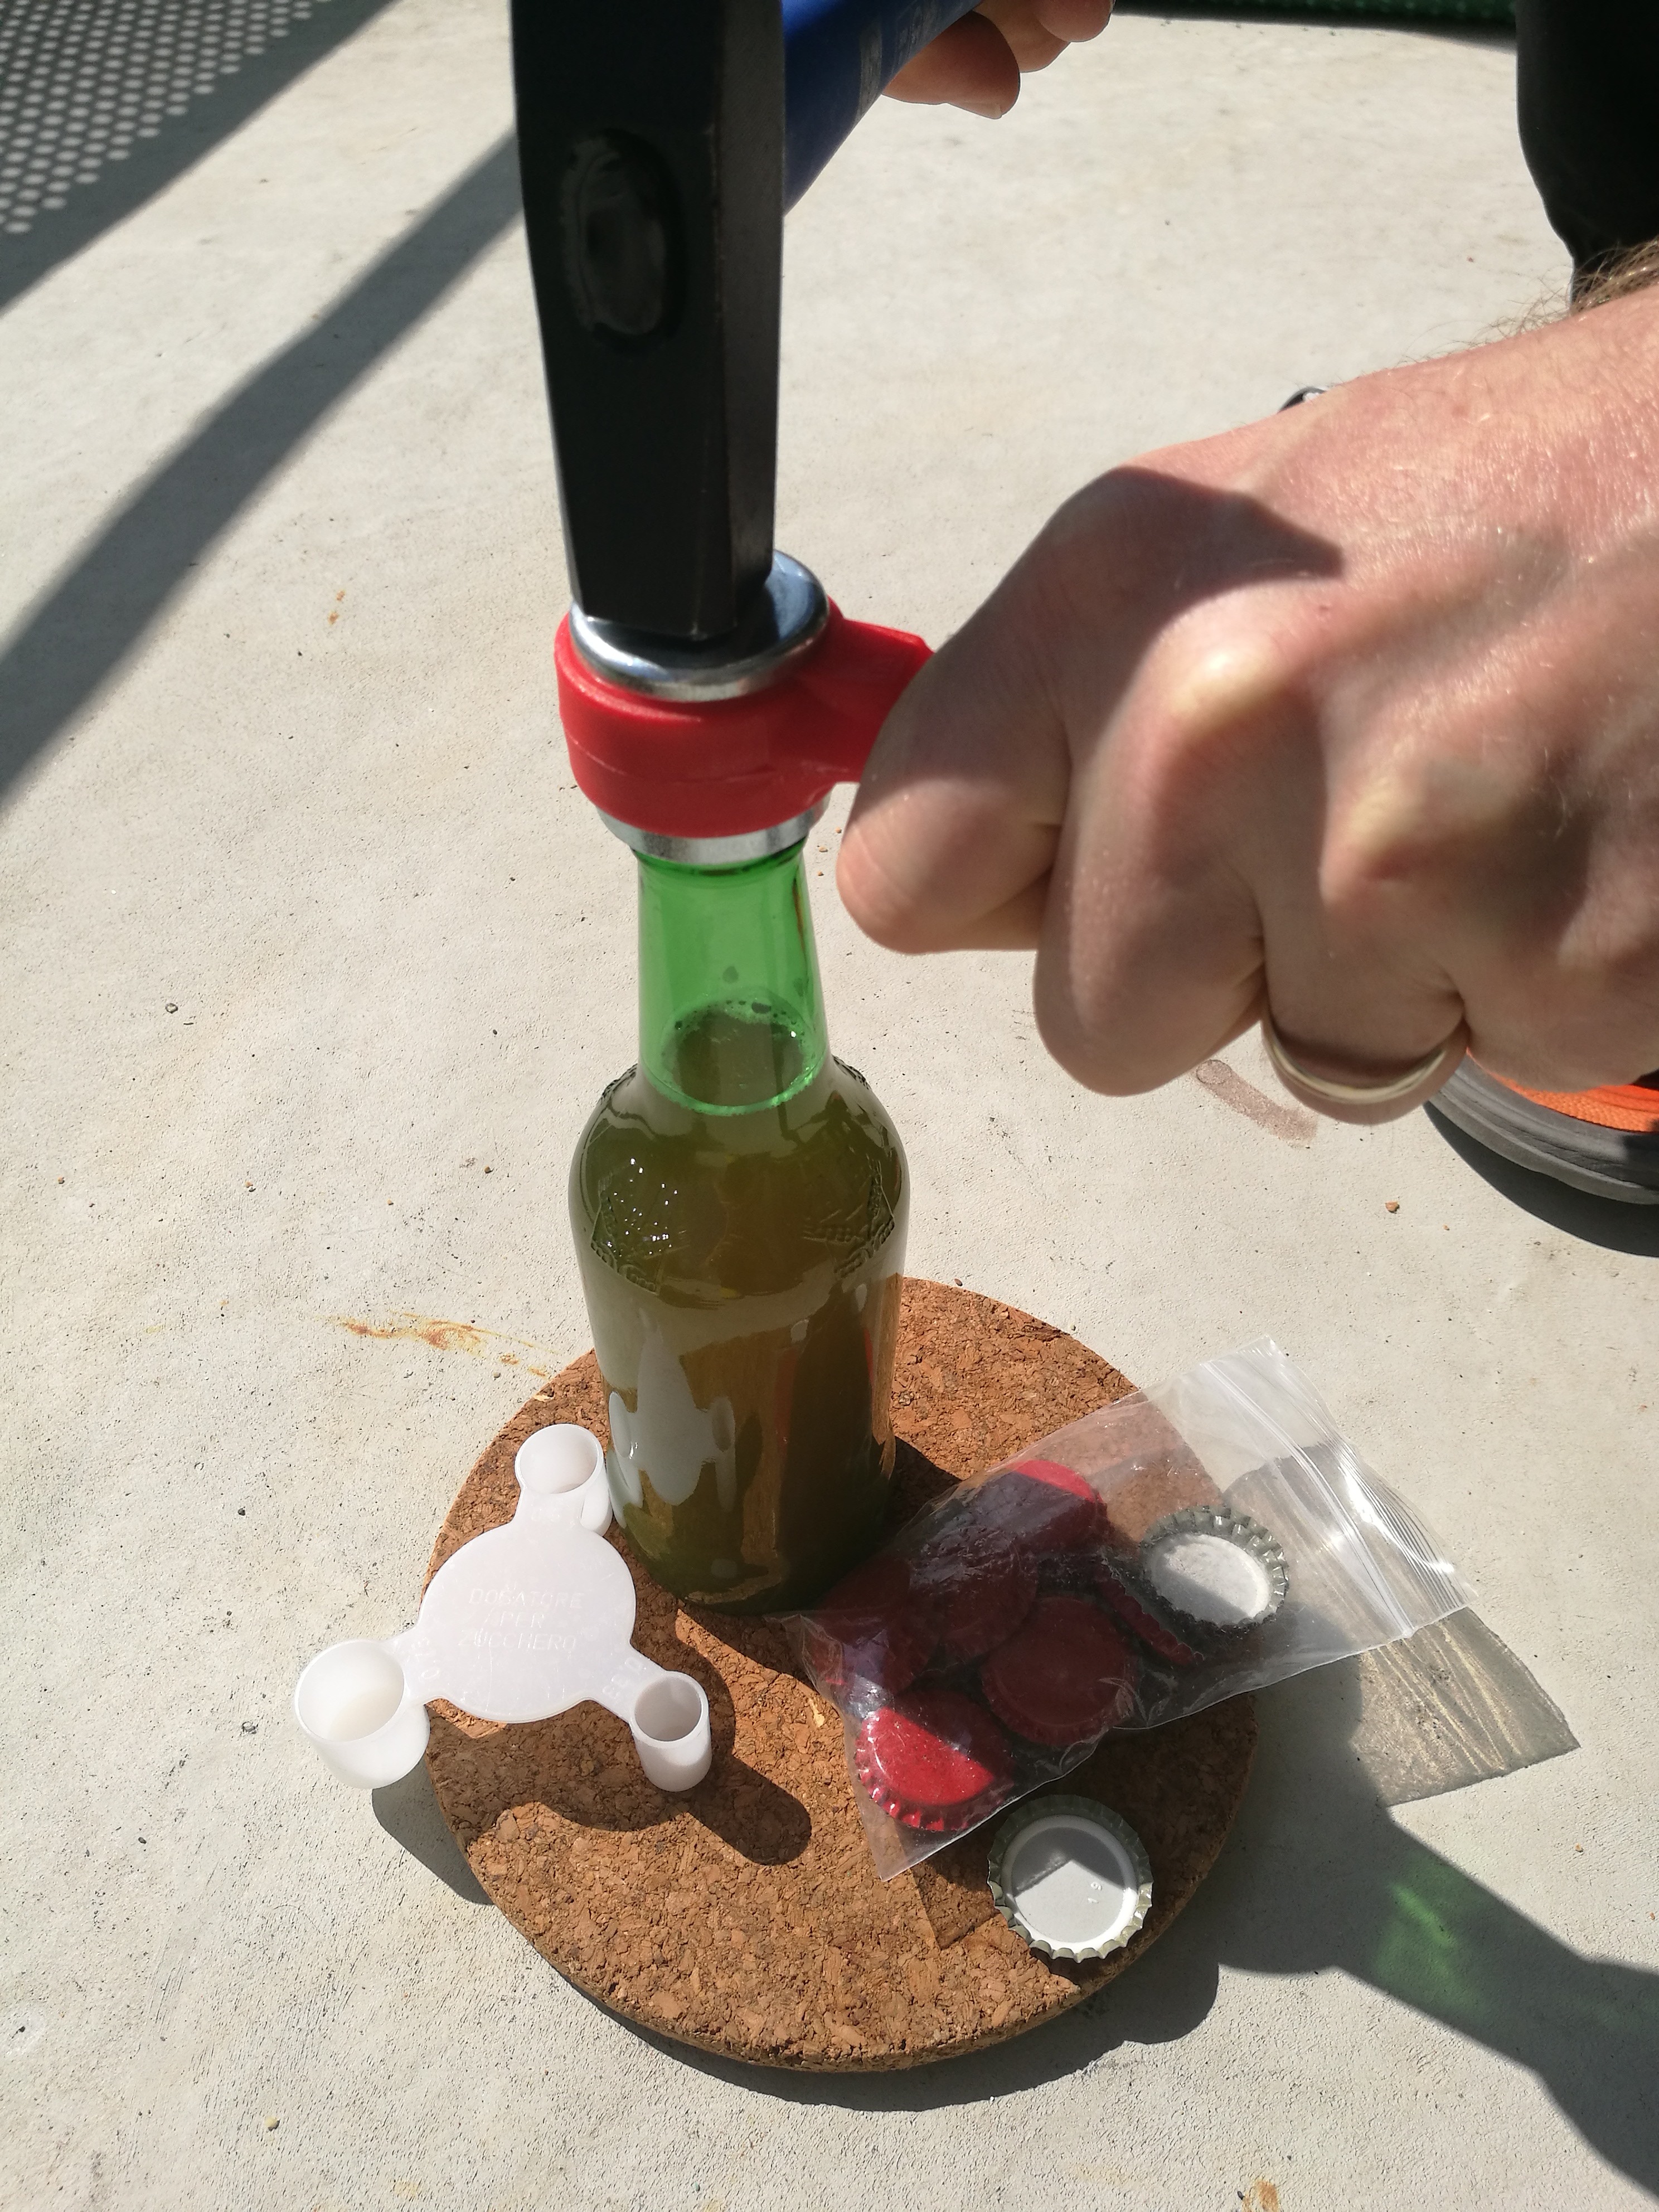
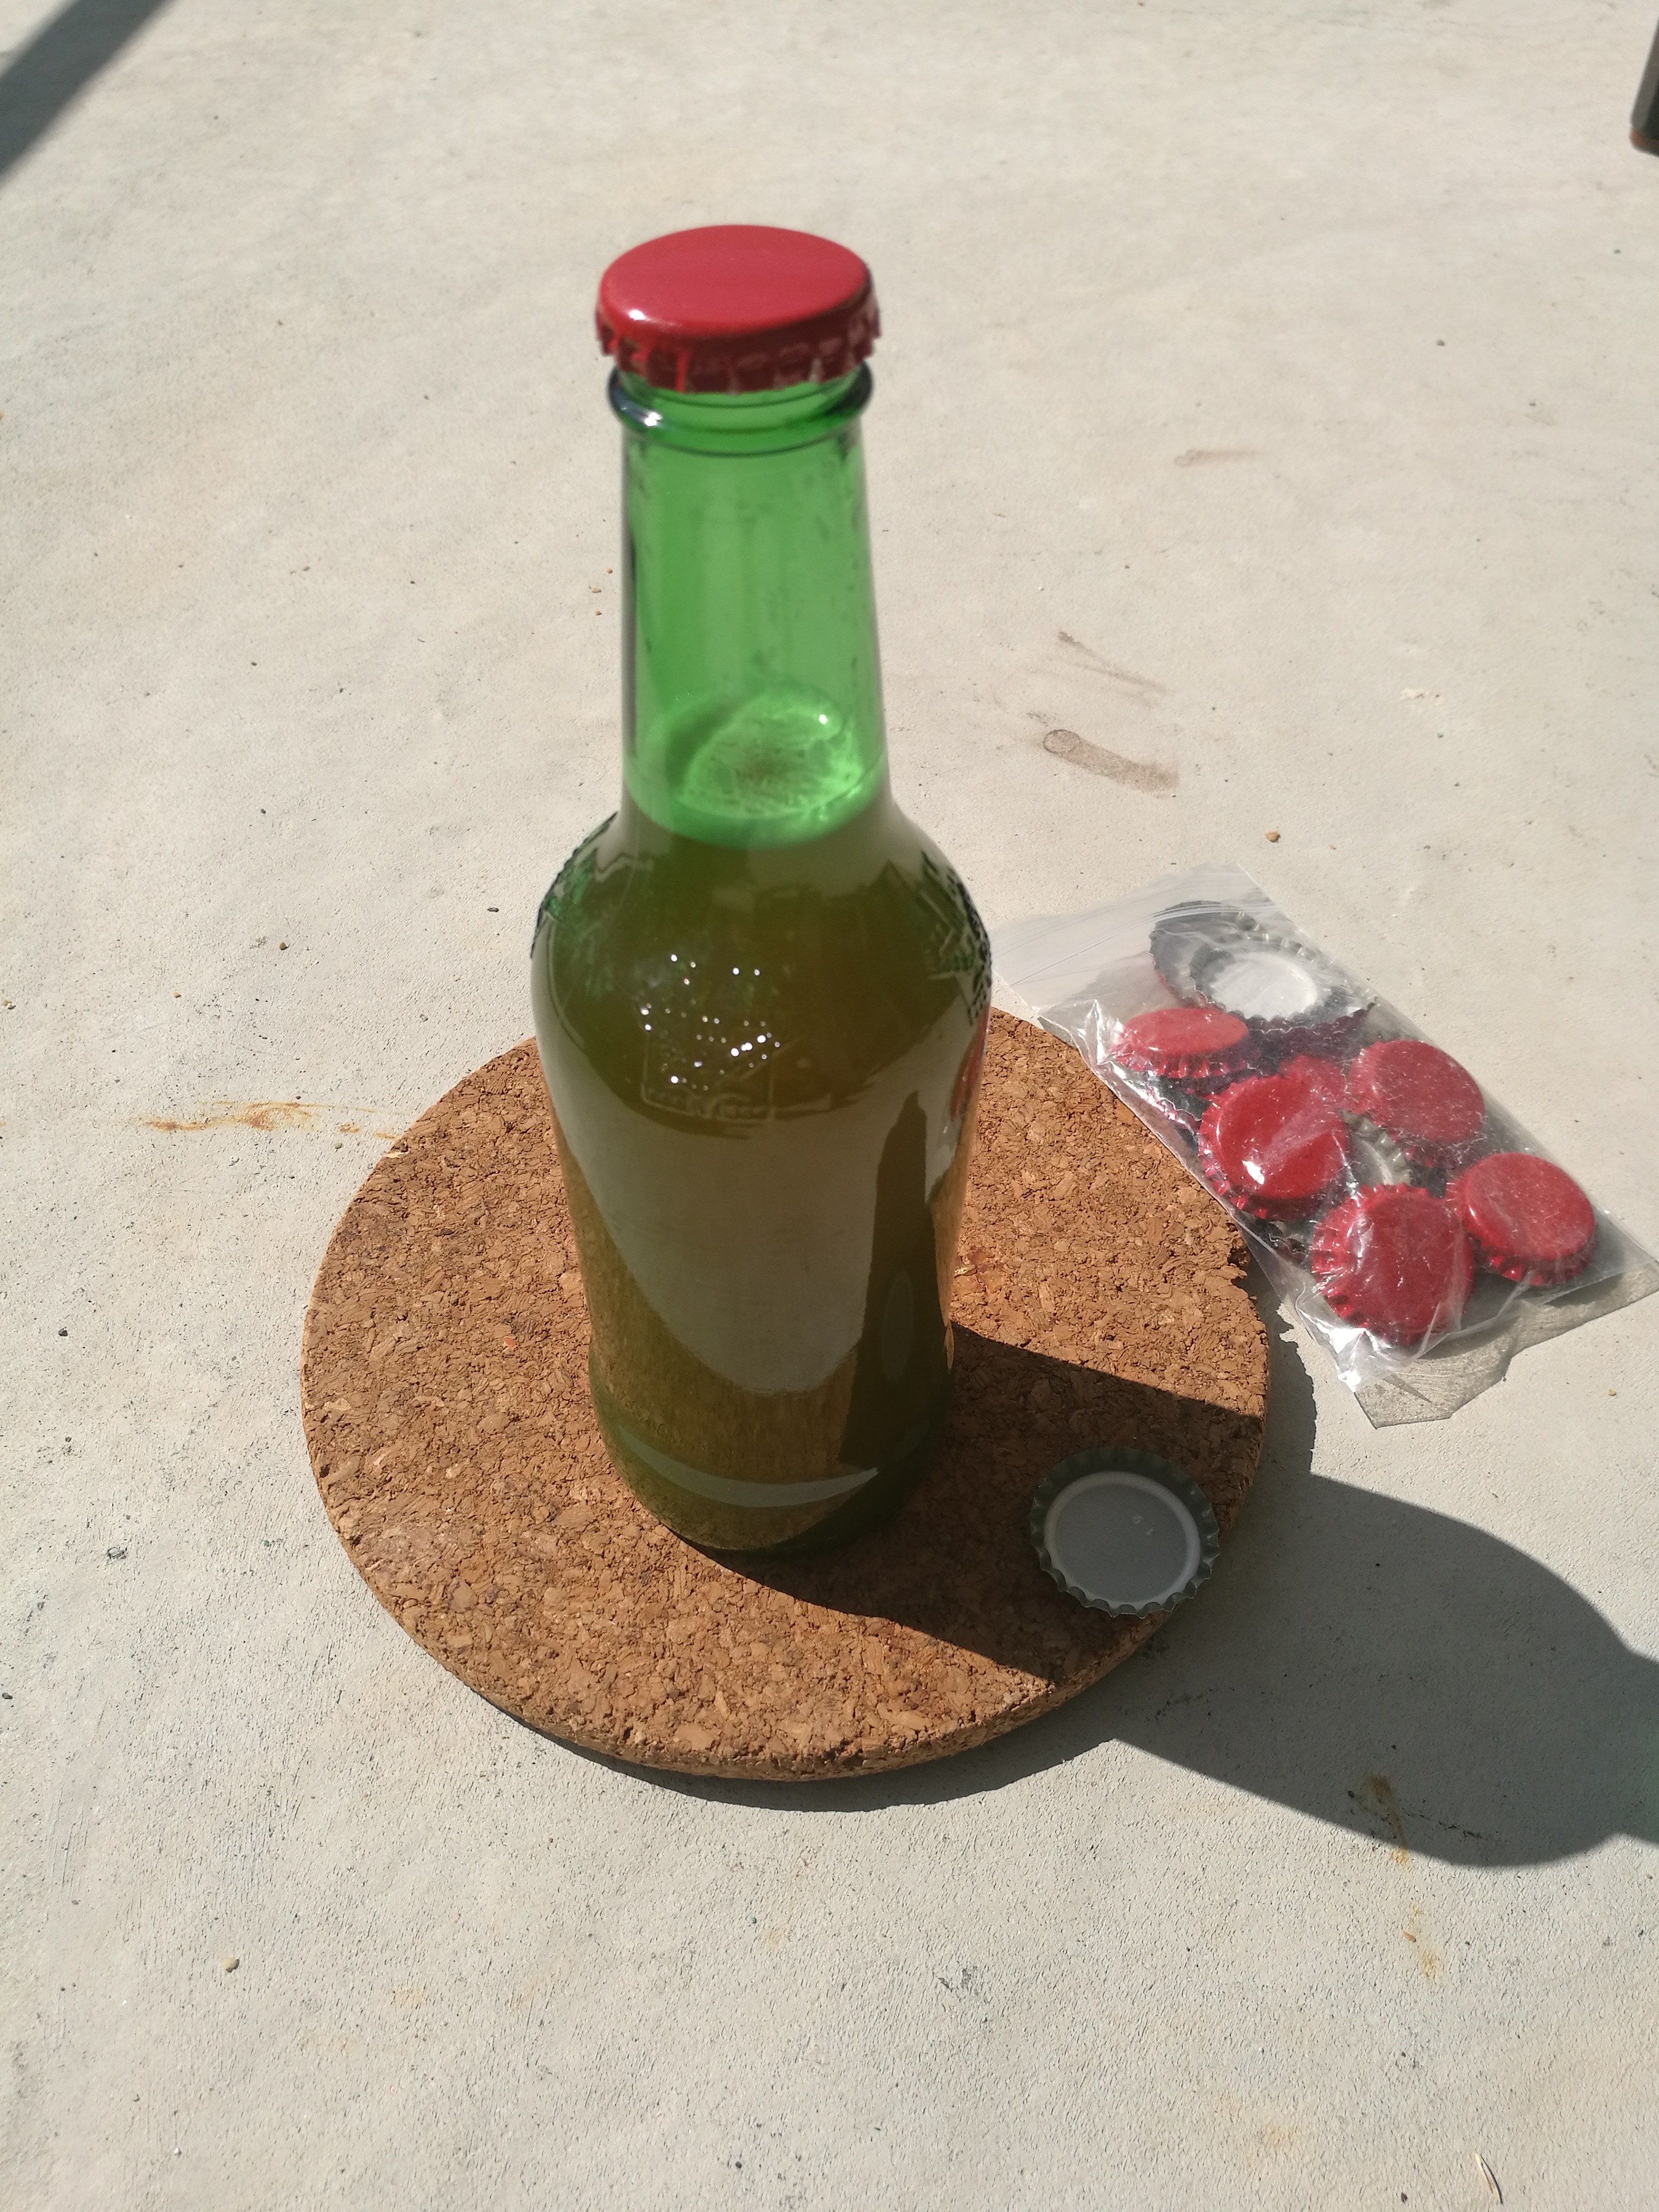
Despite these difficulties, he managed to cap 11 bottles. If you ask, what are those little labels on the bottles so that they are the capital letters of secret ingredients that husband added to some bottles before capping. What they are, you have to ask him;)
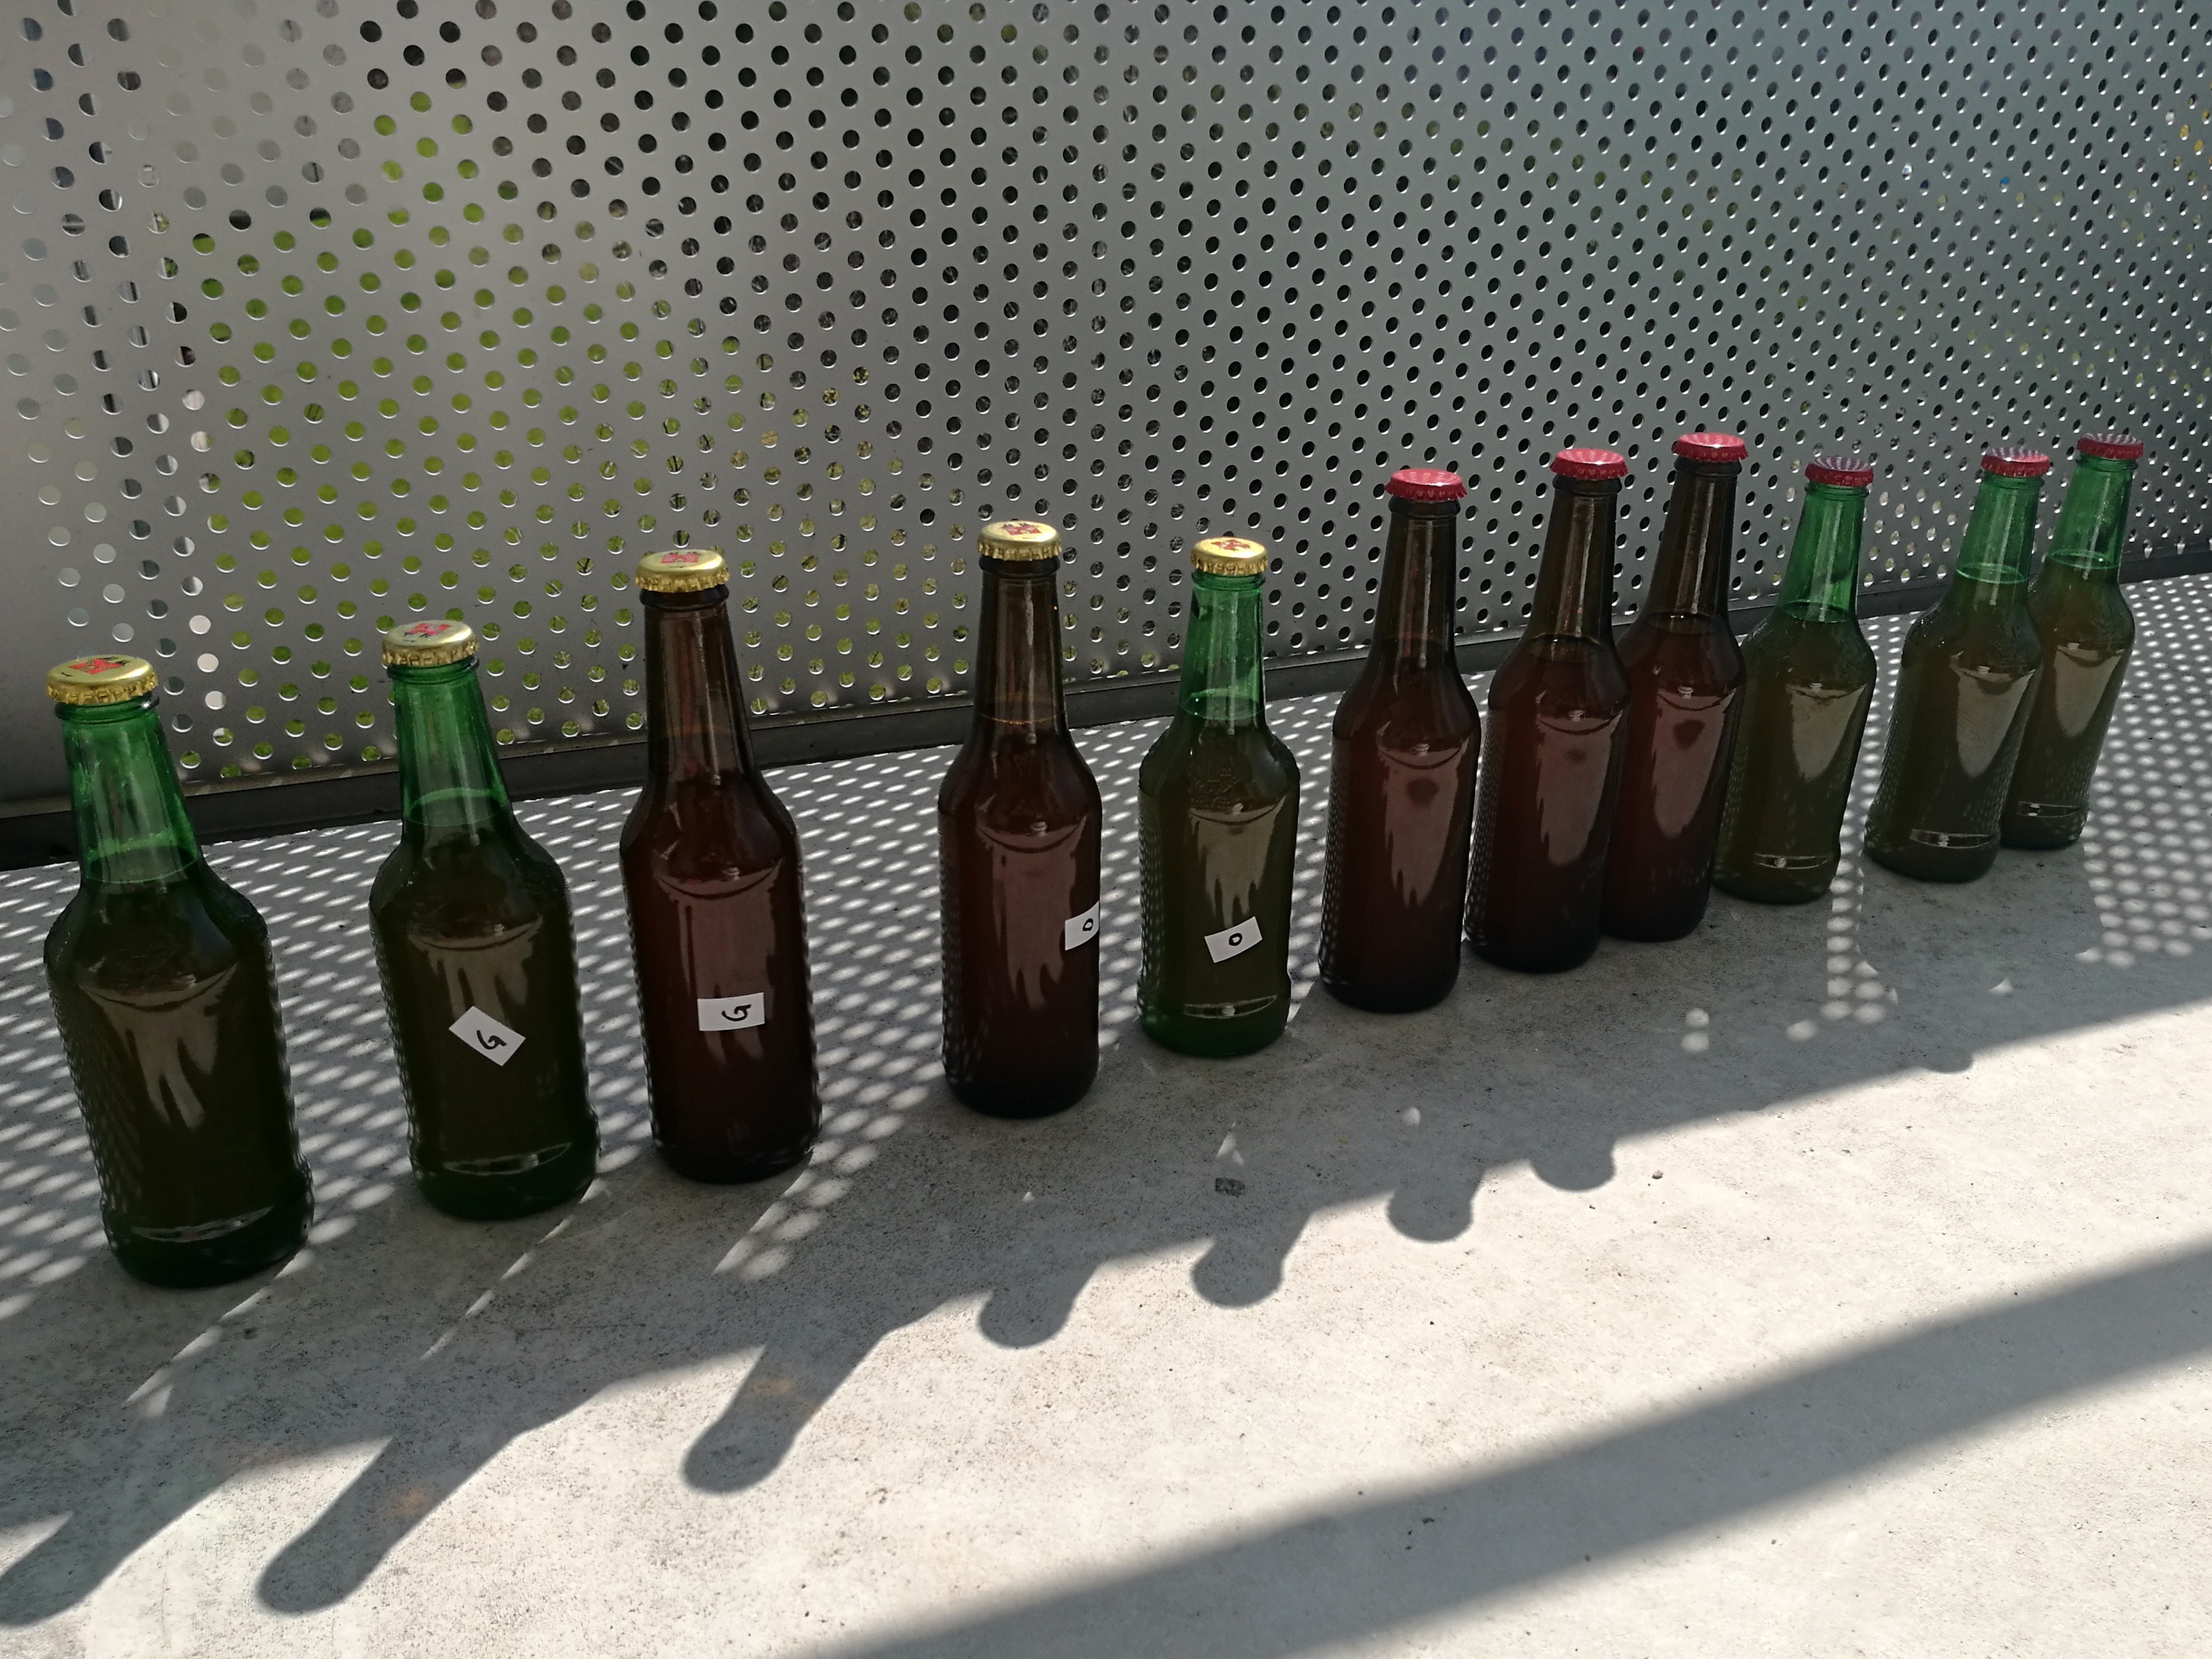
Then the bottles were again put behind the shower curtain where they were supposed to spend a minimum of two weeks and a second fermentation should take place.
Krok 4 – Finally tasting 🙂
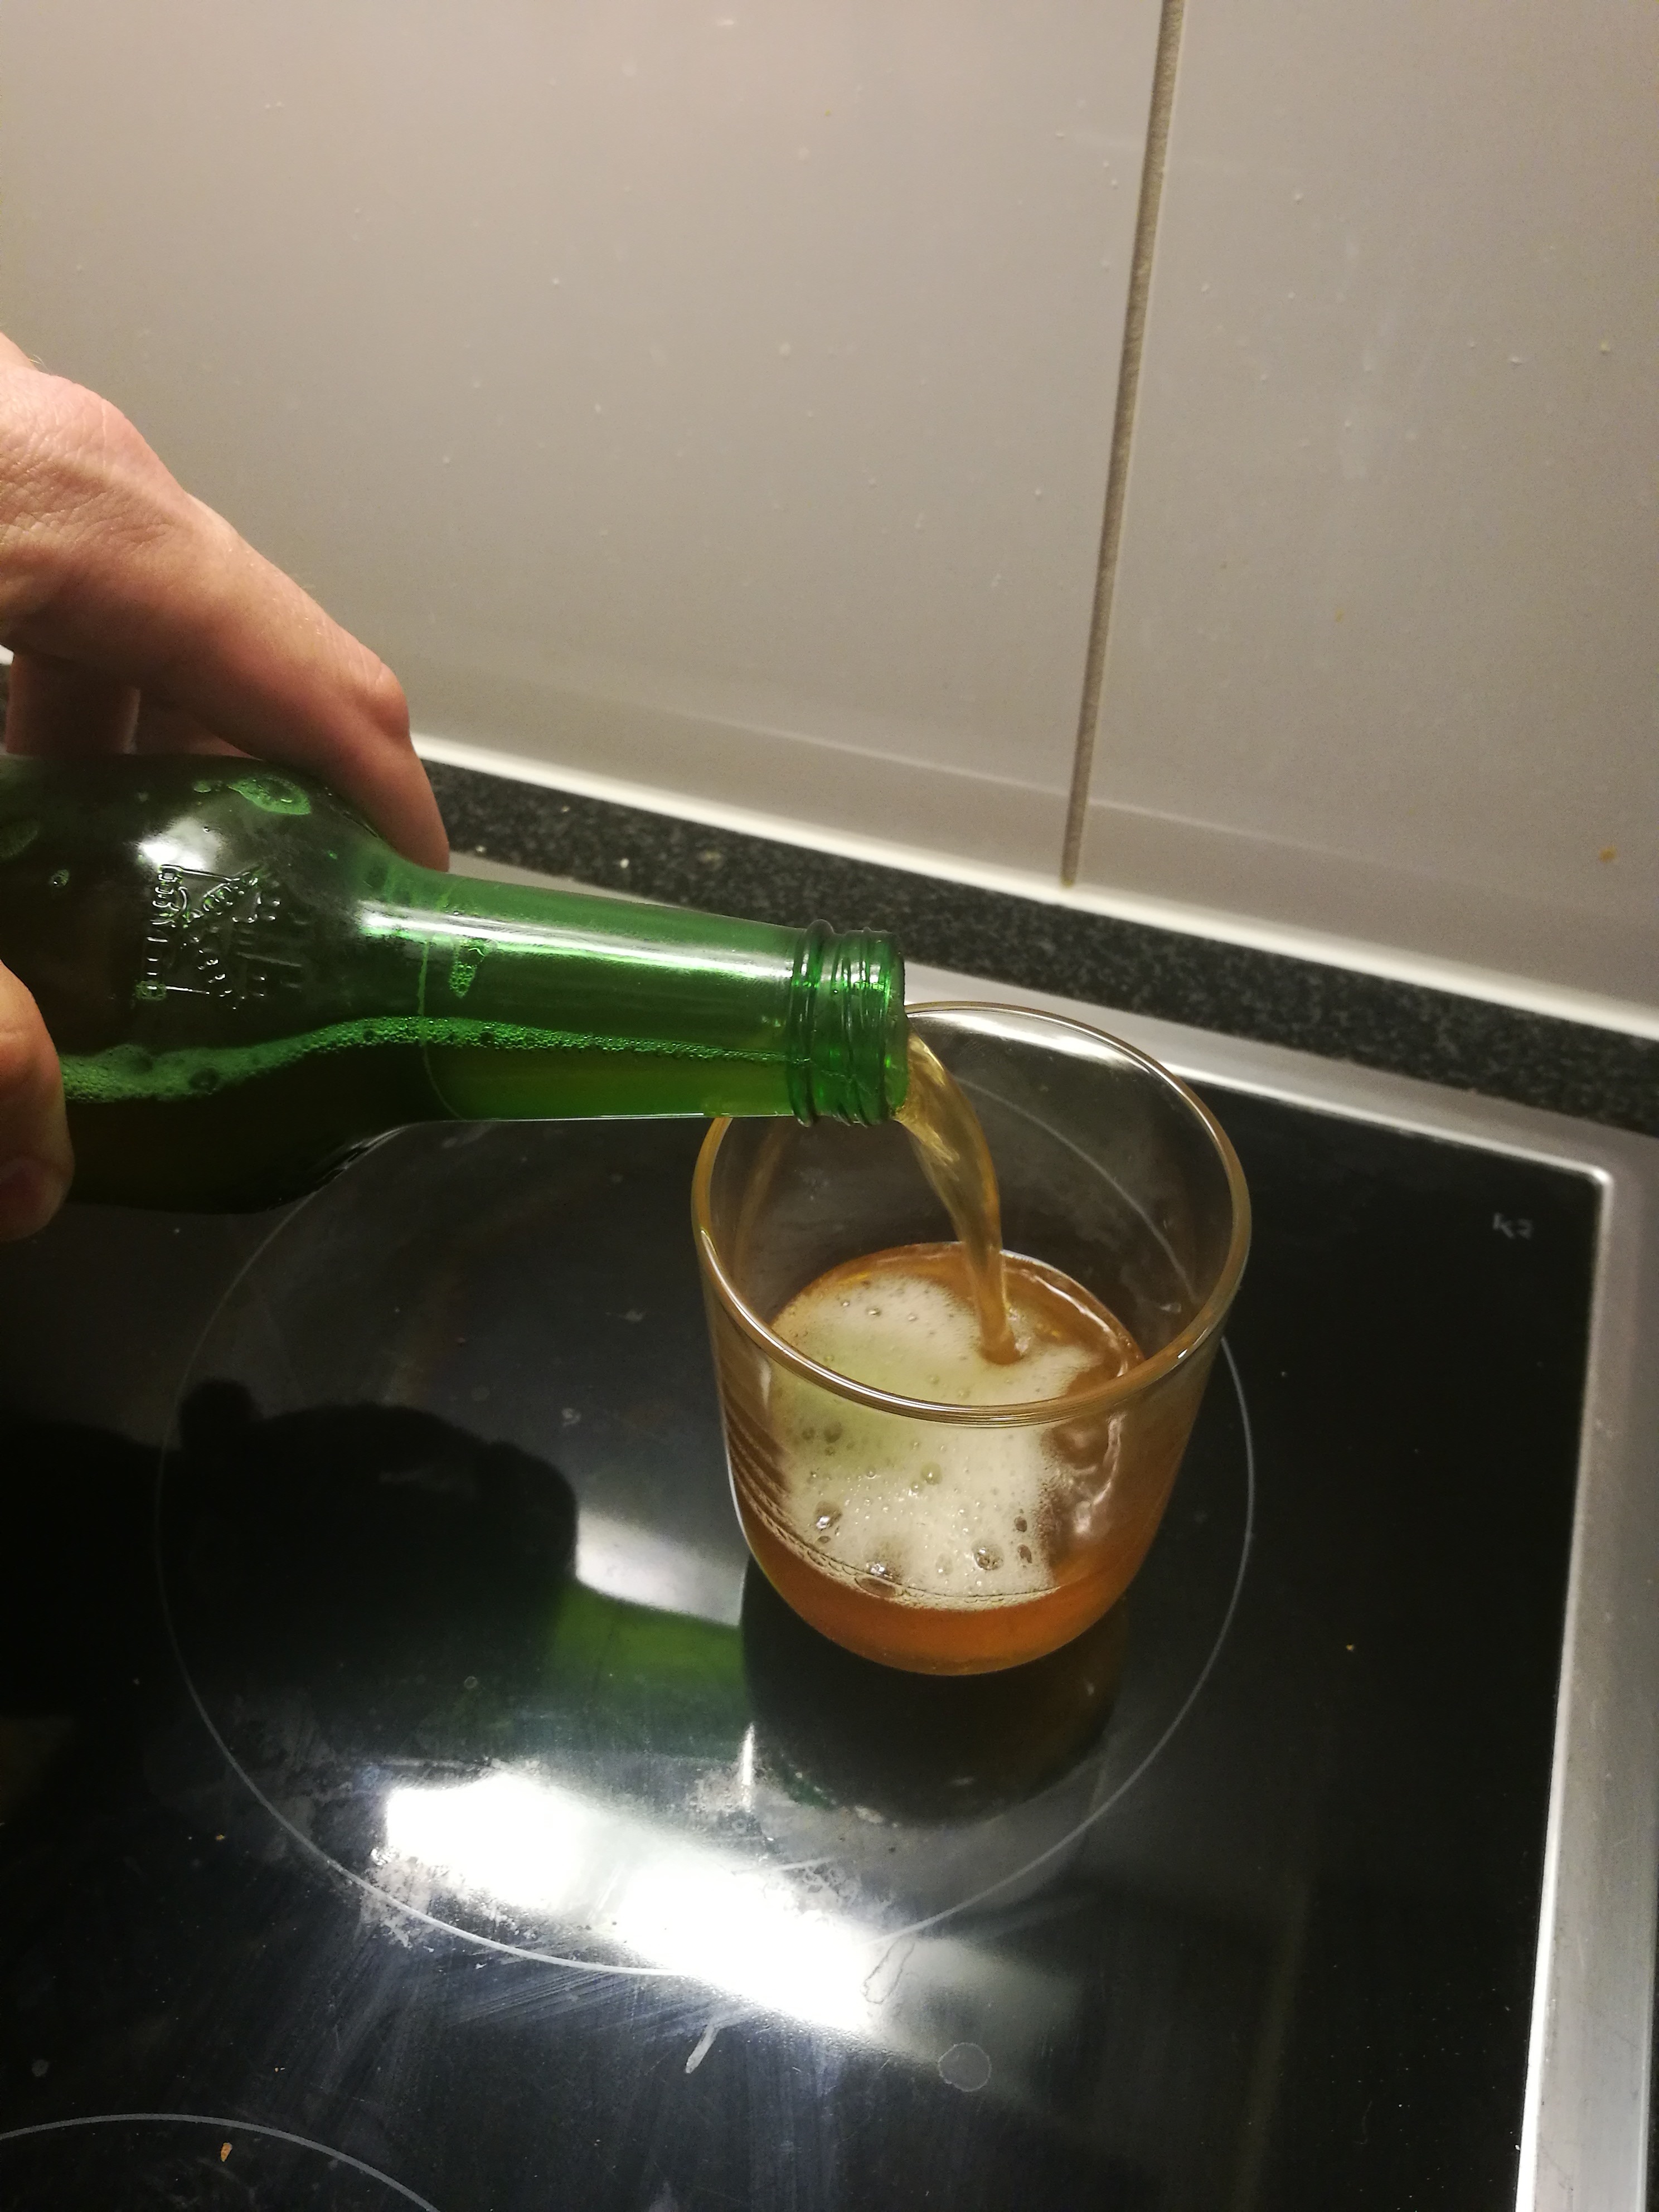
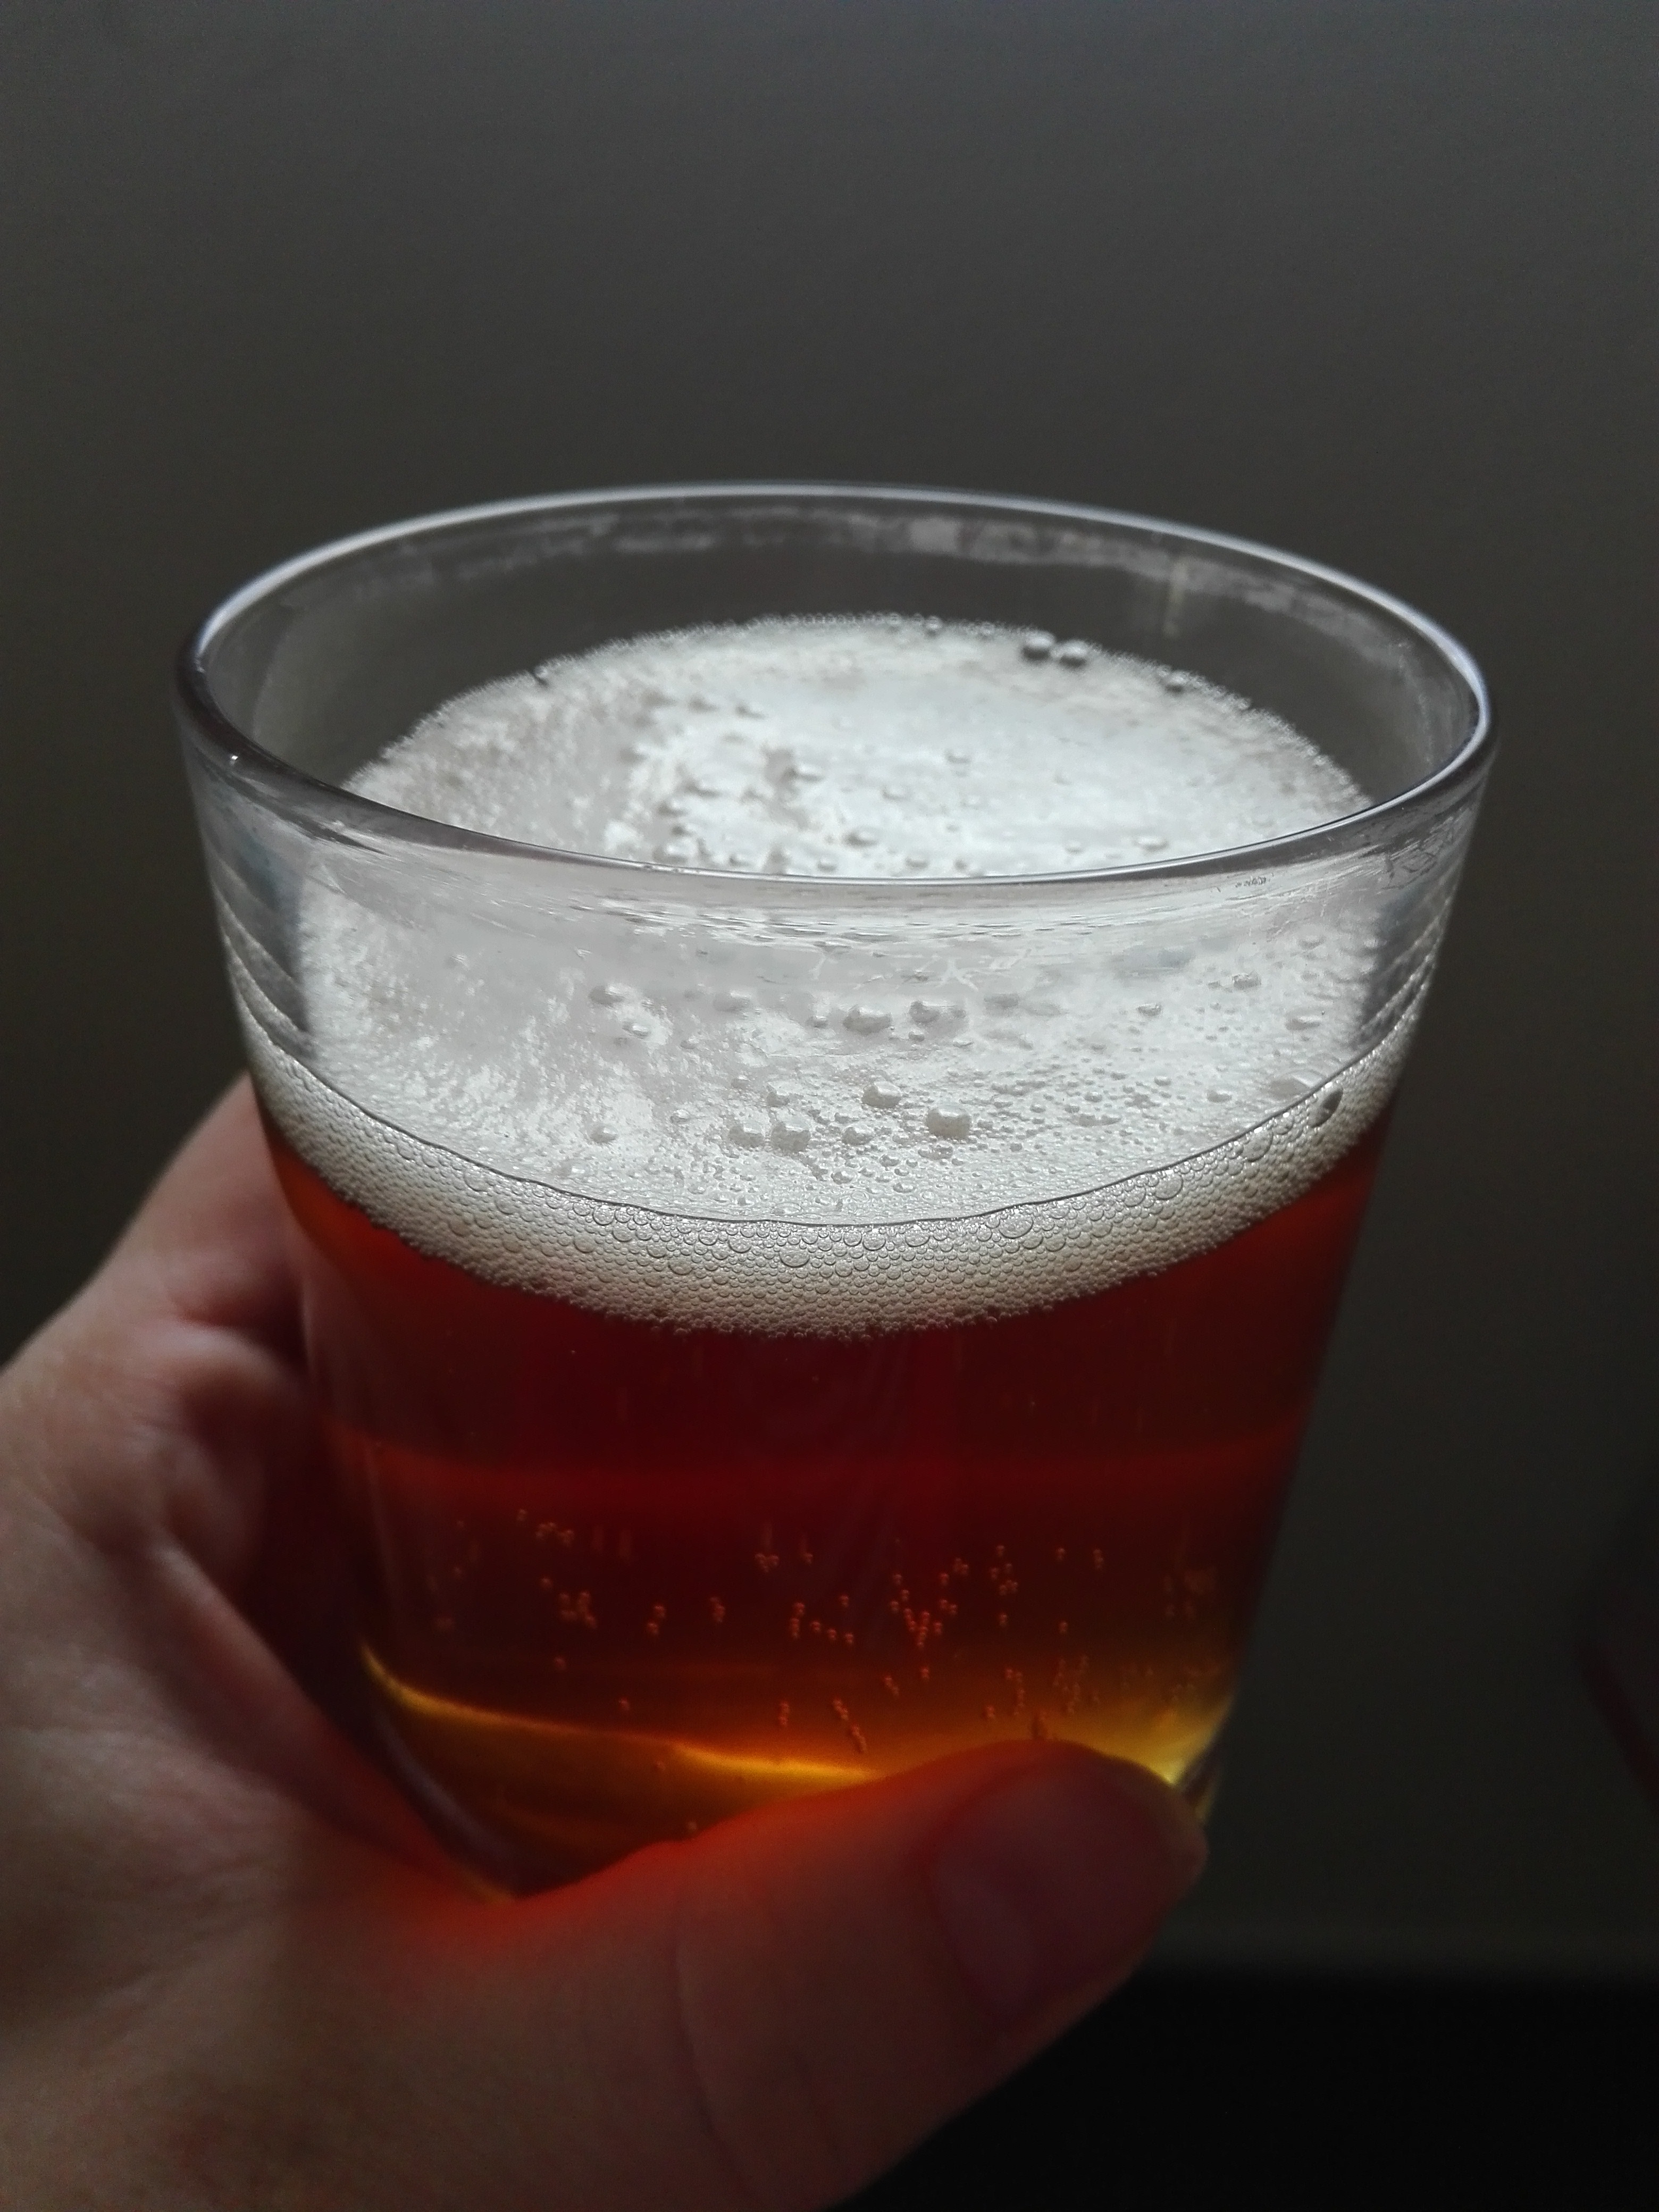
After a week, my husband could not resist, took one bottle of shower cabin and put it in the fridge to cool. In the afternoon when it was hot and the taste of the beer was really big, he took the bottle from the refrigerator and began opening. I could see the tension and unspoken questions in his eyes: “It will lather? Did I make a real beer or just cider? How will it taste?” We knew the answers to all those questions in a moment. The beer tasted great and passed through our digestive tract without doing it any harm.
And how much did it all cost?
The price of the kit: 11CHF – like I said before, we´d bought it in an outlet store. Normally it costs at about 50francs.
Enjoying your own beer – priceless! 🙂
But I fear that the next batch of beer will be a bit more expensive because my husband has been browsing the Internet for several days and intends to buy a giant stainless steel pot and other paraphernalia for his new hobby.
PS: That our home brewing experience will be truly memorable, I realized the moment we pulled our jackets from a locker in the dressing room of FIFA Museum and the familiar sweet smell began to spread. I realized with horror how it must smell at home now, hence the whole house. Thus it was probably good that we unconsciously chose an afternoon escape plan so we don´t know if annoyed neighbors knocked on the door 🙂
And what about you? Have you ever brewed your own beer? How is your experience? Tell me in the comments below!
If you don´t want to miss any of my recent posts please sign up for my blog in the top right-hand corner of this page. Thank you 🙂
I will appreciate any time if you share my posts on Facebook or Twitter. It helps get my blog out to more people, who may like my posts.
Be sure to follow me on Facebook, Pinterest, Bloglovin, and Instagram.
And of course, I look forward to reading all your comments.
Categories: Life


I am a member of


Map of activites

Podcast
You may be also interested in
Social Media
Categories
Subscribe
2 Comments. Leave new
Thanks for the detailed process of how to make your own Home brew! I’ve never tried it myself, although my friend has. I live in Canada, so we have a few places that promote home brewing. Most of the time, we will settle for going to a craft brewery instead.
I have to look more for a craft brewery here (we haven´t found any yet)