


Christmas crafts for kids: Twig stars
On the way from the local grocery store, the day after an almost apocalyptic wind storm (I do not want to play down the recent hurricanes in the Caribbean, but I haven´t yet experienced a big crane turning around by itself!), the ground was full of broken branches and twigs from the trees. I thought it would be a waste not to pick them and use them for our next crafts. In the shopping bag, I carried a purchased star which I intended to use for decorating the lighted pinecone Christmas tree. And so an idea of making twig stars with children crossed my mind. The tutorial is very simple and the final stage of the decoration can handle even the smallest!
Materials
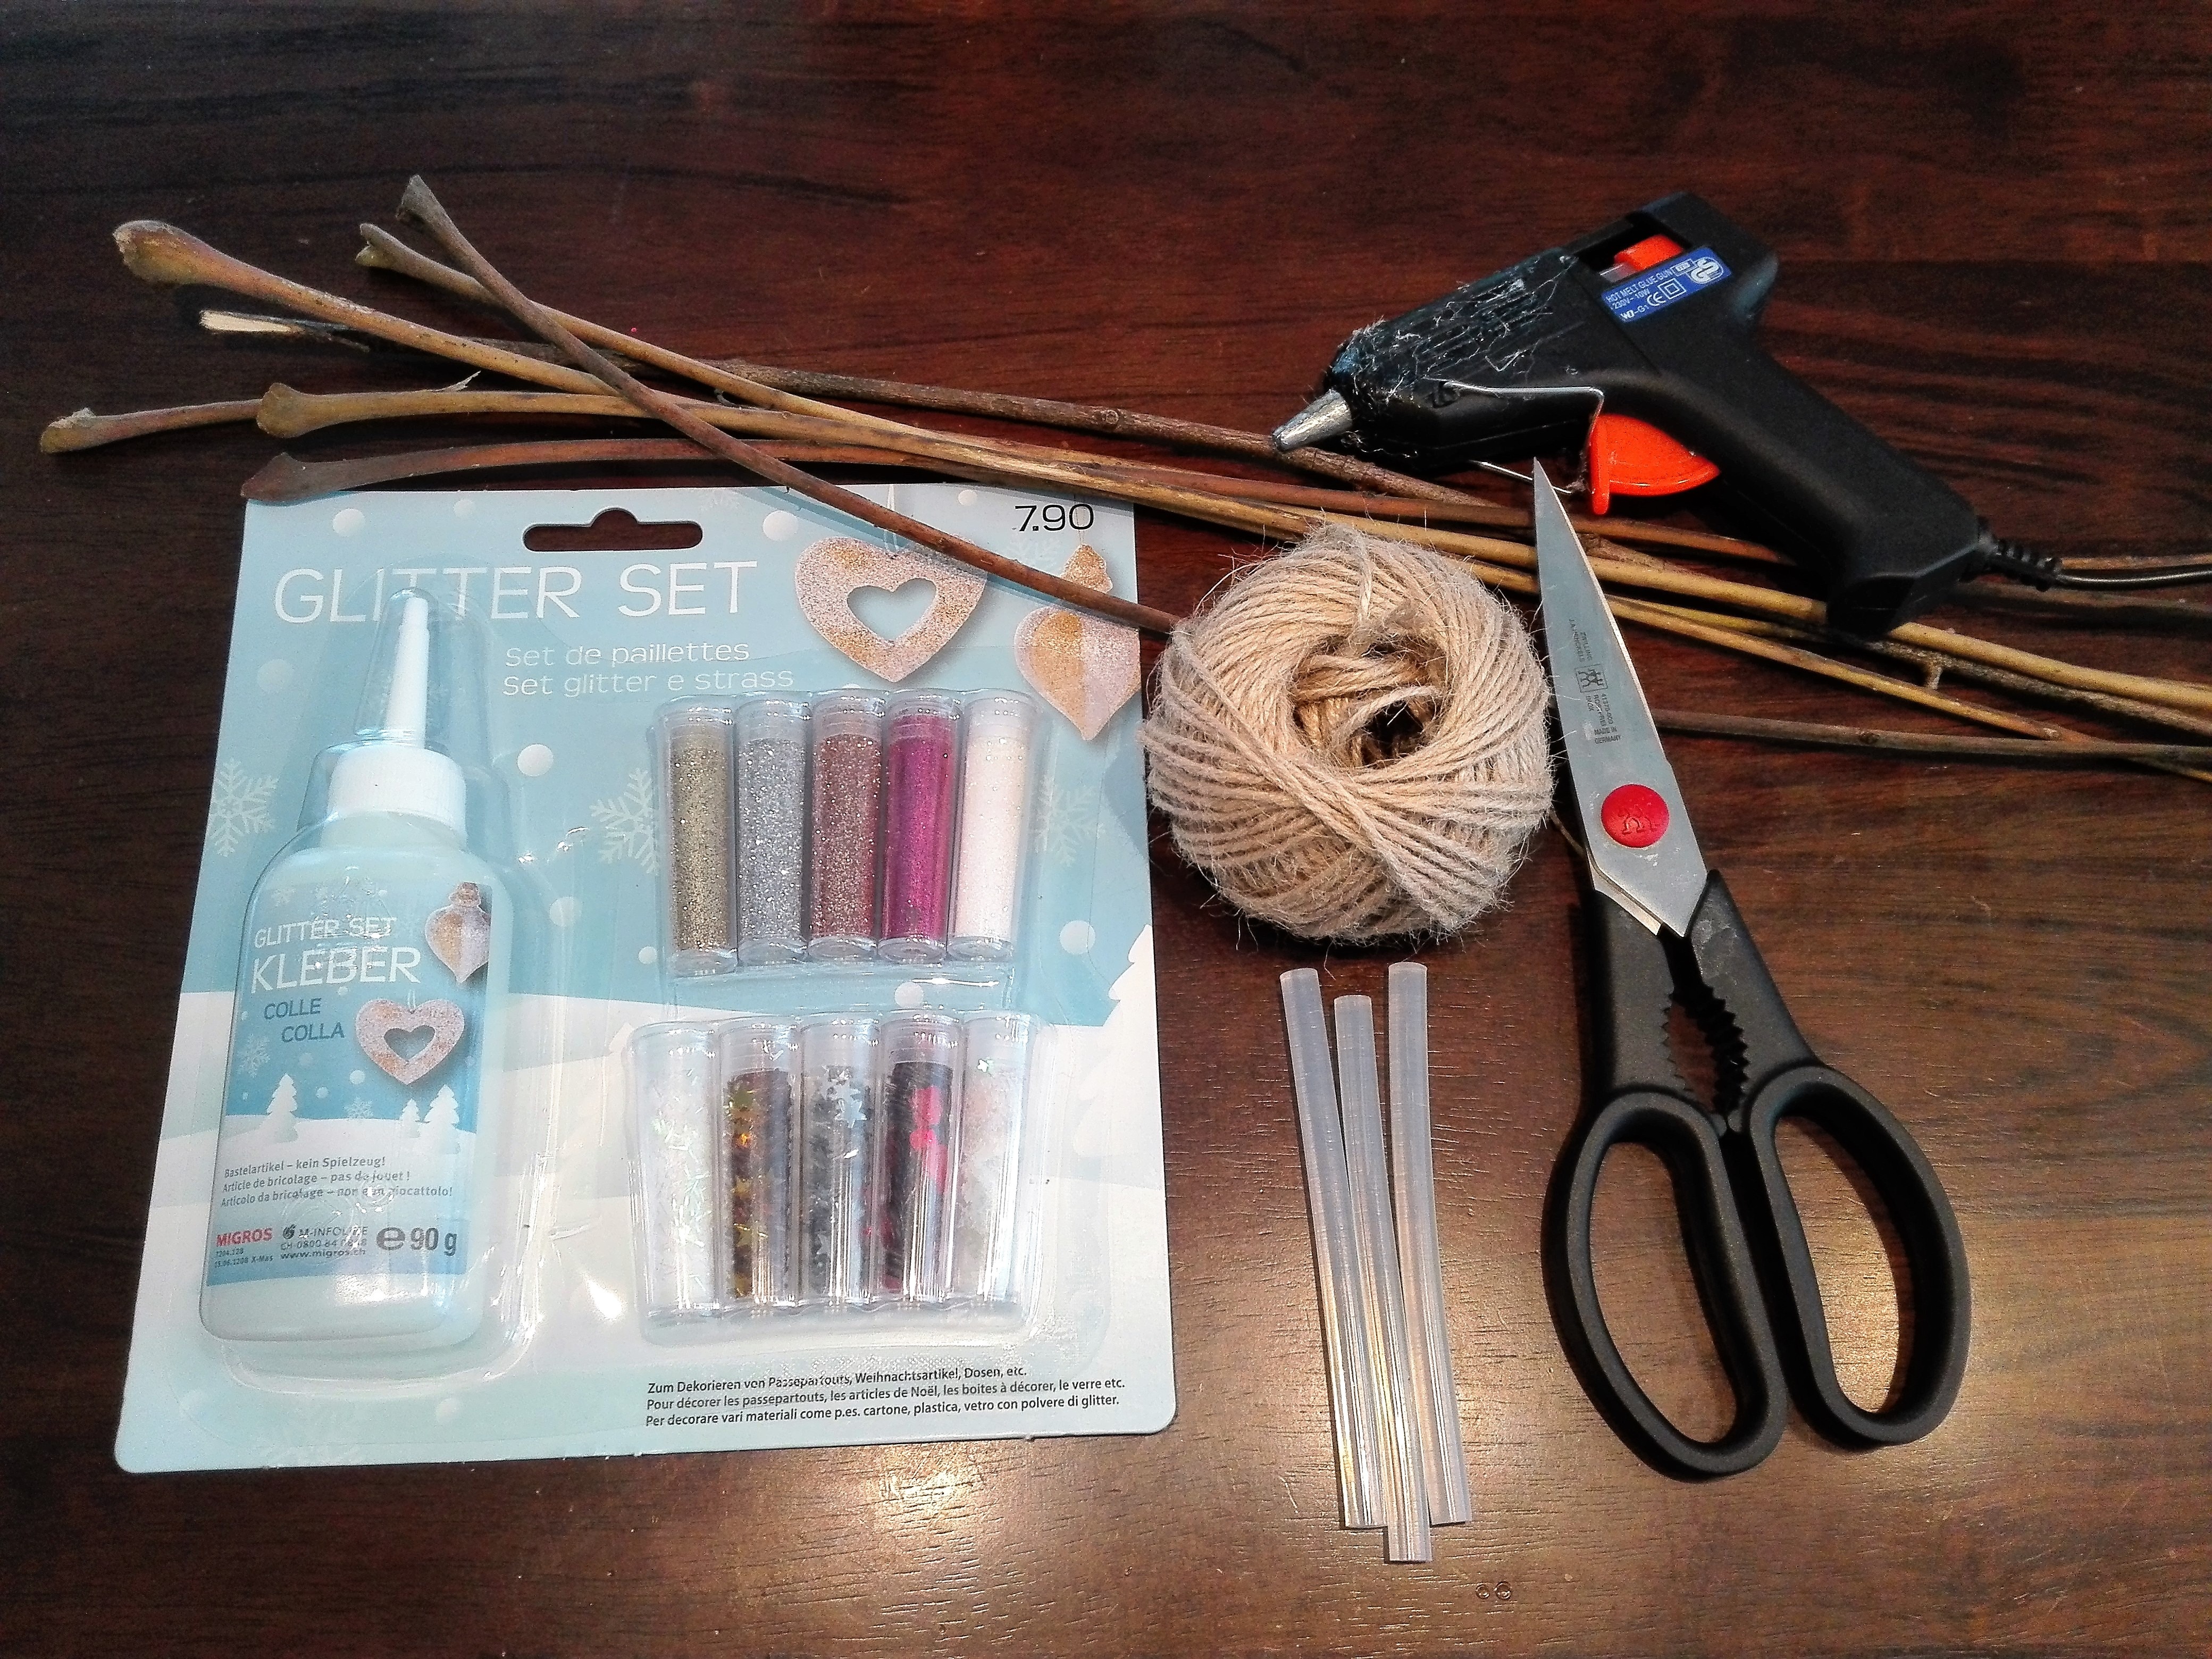
- Twigs
- Hot glue gun & silicone sticks
- Jute string
- Glitter set and glue
- Brush
- Scissors or splitting tongs or garden shears
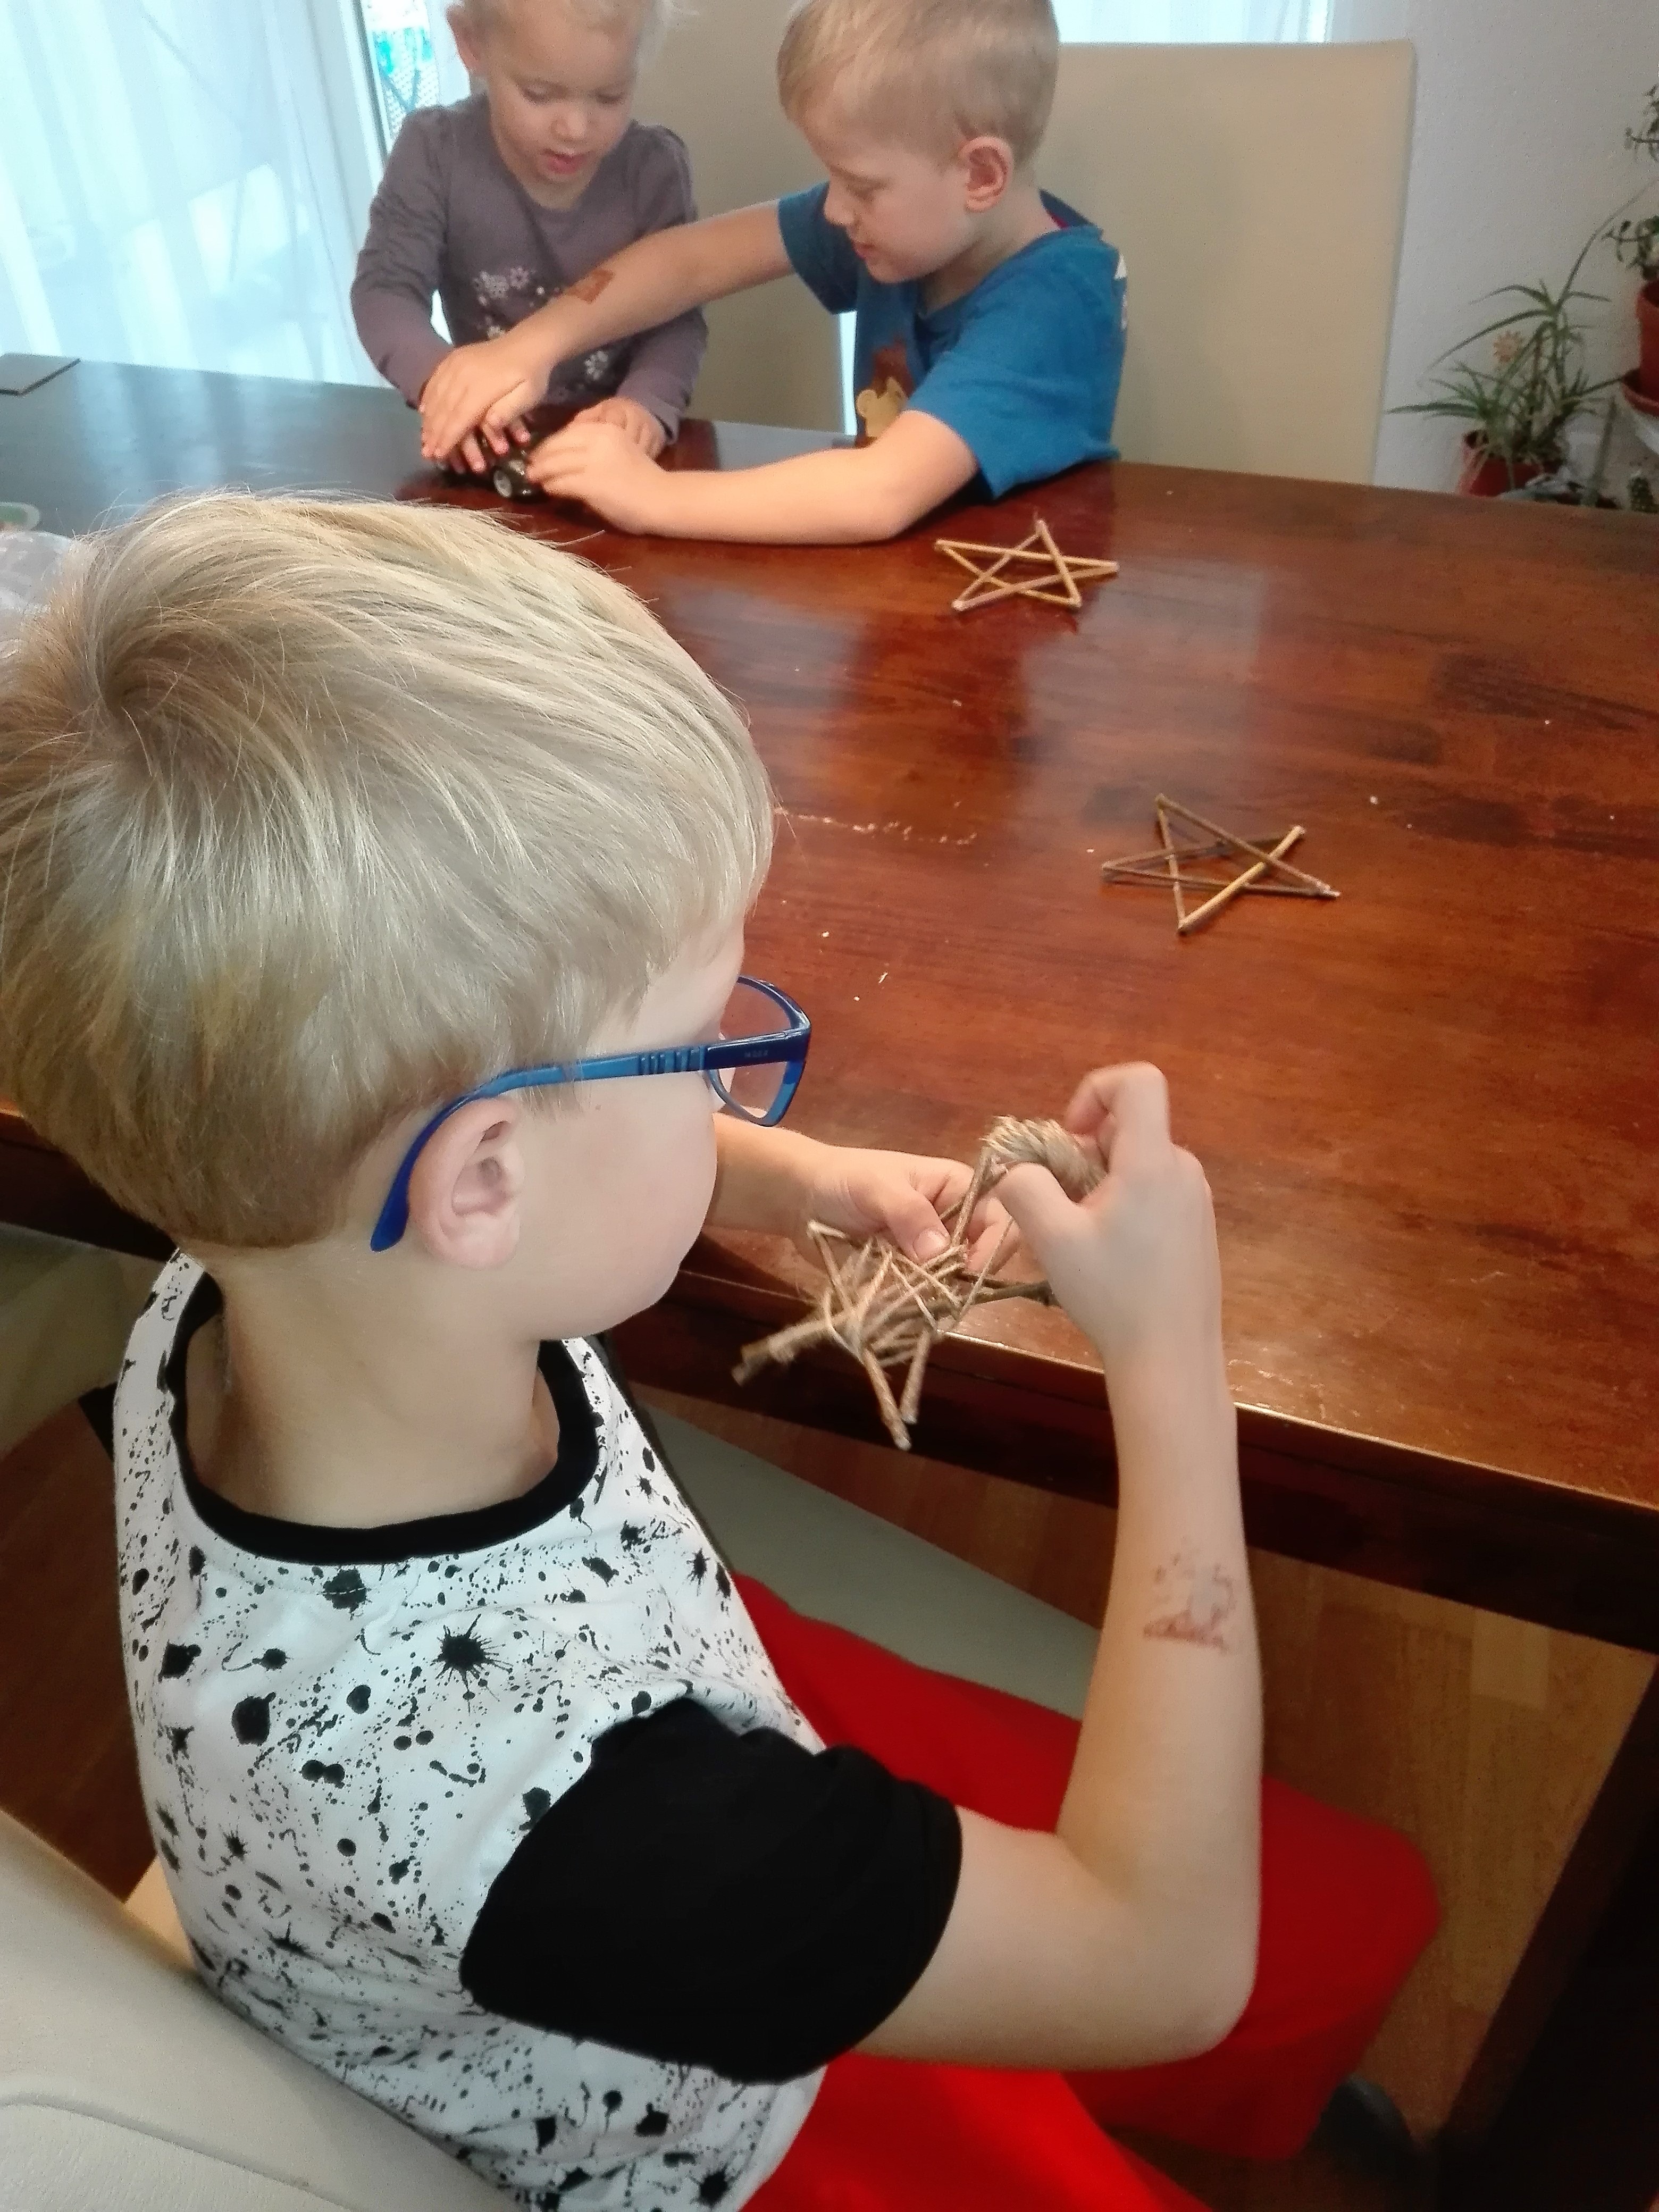
Step 1
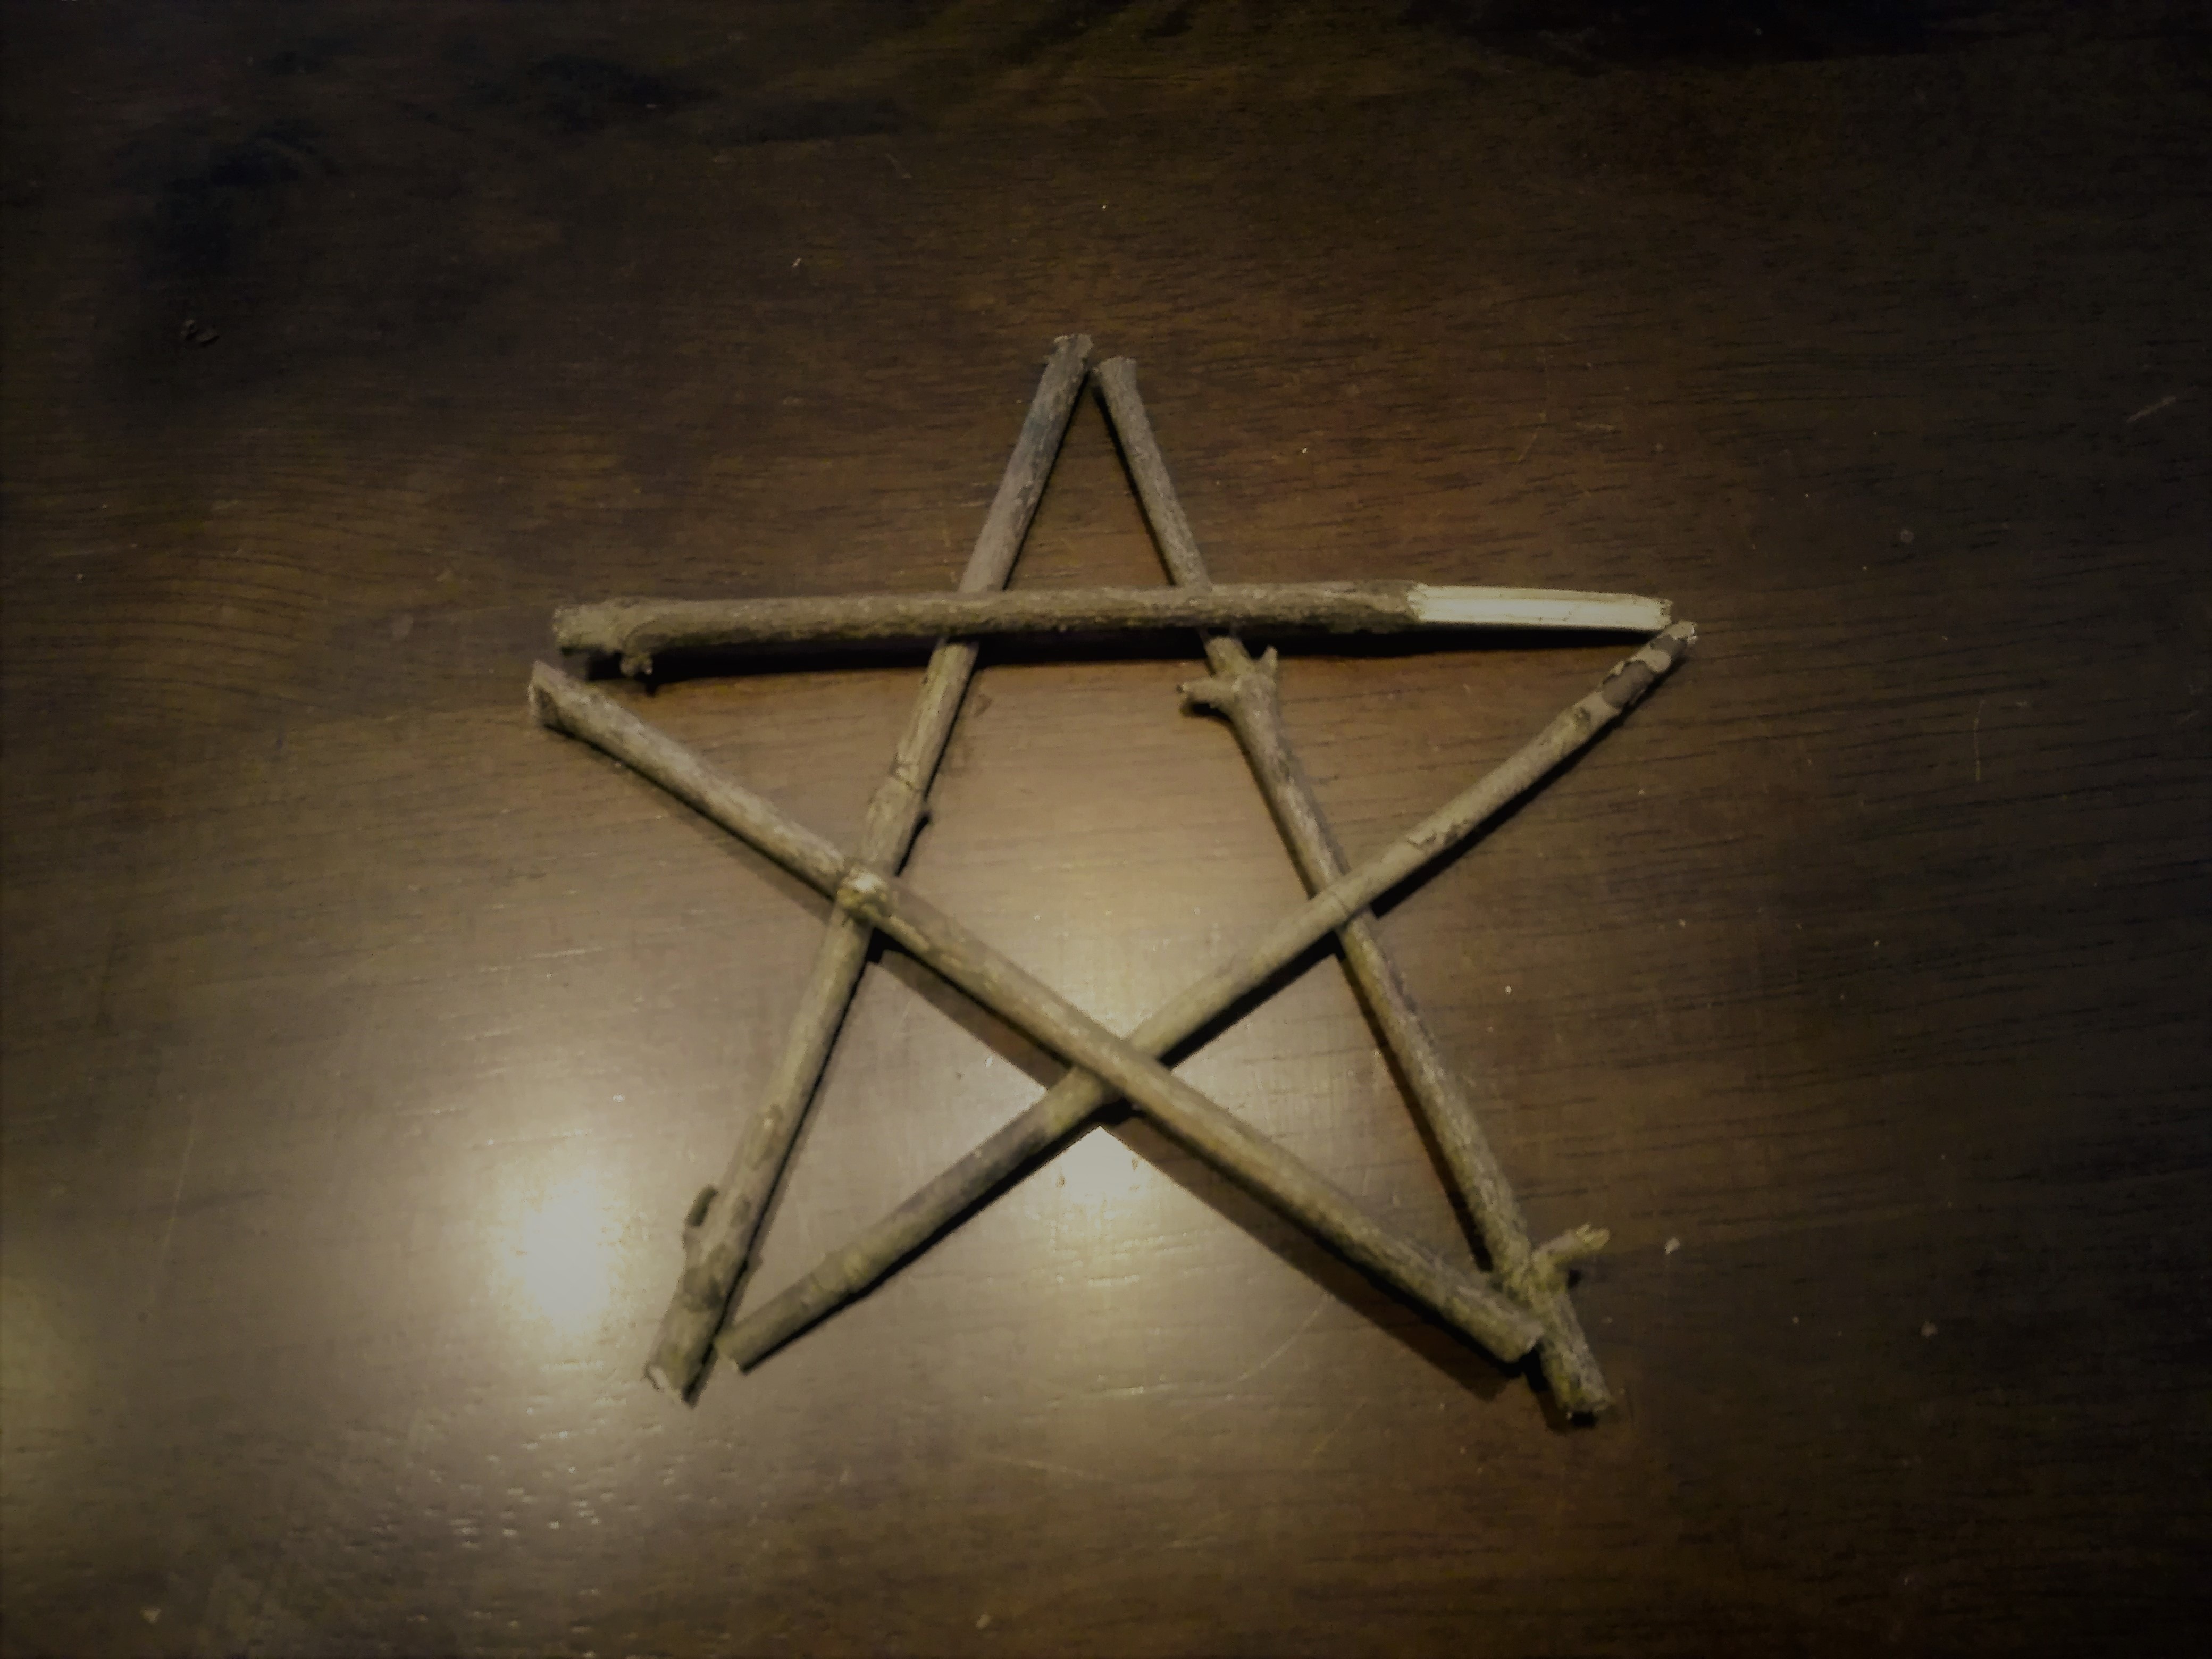
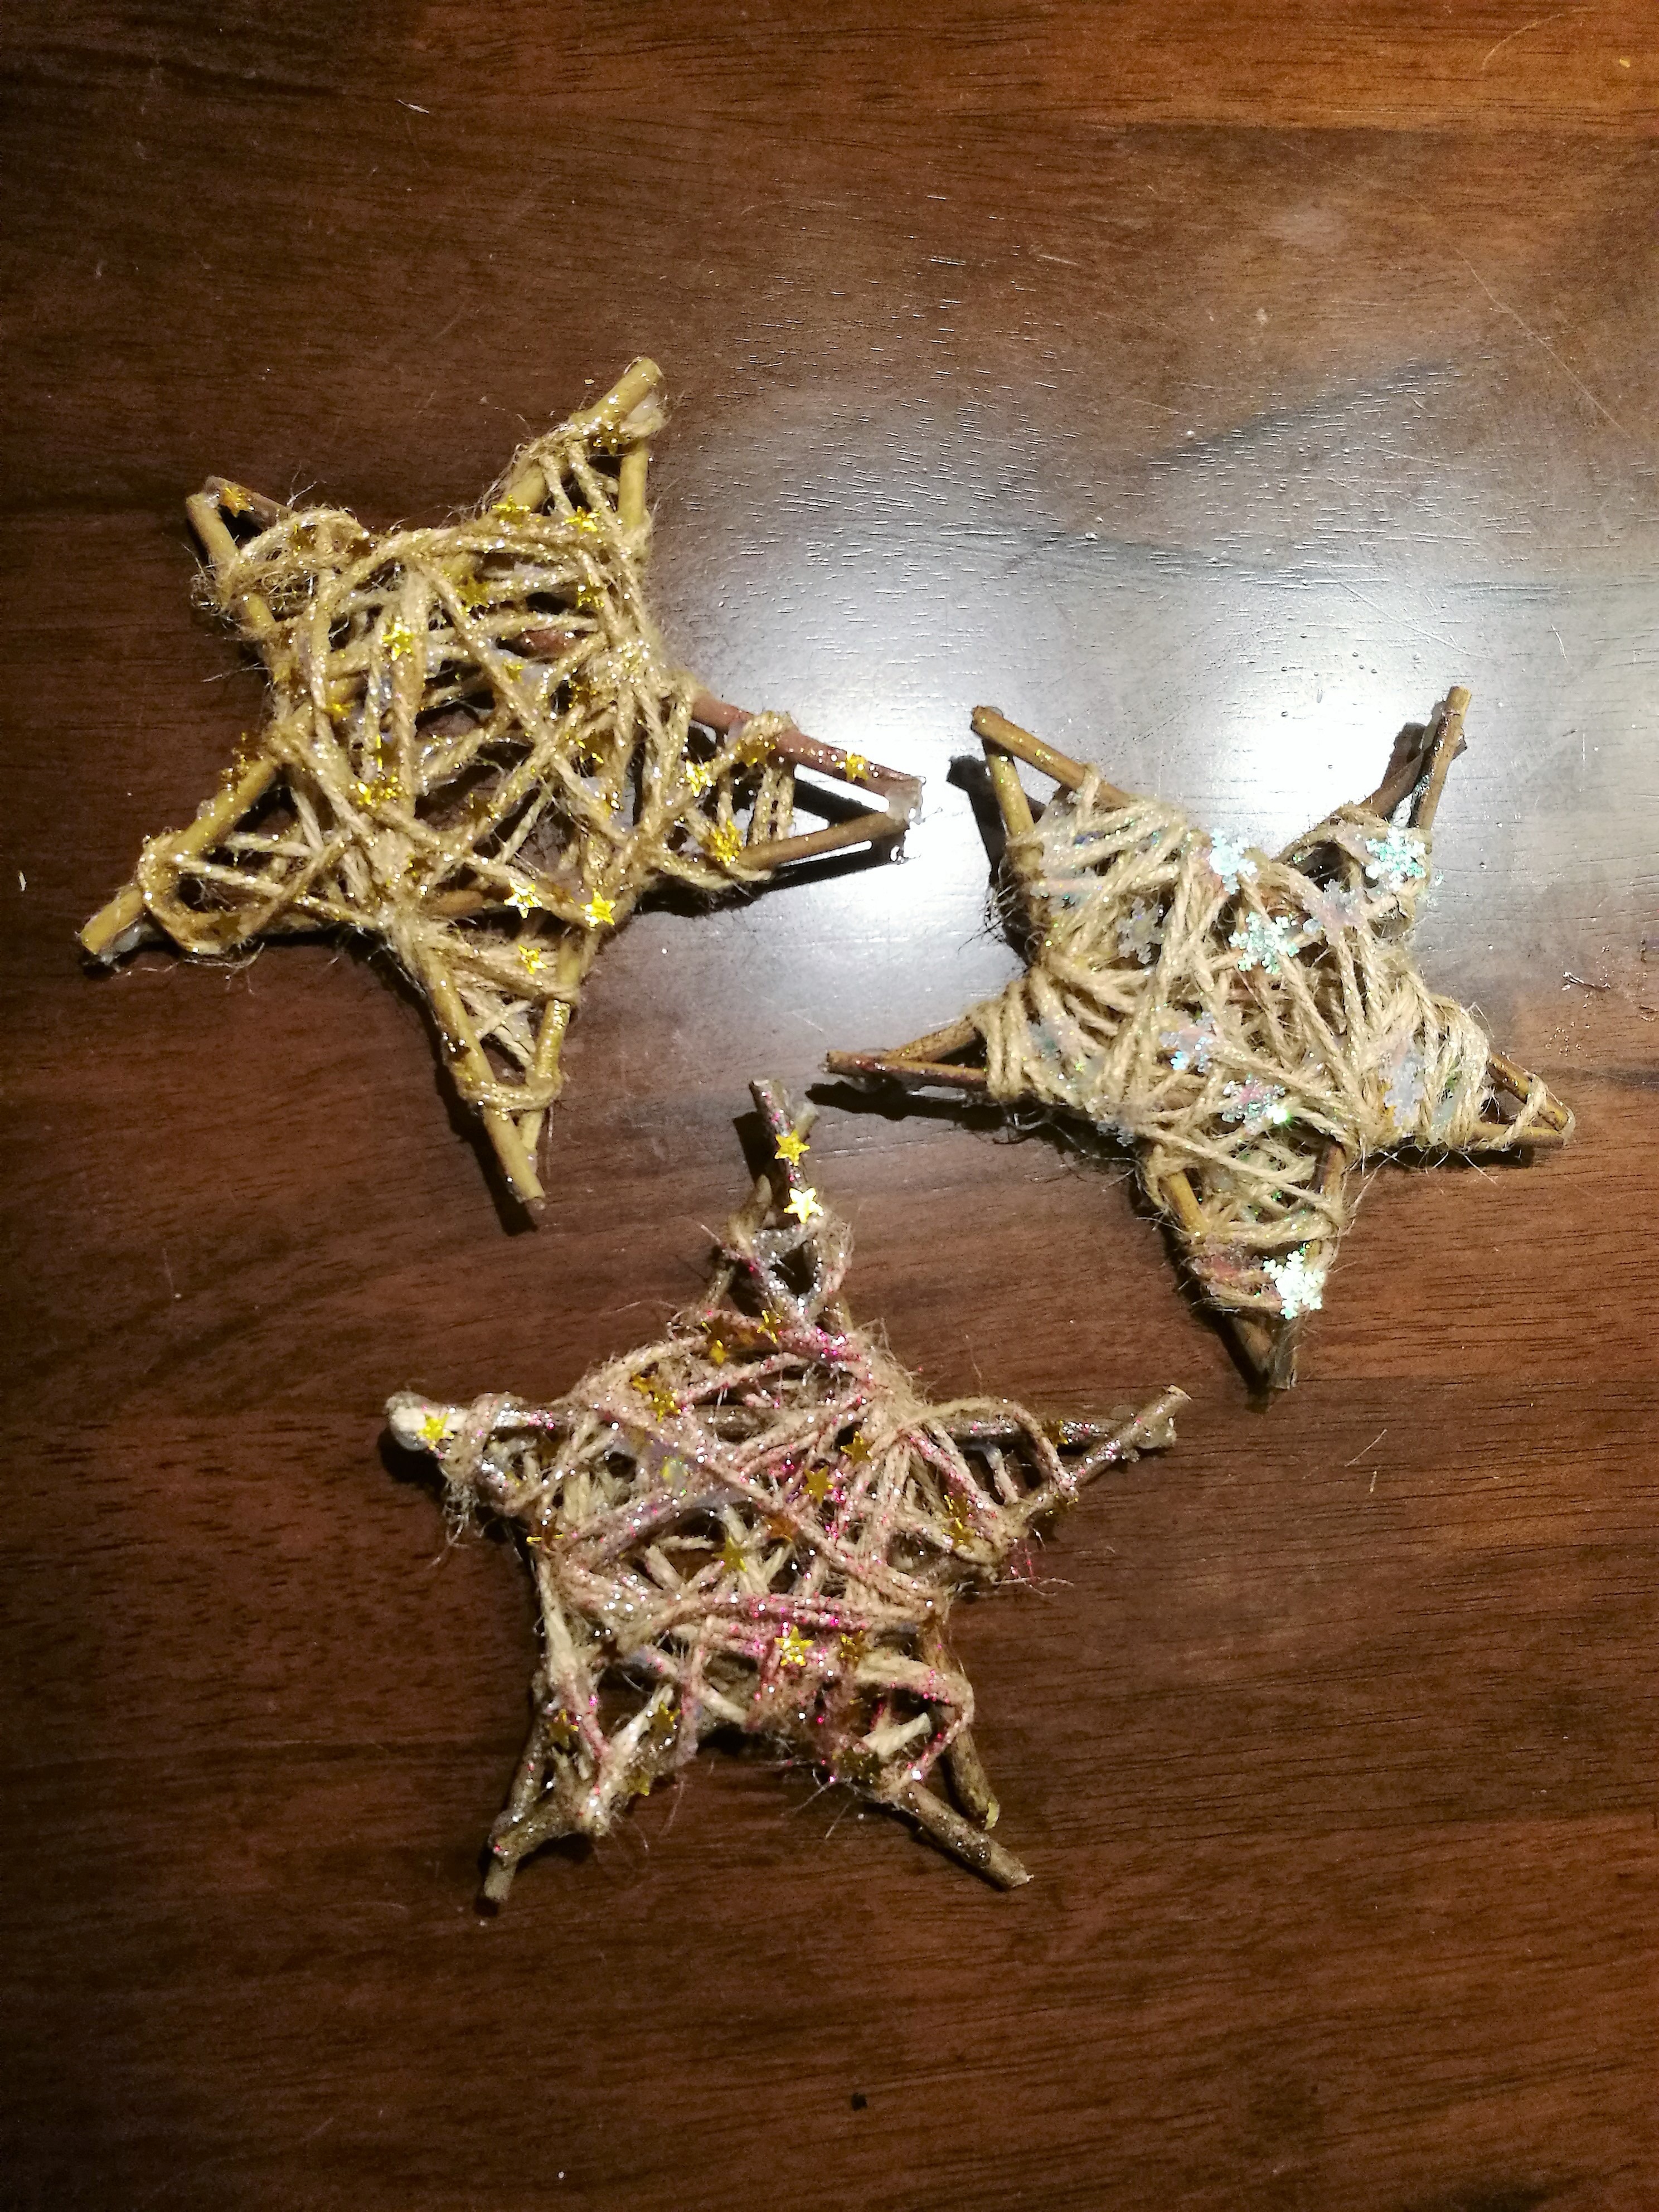
Cut the twigs so that they are the same length (in our case about 12cm). First, put the twigs in the shape of a pentagram to see where you are going to glue them together. Then glue them using the hot glue gun. I recommend starting in the middle and finally sticking the tips.

Step 2
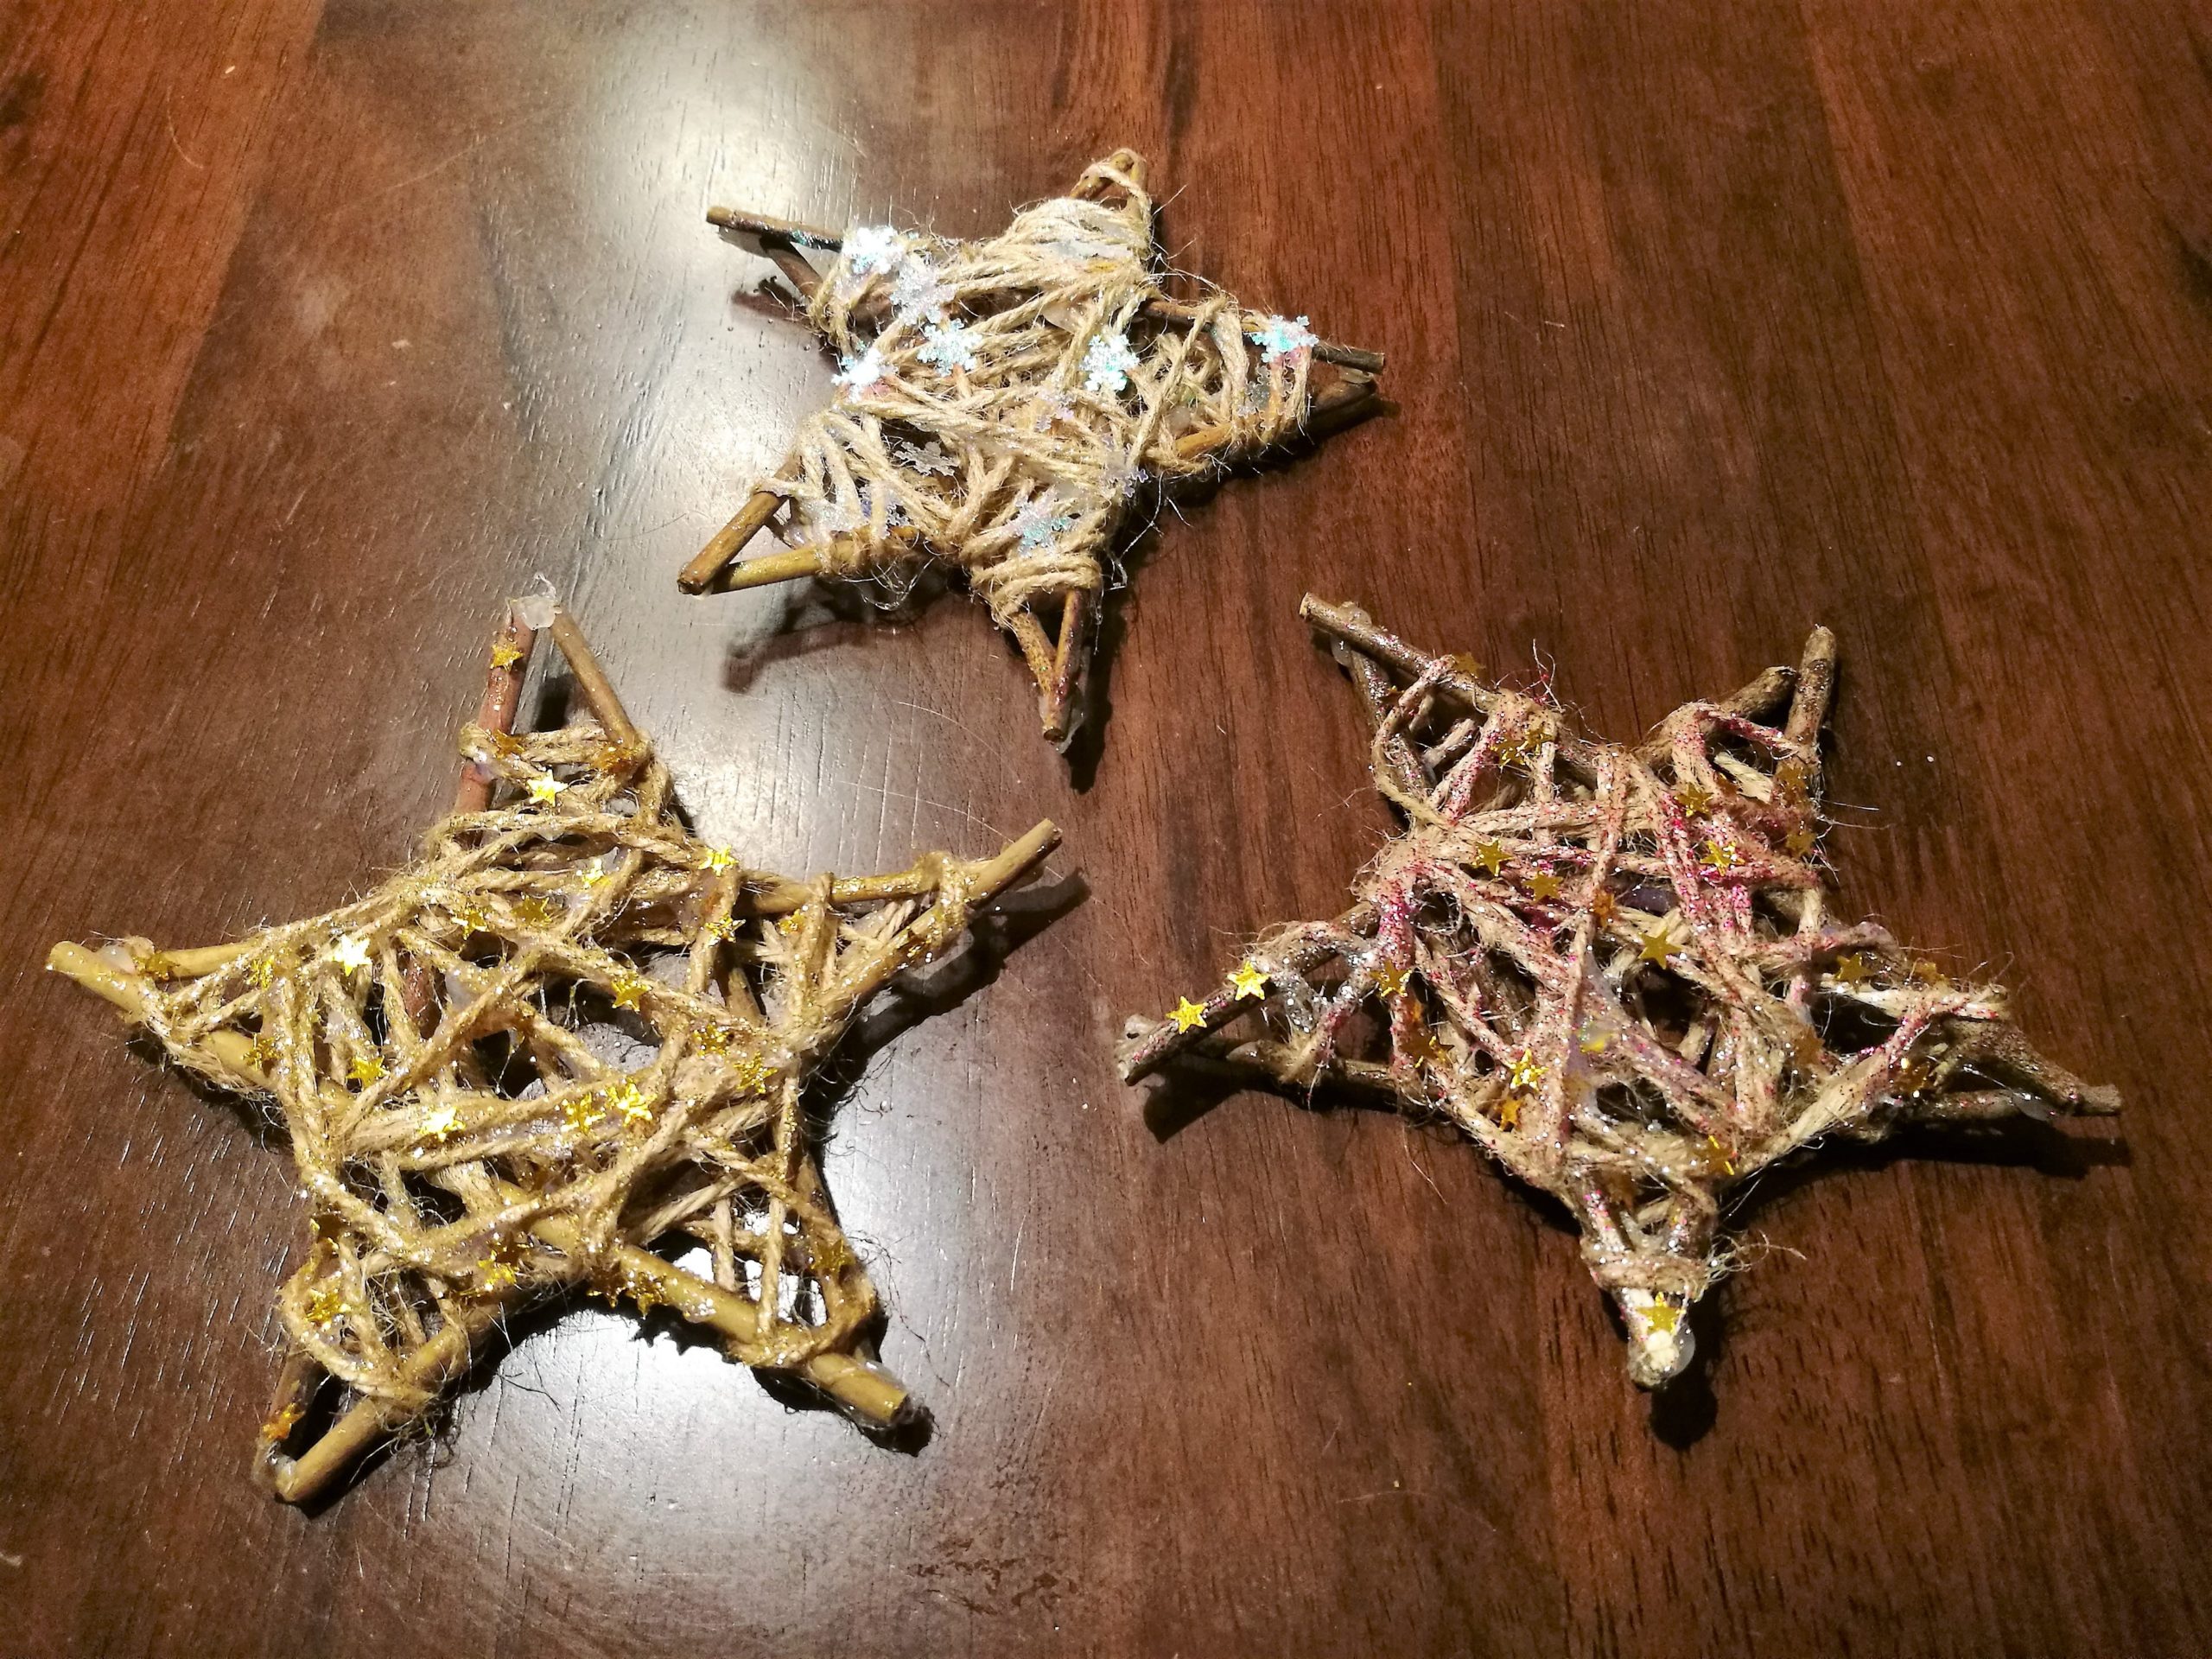
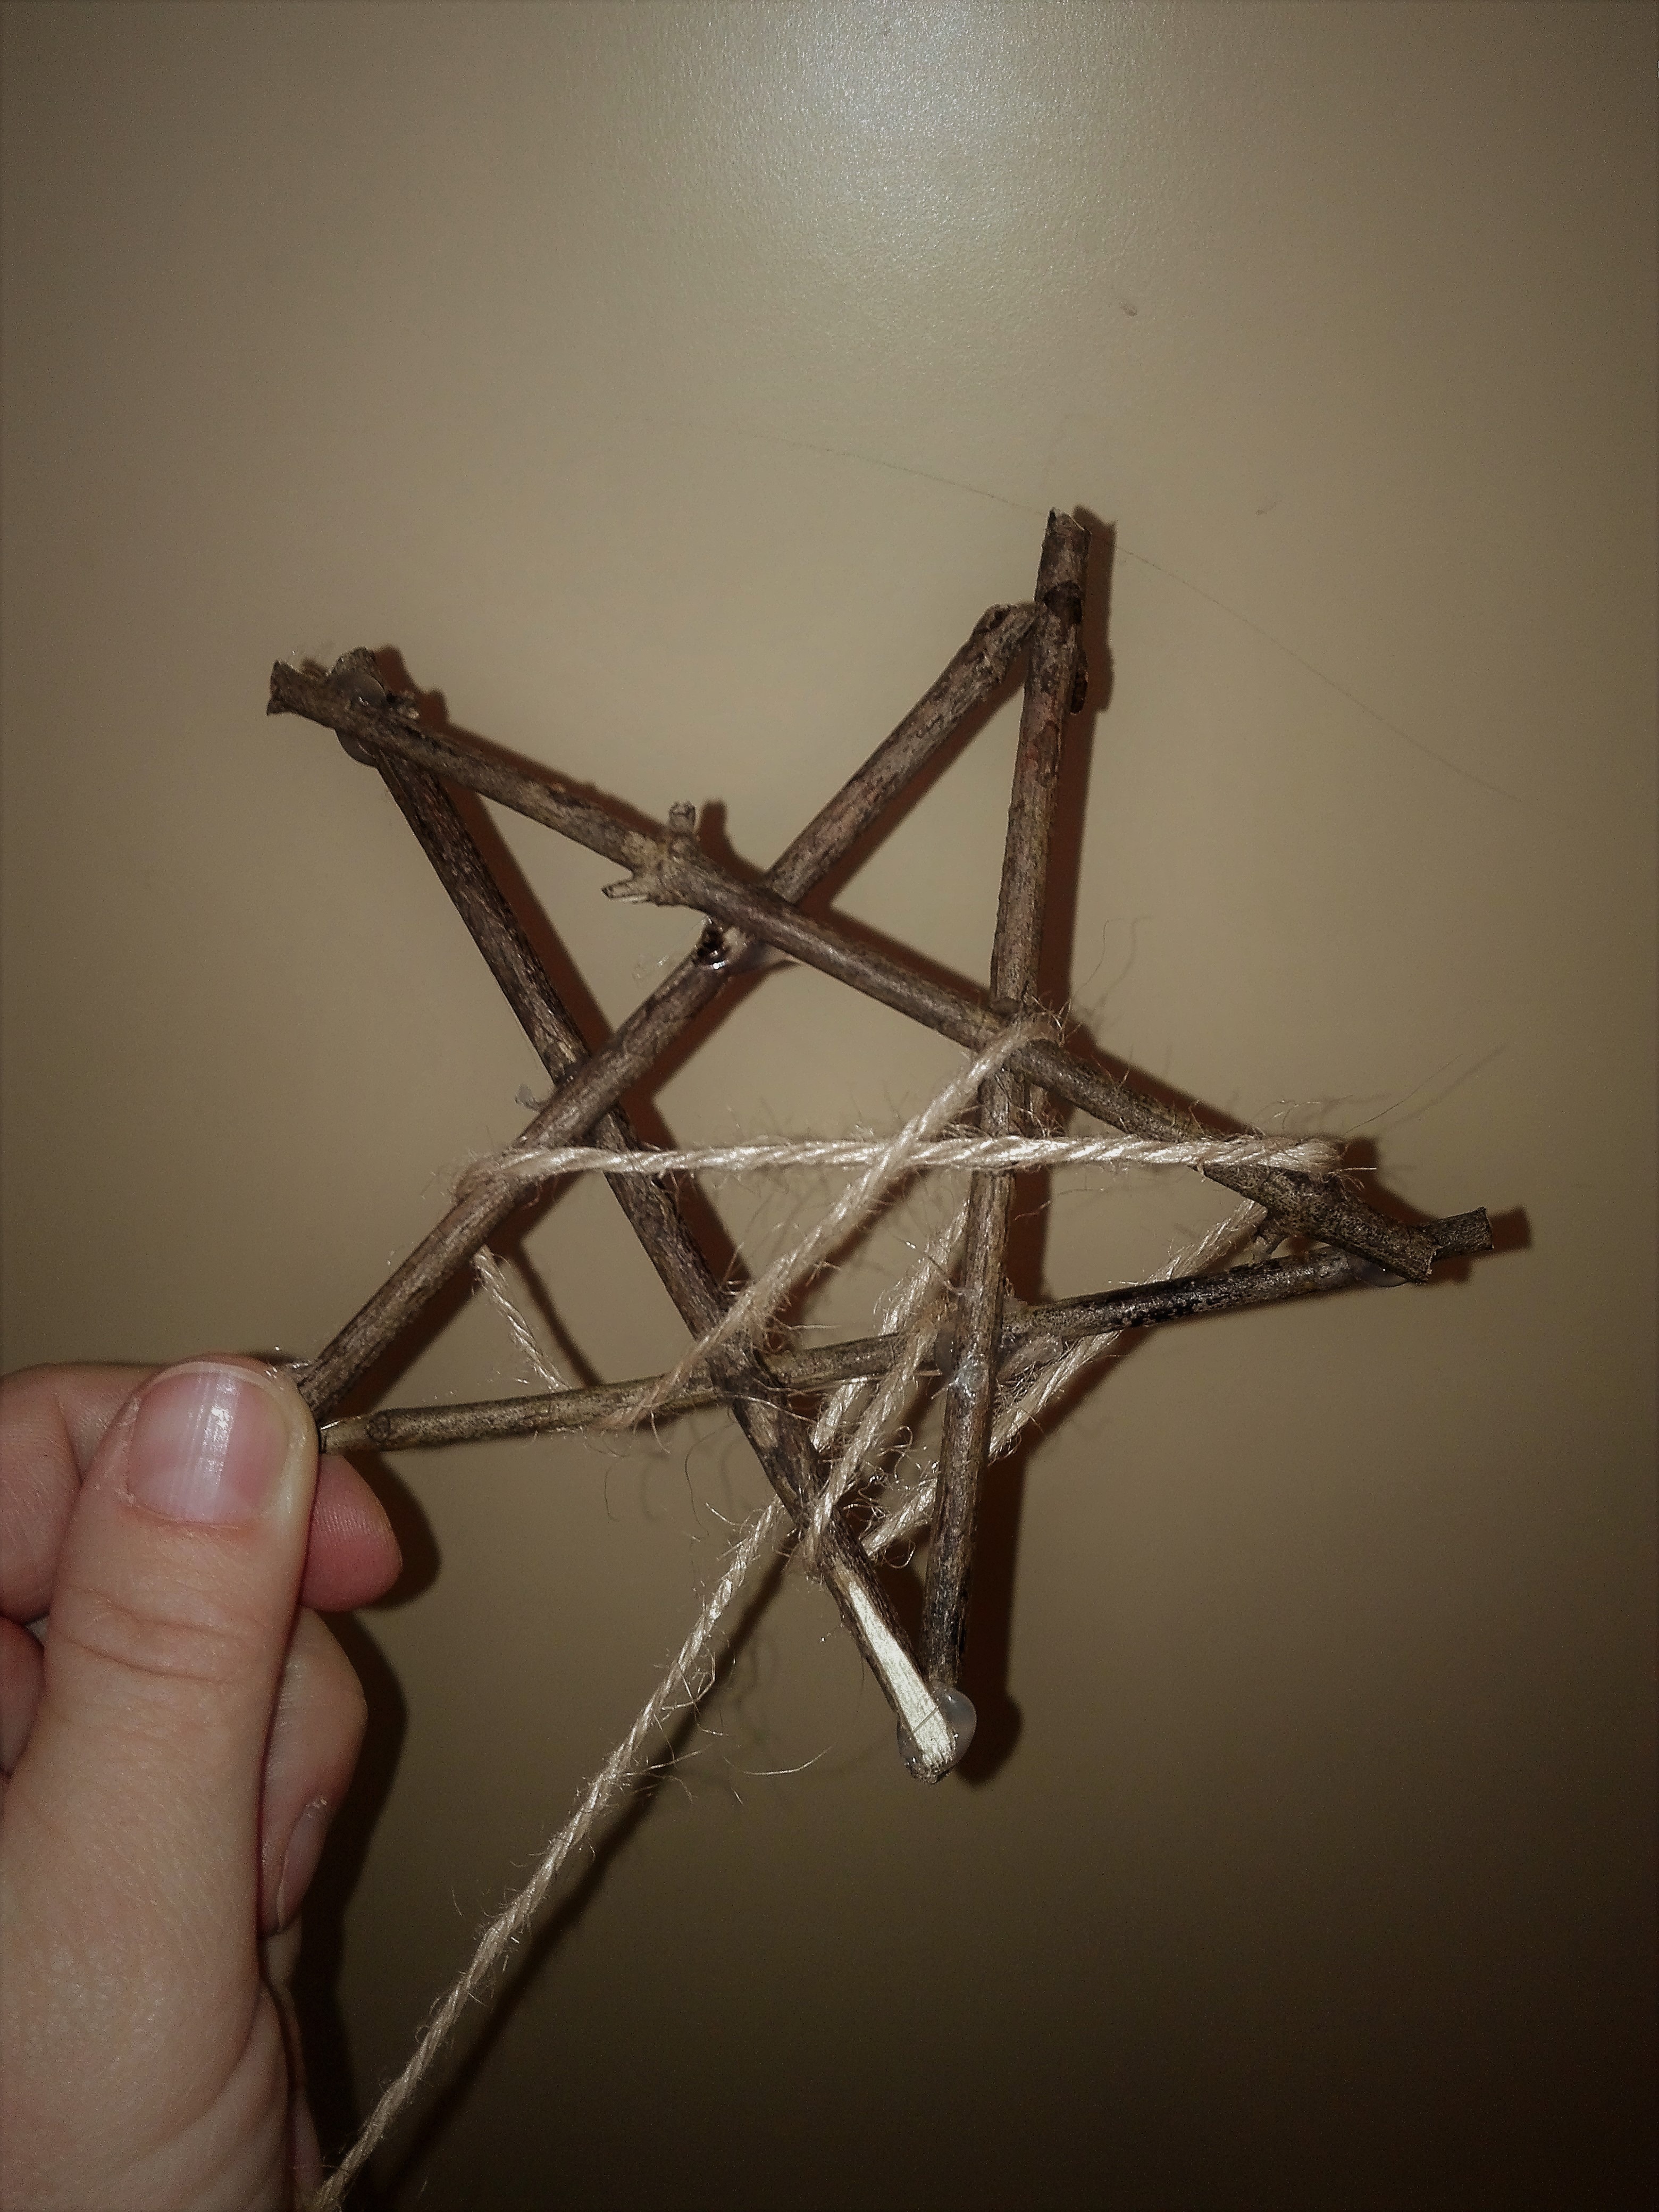
Attach one end of the jute twine to the twig and let the children wrap the twine around the star. It doesn´t matter how many times and in what direction.
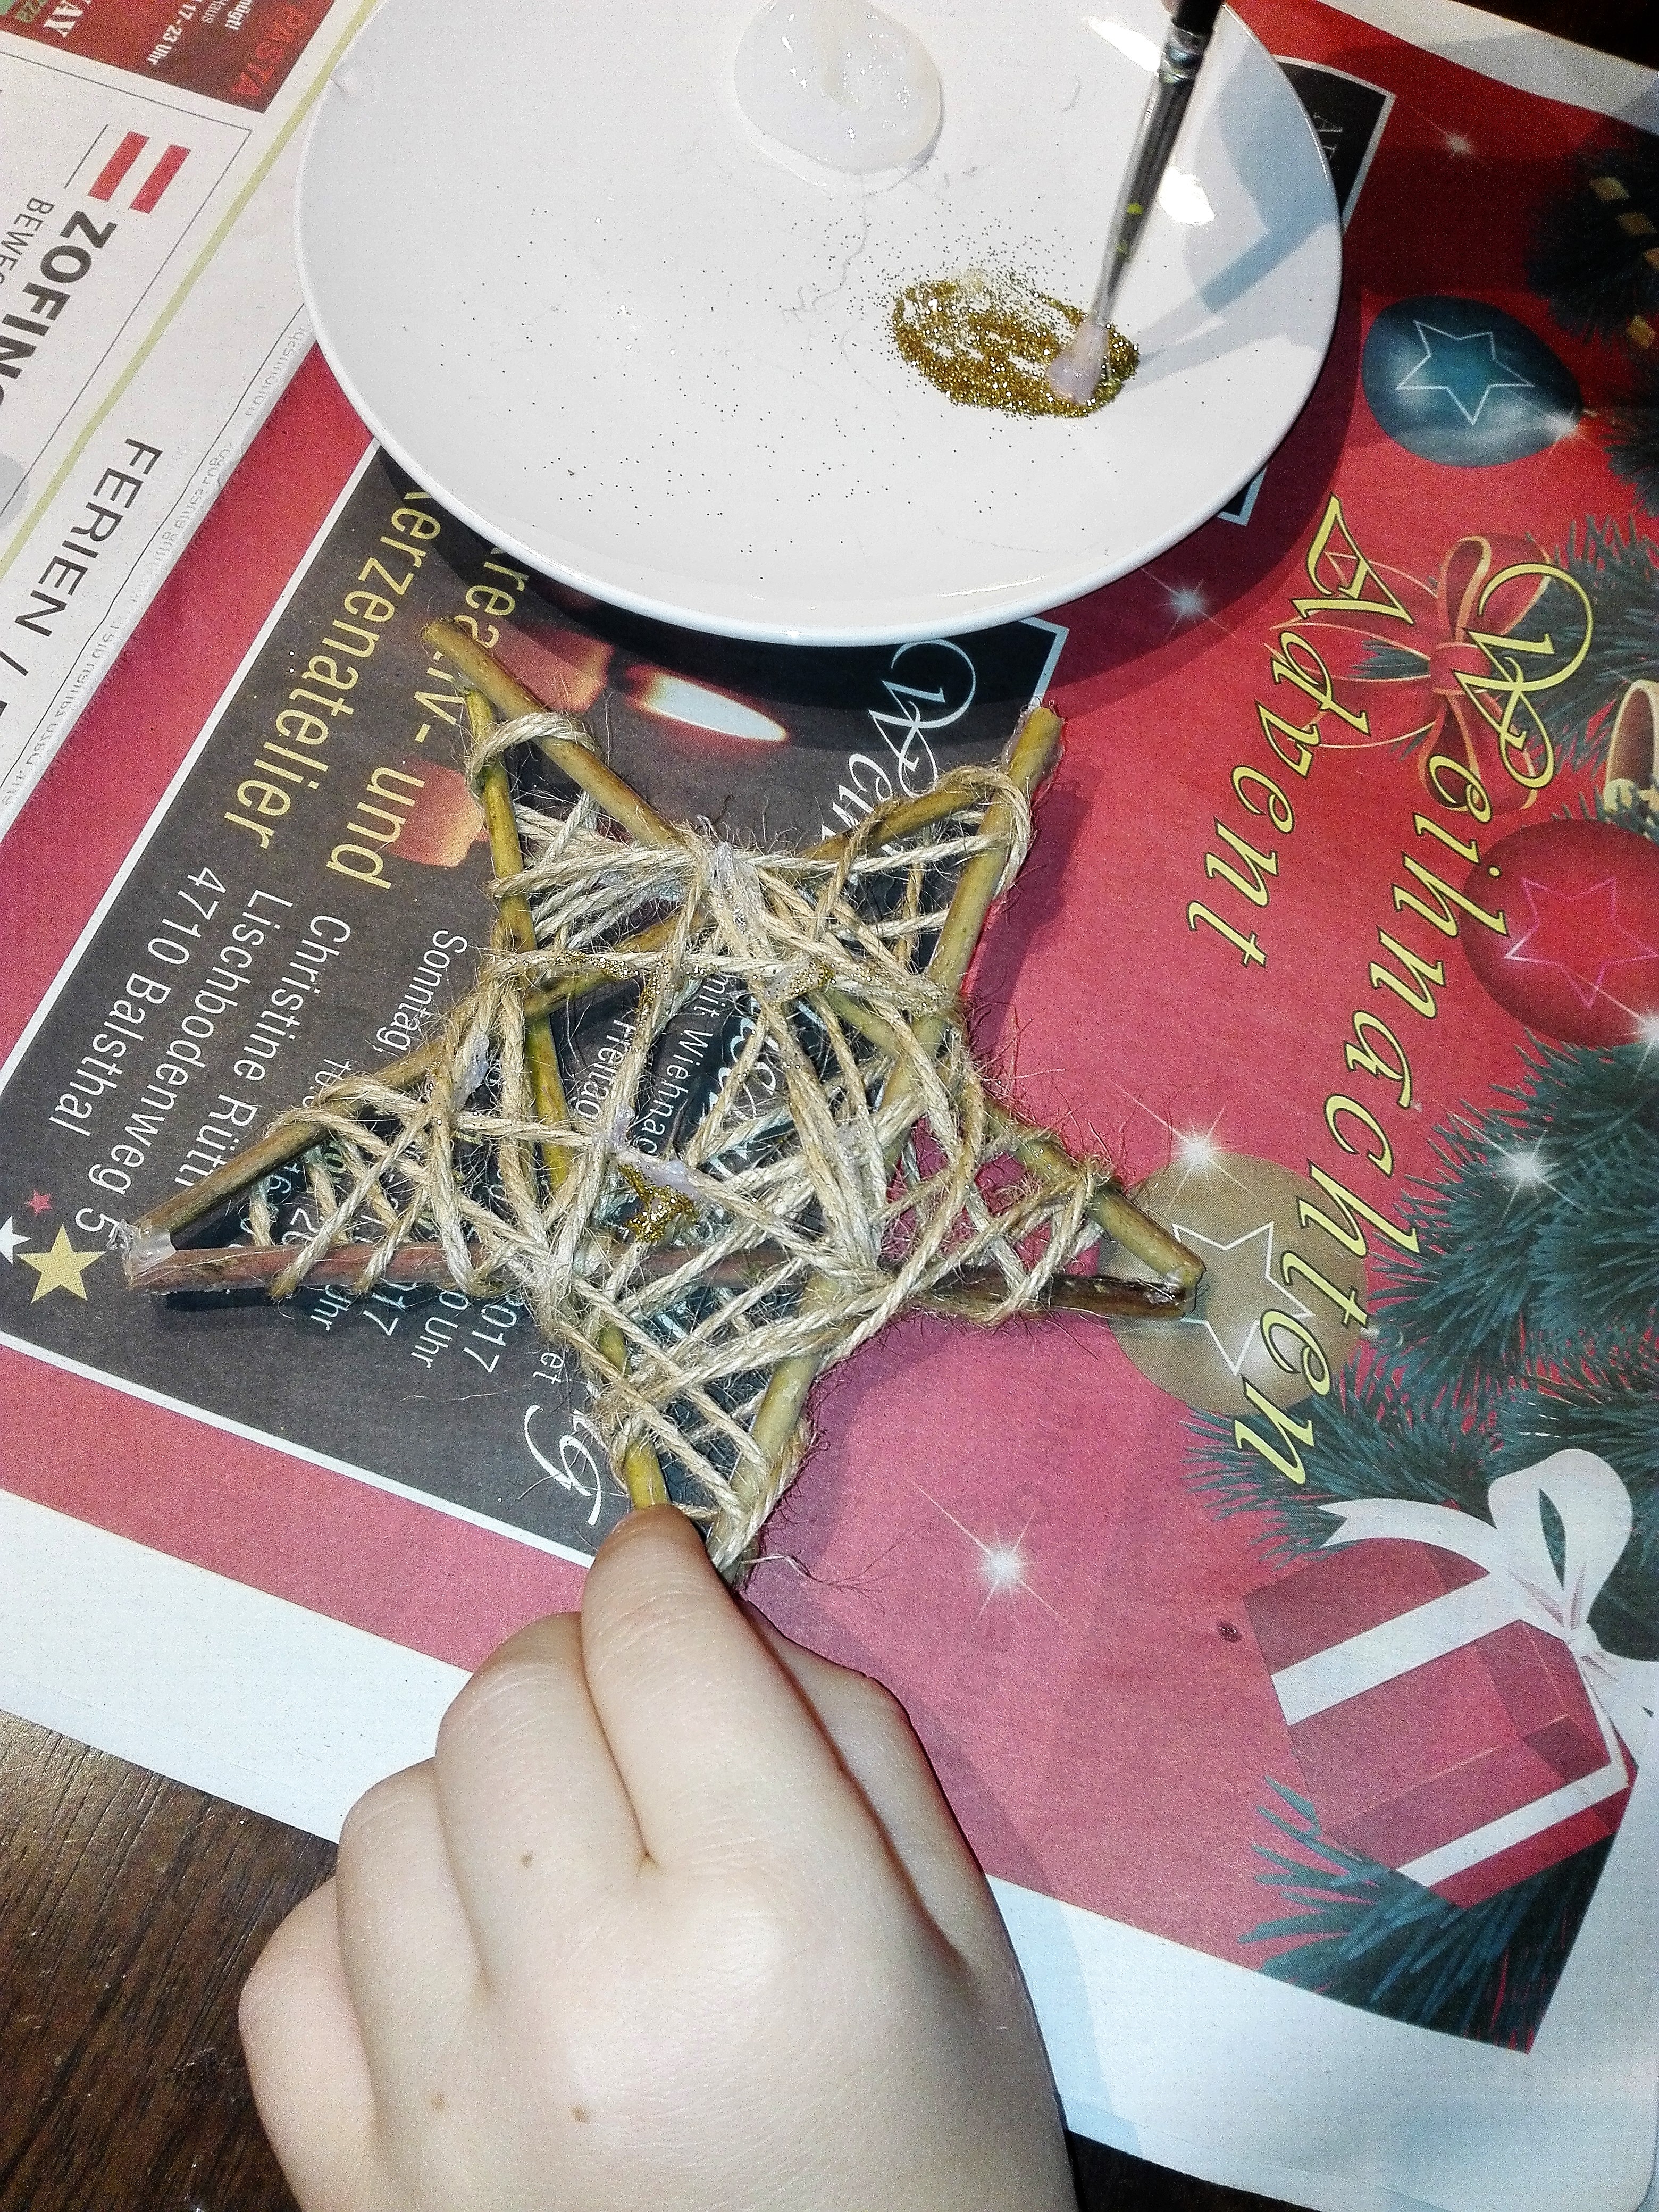
Step 3
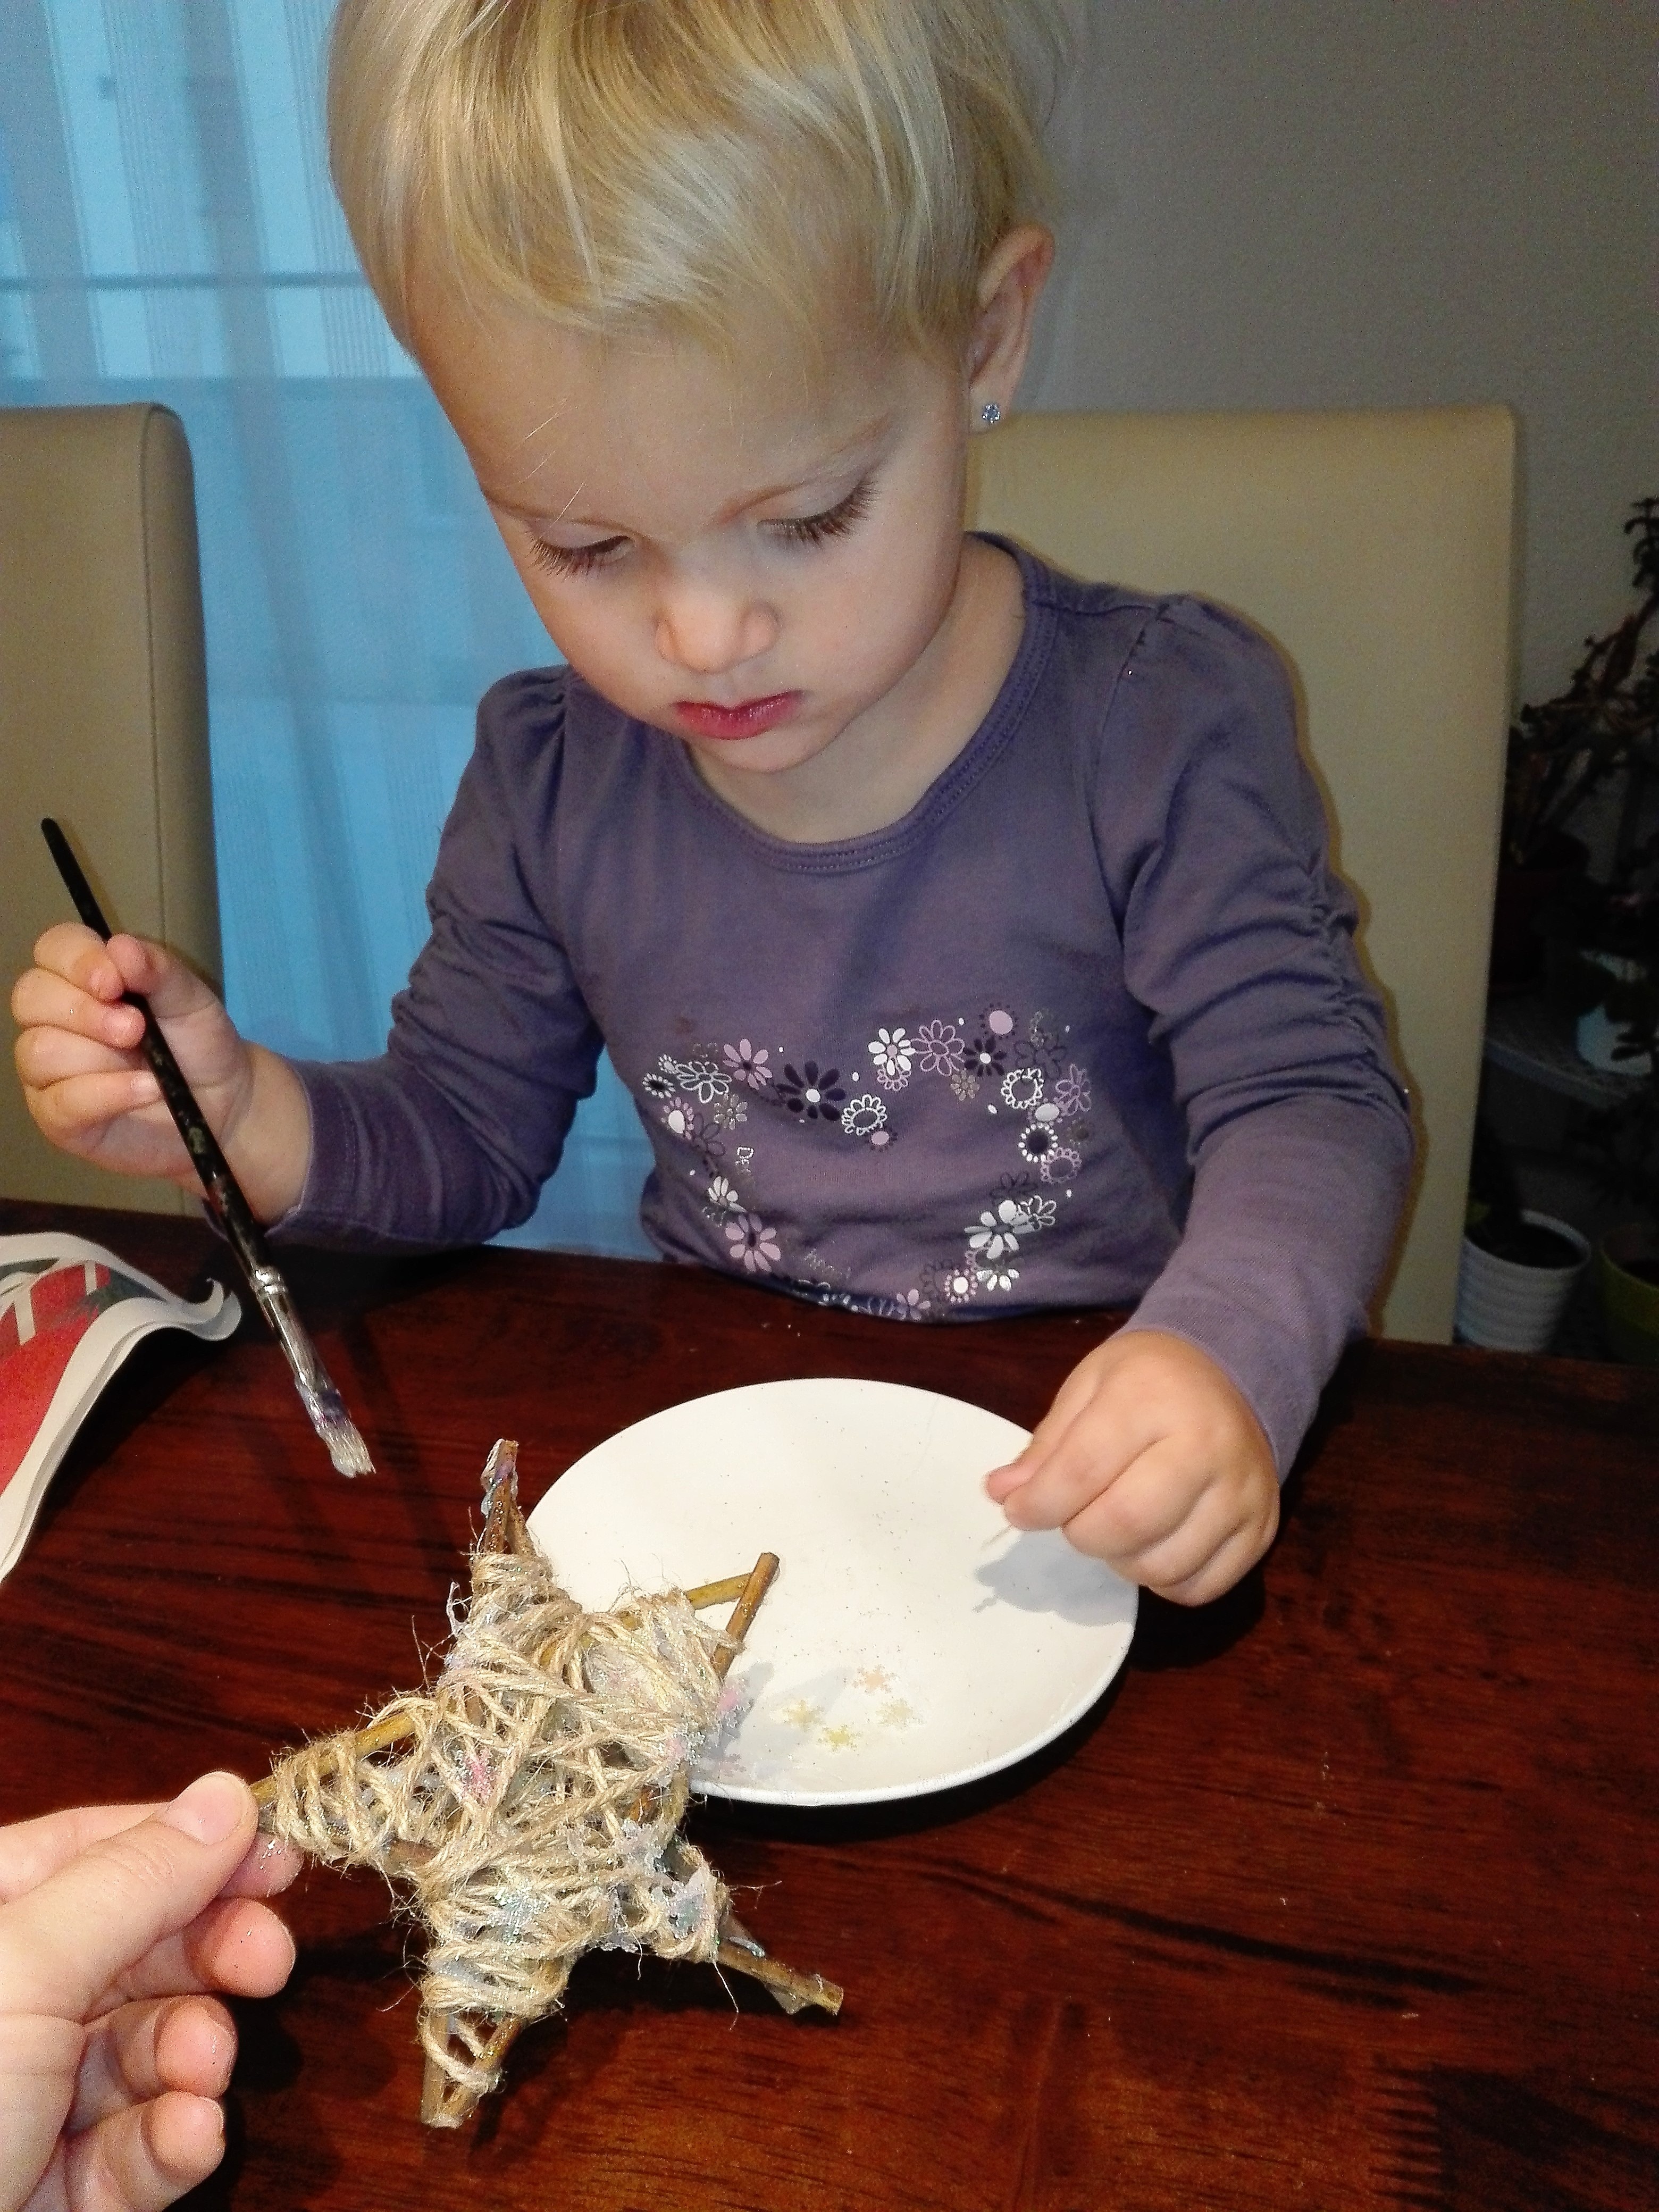
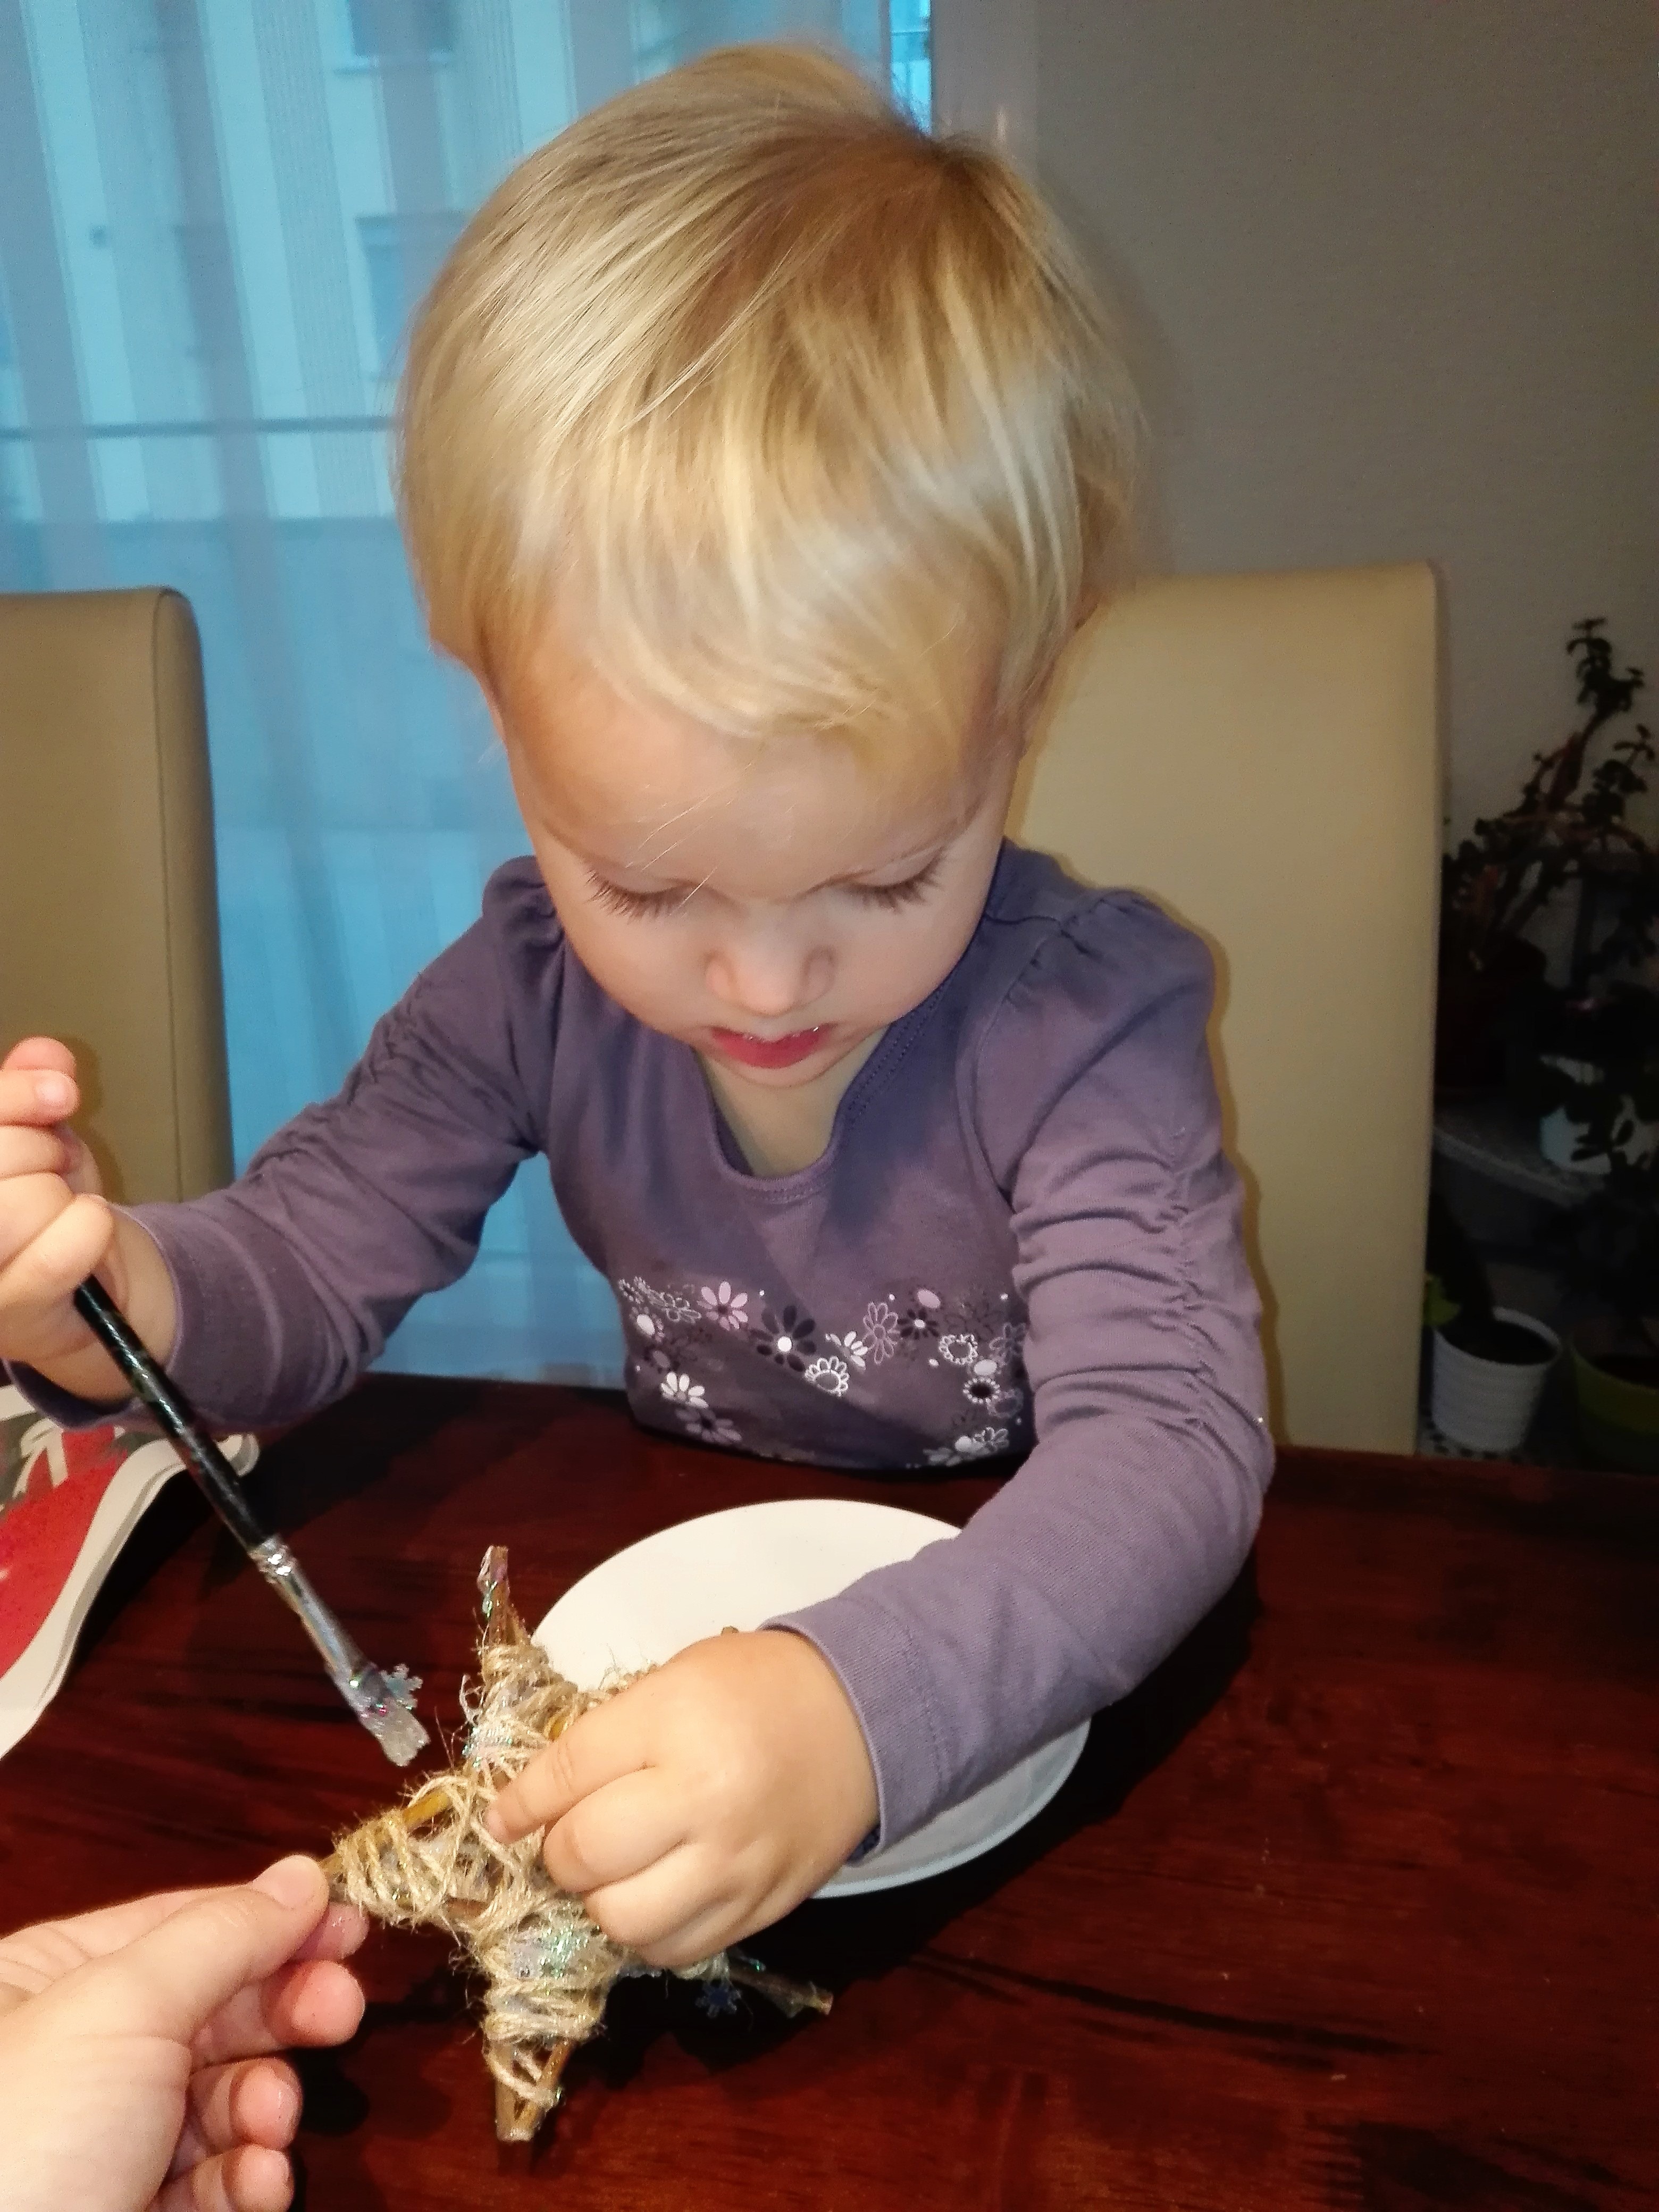
Then, let them put glitter powder on the star using a brush soaked in the glue according to their imagination.

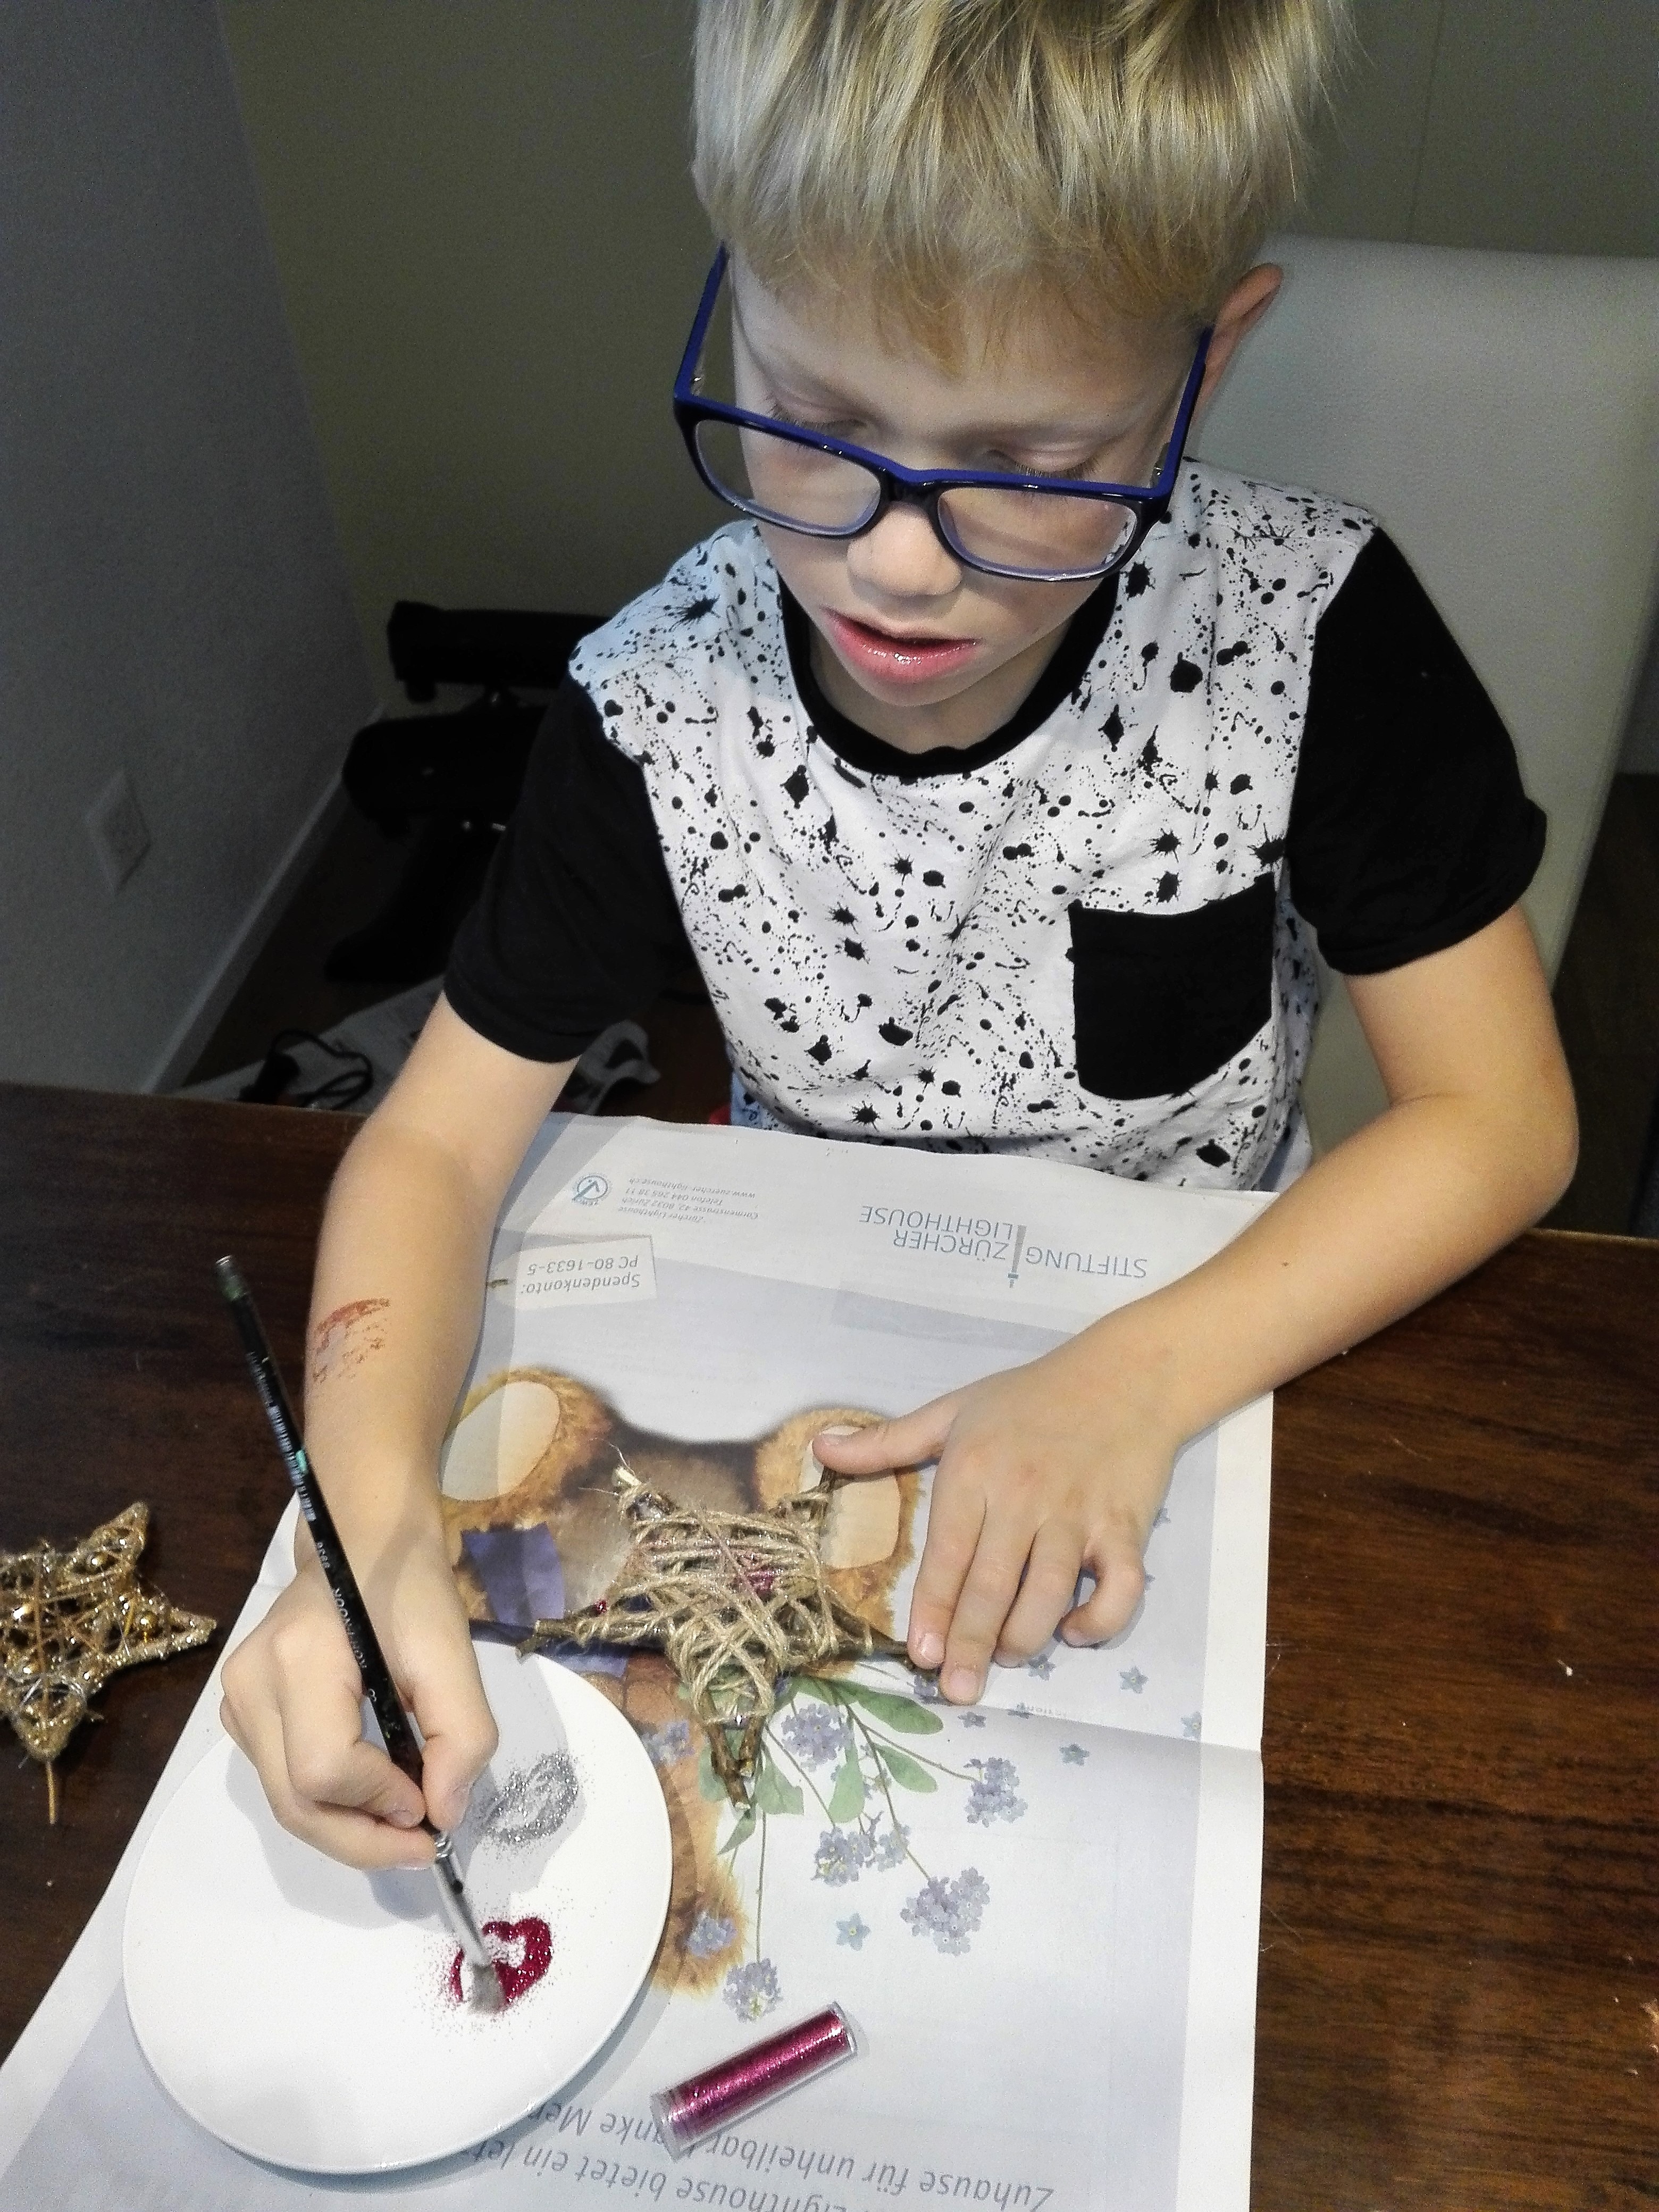
Do not be afraid and let the smallest work too! Our little one, when she saw her older brothers, was also demanding a brush, and waving furiously with the glitter tube she wanted to open, so she could also pull her weight. In spite of my initial hesitation, I had entrusted the brush to her, and I was surprised at how she was concentrating on her work at the age of two to place shimmering snowflakes exactly where she wanted to. And you should have seen her when she later showed her star to her father.
Perhaps the stars won´t be as symmetrical as you would buy them before Christmas at any store, but believe me, your children will love them much more because they made them themselves. Our boys even named their stars 🙂
My tip: next time I would use the universal liquid glue that I normally use instead of the glue that was part of the set. It seemed to me that it took a long time to dry.

Categories: Nezařazené


I am a member of


Map of activites

Podcast
You may be also interested in
Social Media
Categories
Subscribe